
Sending emails from Notion with NotionSender
Introduction
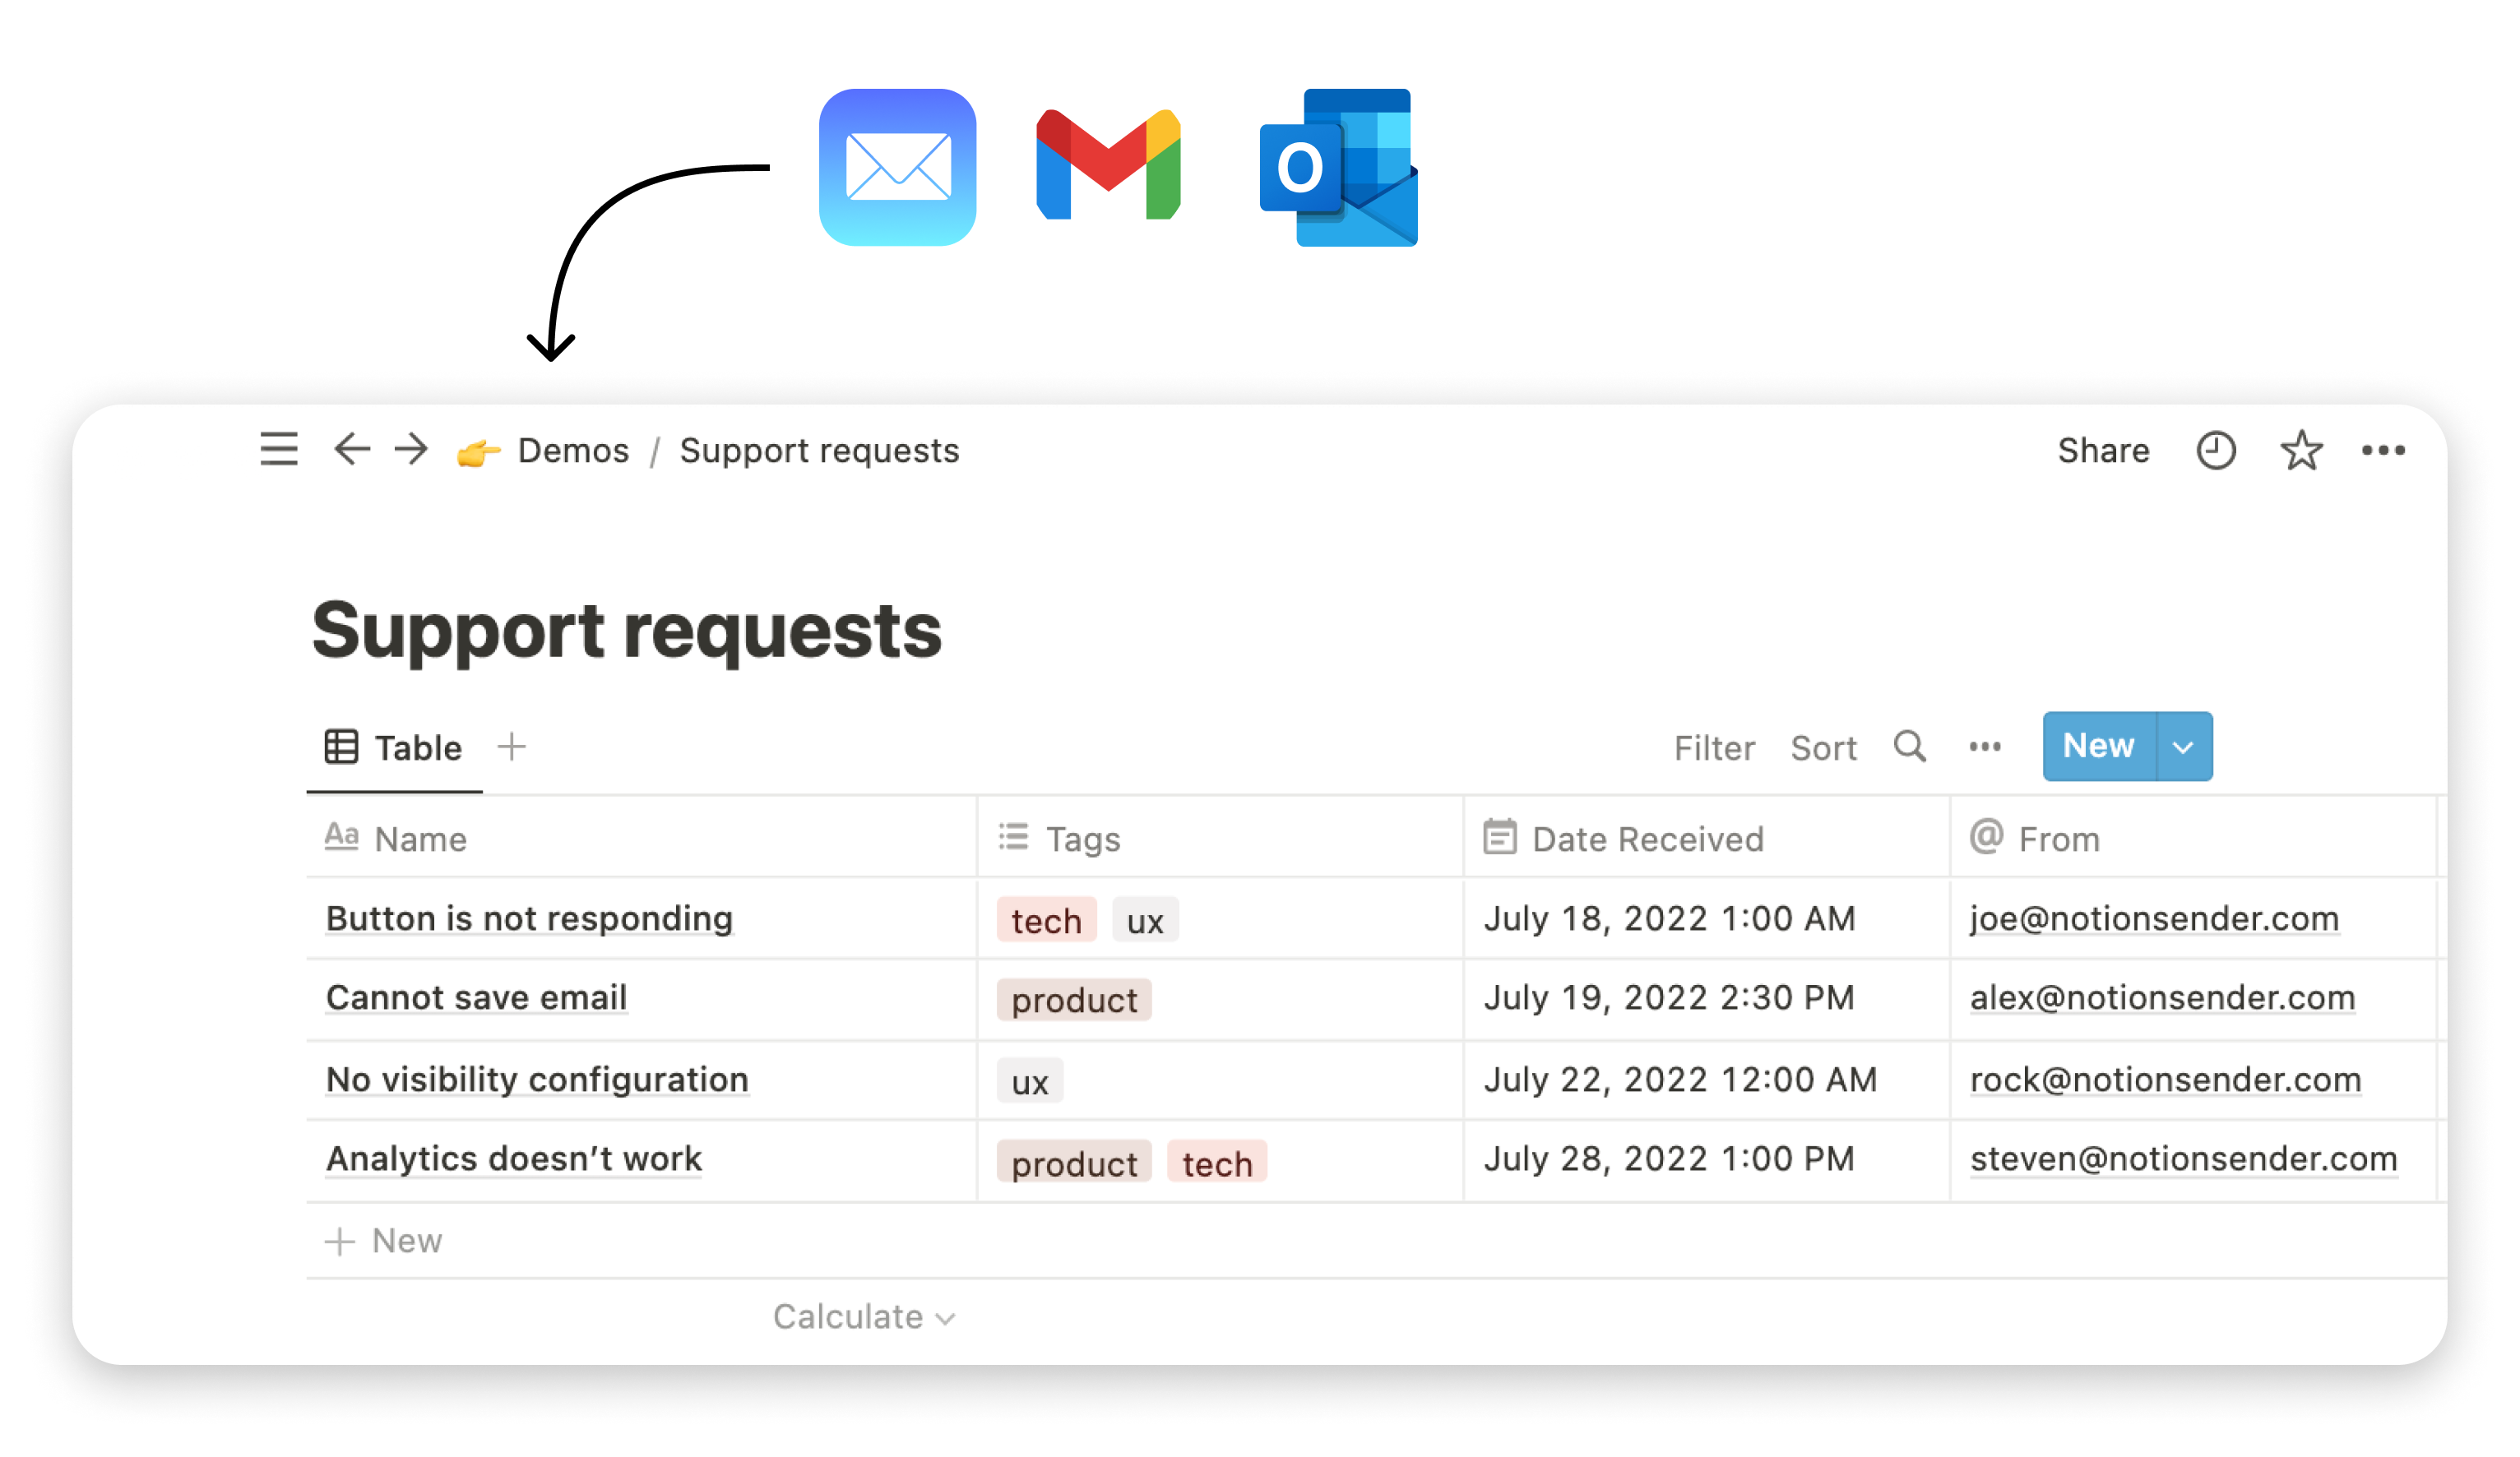
NotionSender enhances your workflow by enabling you to send emails directly from a Notion database. This guide walks you through the process of setting up and utilizing NotionSender for email management.
Detailed Steps for Sending Emails from Notion
- Creating a Notion Database for Outgoing Emails:
- Using NotionSender: Start by creating a new Outbox within the NotionSender app. This Outbox can be configured to your specific needs and preferences during creation.
- Manual Database Creation: Alternatively, if you prefer a more hands-on approach, you can manually create a database in Notion tailored for your outbound emails.
- Configuring Outbox Properties: Once your Outbox is set up, either manually or via NotionSender, the next step is to configure the necessary properties in NotionSender. These properties ensure that your emails are sent correctly from Notion.
- Managing Emails in the Outbox:
- All emails flagged as 'Ready to Send' will appear in the Outbox card within the NotionSender app.
- You have the option to send each email manually or use the preview feature to review the emails before dispatch.
Advanced Email Sending Features
- Autosending Functionality:
- Activate the autosending feature to have emails automatically sent once they are marked as 'Ready to Send'.
- This feature respects the 'Send At' setting, allowing you to schedule emails for future dispatch.
- Customizing Email Sender Address and Name:
- Validate your personal email or your domain within NotionSender to use as your sender address.
- Domain validation also activates DKIM signatures, enhancing the security and authenticity of your emails, and provides greater flexibility in choosing email addresses.
- Linking a Recipients Database:
- Connect a recipients database within Notion that includes fields for 'Email' and 'Subscribed'.
- This database supersedes individual recipients, enabling you to send emails to a curated list of users stored in your Notion database.
- Templating Support for Personalized Emails:
- NotionSender supports the use of templates within your email content. Utilize placeholders like
{{ page.Property }}to dynamically insert content. - Ensure these placeholders are not formatted as links, and the styling includes the curly braces.
- You can reference any property from the page or connected recipients, such as
{{ page.Email }},{{ page.Name }}, or{{ page.Balance }}, to add a personalized touch to your emails. - Templates are supported in the Subject fields.
- Incorporating 'In Reply To' Field for Email Thread:
- Introduce an 'In Reply To' field within your Notion database, enabling a relation either to itself or to another NotionSender database. This field is used for threading emails, ensuring continuity in conversations.
- After setting up this field, specify a Notion page by populating the 'In Reply To' field with page reference of the previous message in the thread. This links your current email as a reply to the specified message, maintaining the thread's context and flow.
- You need to manually create this field as a reference field in your Notion database.
- Use Case Application: This feature is particularly useful for keeping email conversations organized within a single thread, enhancing the readability and manageability of ongoing discussions. By effectively utilizing the 'In Reply To' field, you can maintain a coherent thread of emails.
Notion to Email Rendering Customizations
In this section, we will explore the rendering customizations available in NotionSender to enhance the presentation of your emails. These customizations allow you to fine-tune how emails are generated from your Notion pages, ensuring they meet your aesthetic and functional requirements.
General Rendering Settings
-
Render Engine: Choose between different rendering engines based on your needs:
-
- Notion Page: Uses the rendering engine which makes emails look like your Notion pages. This is the main rendering engine and is best suited for when you want to maintain the visual style of Notion.
-
- Plain Text: Uses the Markdown (MD) engine, suitable for sending text emails with basic markdown formatting. This engine works best for private pages where simplicity and compatibility are key.
-
Background Color: Customize the background color of your emails (e.g., #FFFFFF for white).
-
Vertical Padding: Adjust the vertical space between blocks within the email (e.g., 2px).
-
Maximum Email Width: Set a limit on the email content width to ensure optimal readability (e.g., 600px).
-
Center Content: Choose whether to center the email content or align it to the left. Centering can make the email appear more balanced and aesthetically pleasing.
Font Settings
- Font Size: Define the size of the text in your emails (e.g., 12px).
- Font Family: Select a font family for your emails. Use default browser fonts to ensure compatibility across different email clients.
- Font Color: Choose a color for your text (e.g., #000000).
- Line Height: Adjust the line height to improve the readability of your text.
Image Settings
- Re-host Images: Opt to download images from Notion before sending the email. This improves the reliability of images appearing correctly in the emails.
- Center Images: Position images in the center of the email, which can enhance the visual impact.
- Full Width Images: Set images to cover the full width of the page, making them more prominent and engaging.
Conclusion
By following these steps and utilizing the advanced features of NotionSender, you can transform your Notion database into a powerful tool for managing and sending emails.


