How to create an email in Notion
4 min read
In this article4 sections
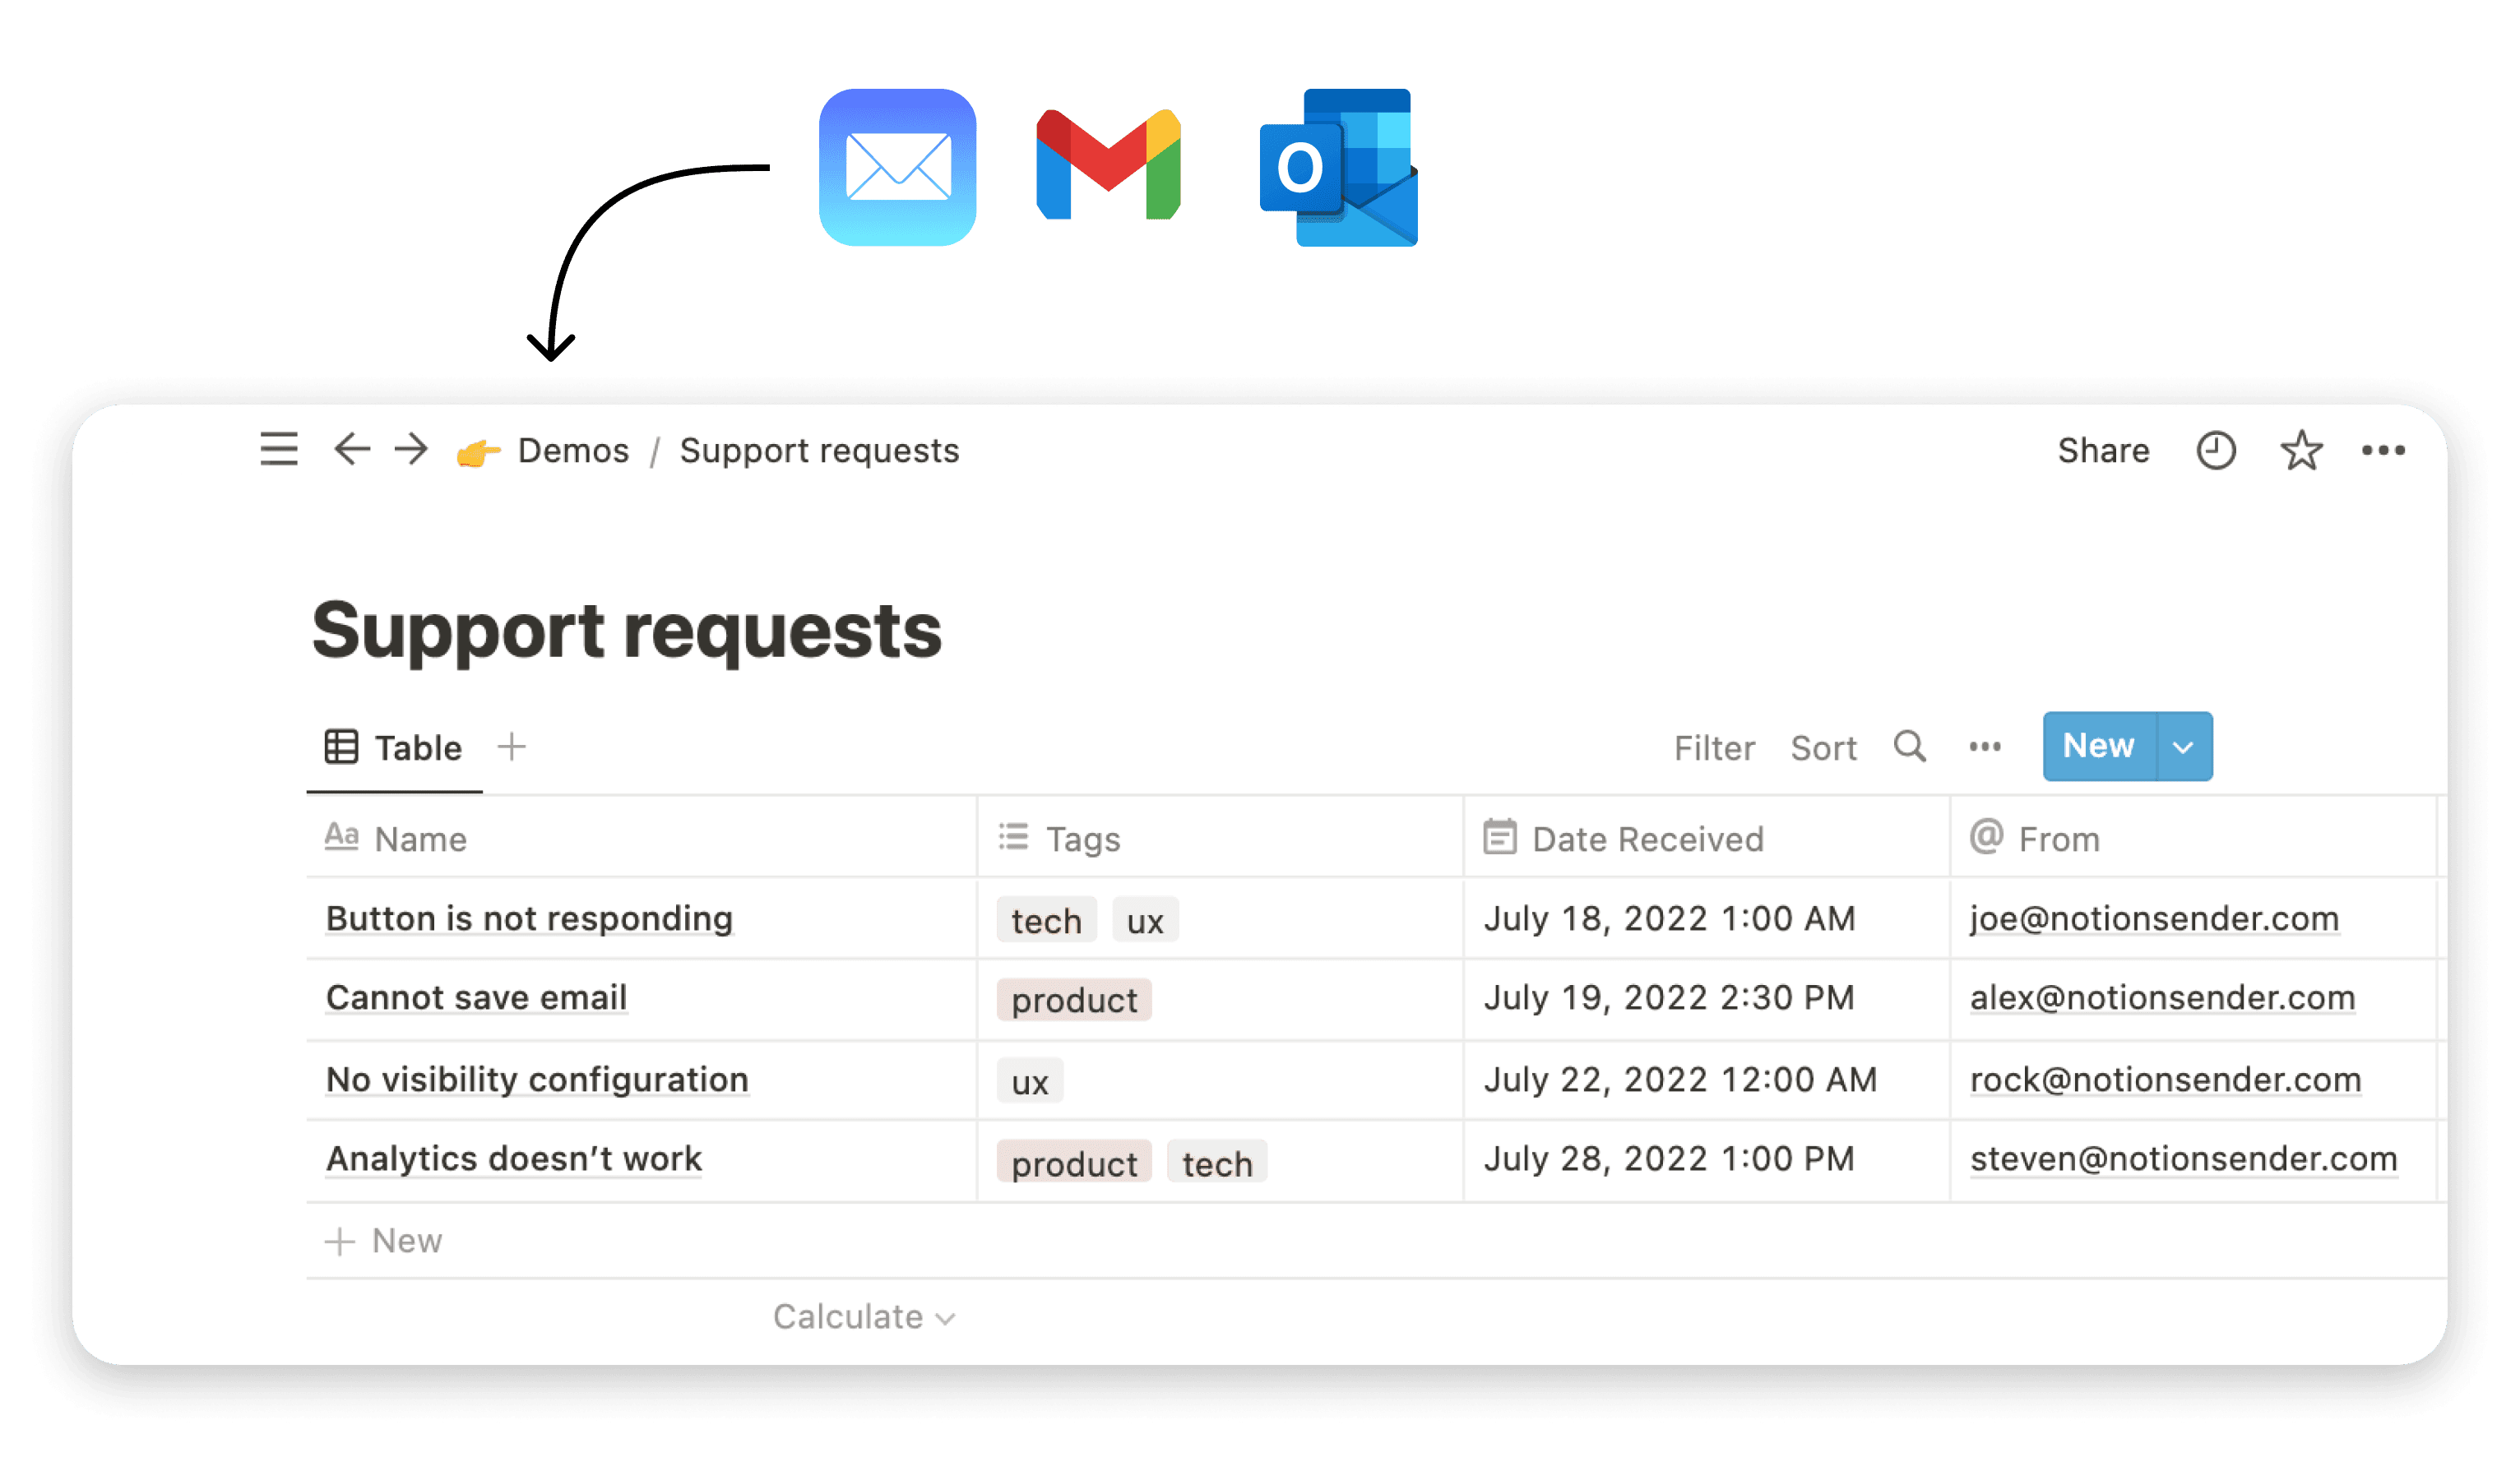
Email is the most popular form of communication these days, and the way you format your letters can make a huge difference in their effectiveness. Creating visually appealing letters can be a difficult task due to formatting challenges. Advanced formatting with colors, images, gifs, tables, and columns is not so standard.
Using Notion to create emails is an easy way to make them look creative and stylish without complex tools.
This article will show you how to use Notion formatting options to create an email that will stand out.
1. Create and format email in the Notion
The Notion is a writing app for many people that has replaced Microsoft Word or Google Documents. It has all the features you need to create professional-looking documents, and it's much easier to use.
Let's try and create an email in Notion.
Our goal is to write an email with a weekly update for our reading club. We need to provide suggestions for the upcoming month with information for readers such as new members and books, suggested books to read, and book scores.
It's essential to keep our emails concise. Let's start with a simple email structure:
- Introduction and some general info
- Atomic Habits - book description and link
- Zero to one - book description and link
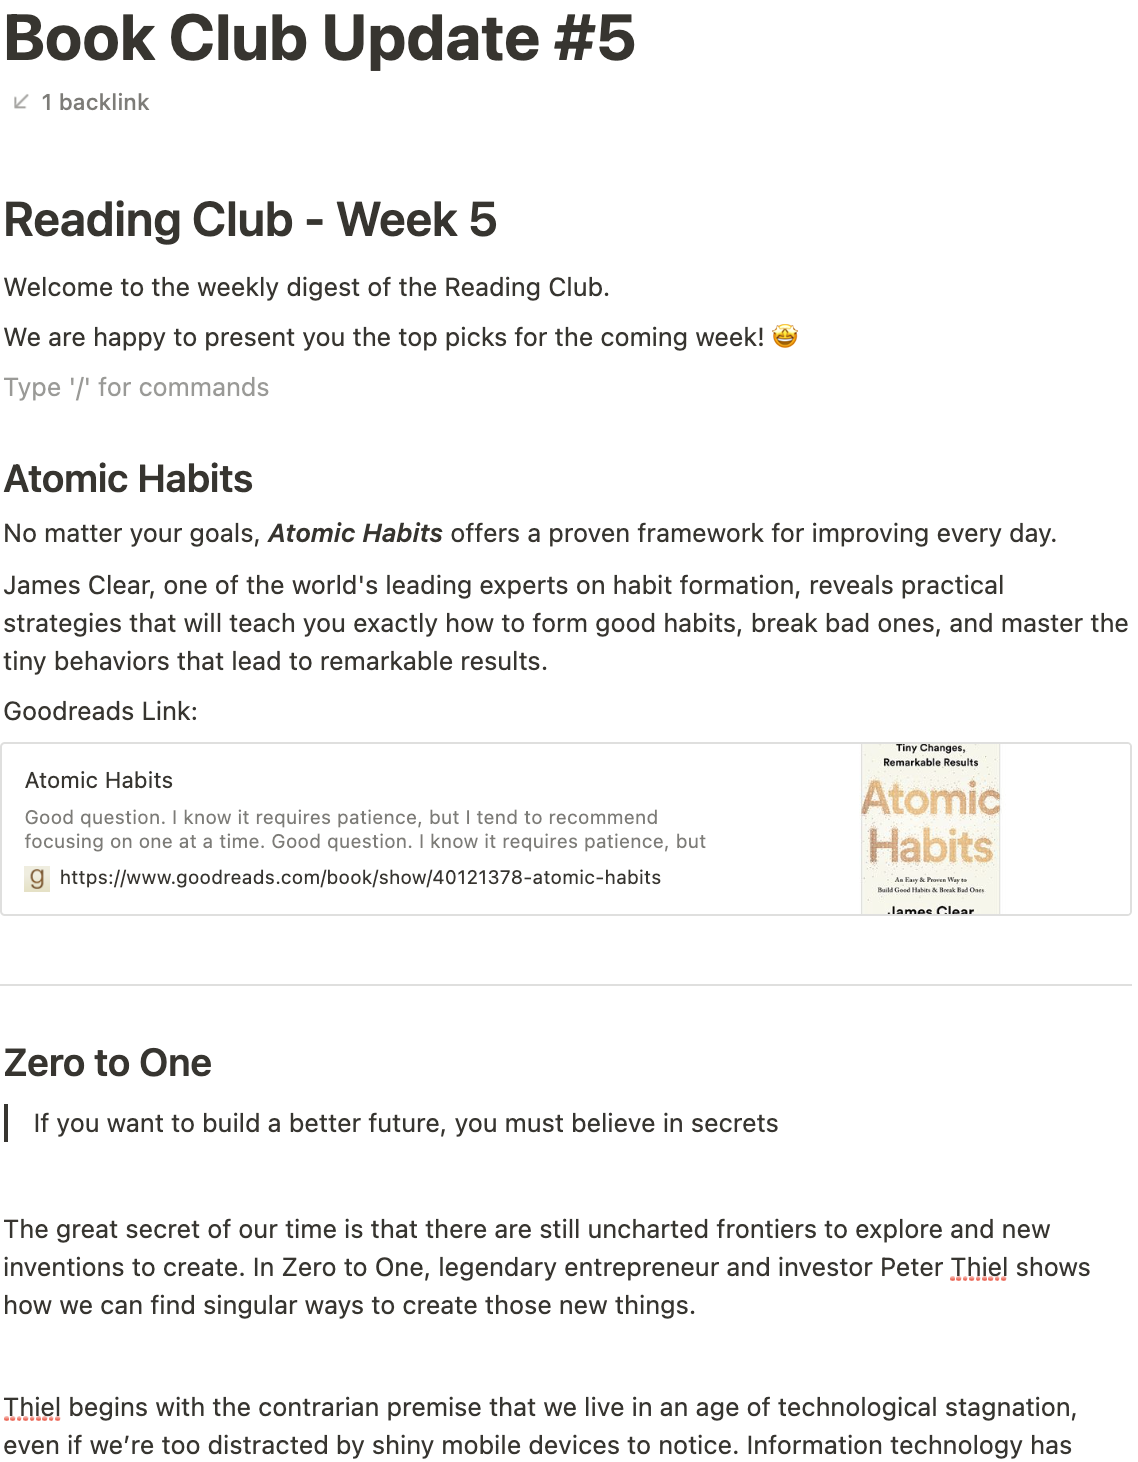
The page looks good, but we definitely can improve it by utilizing extensive formatting options available in Notion.
Let's apply additional styling to the page to interest our readers:
- Add color headings with different block colors for headings
- Attach book images to show the cover
- Add book rating to the notion page to help people understand the general feedback about the book.
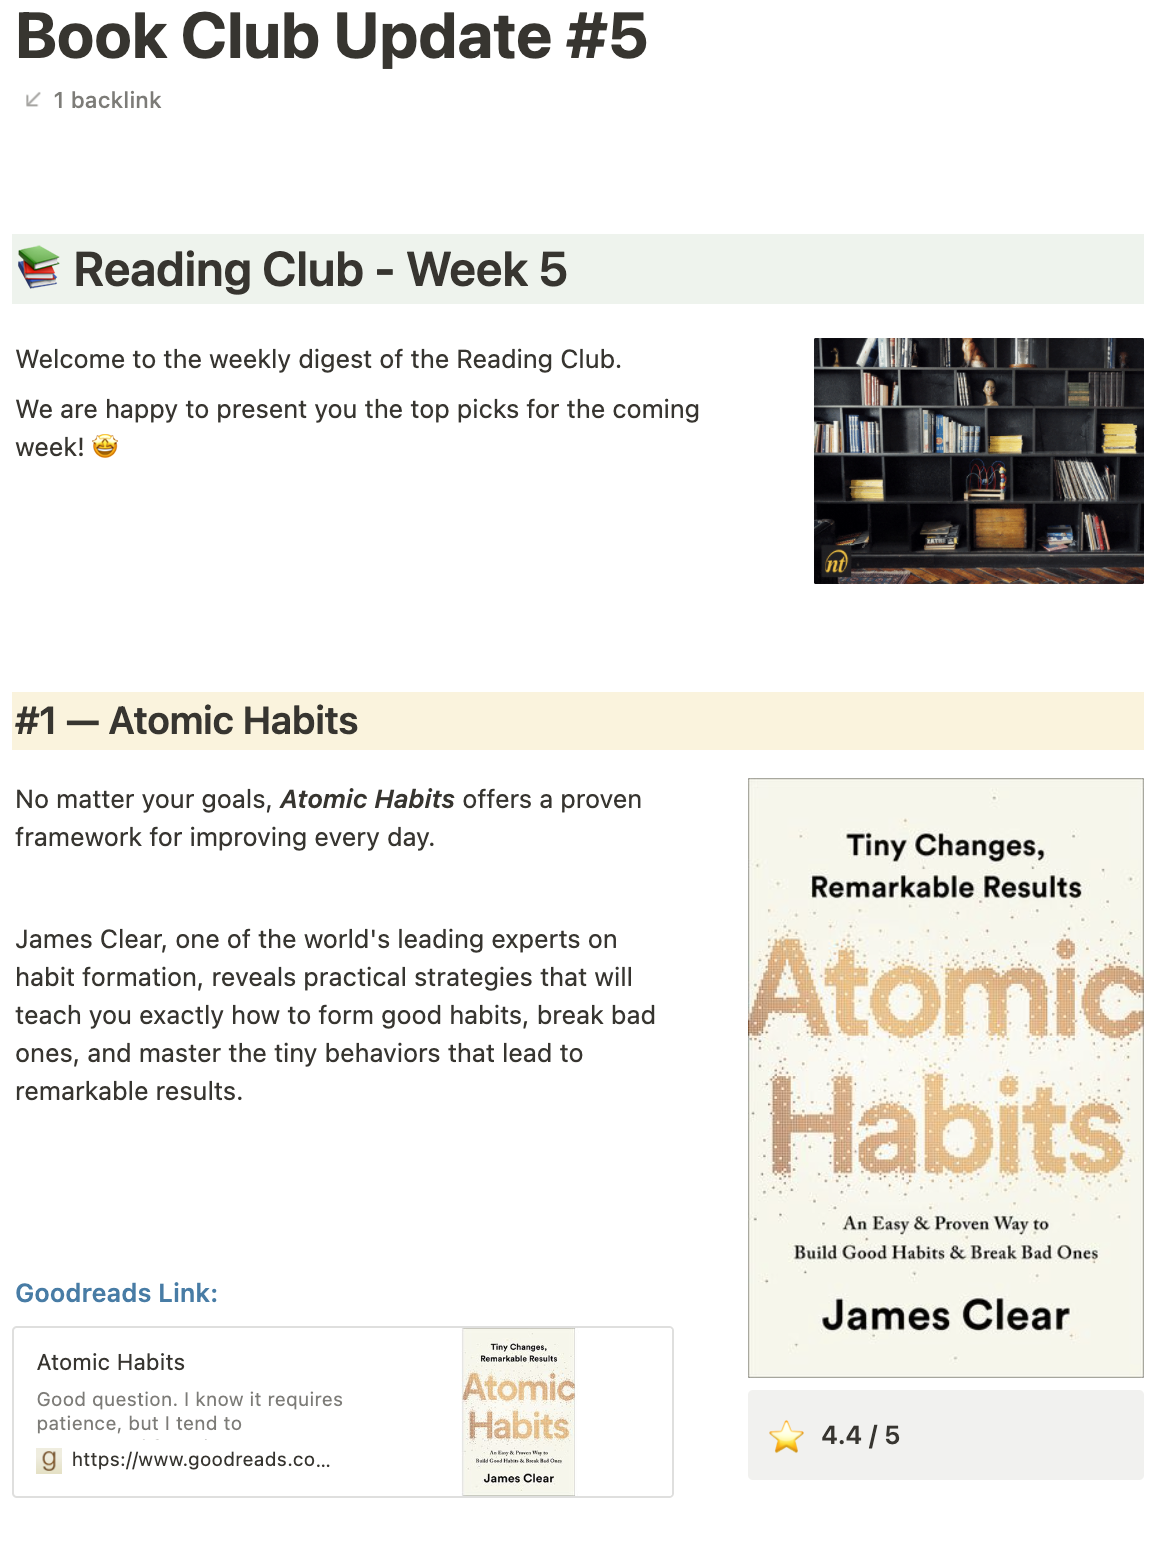
Much better! The last step, although crucial, is to make the notion page public. Move the toggle to make the page public.
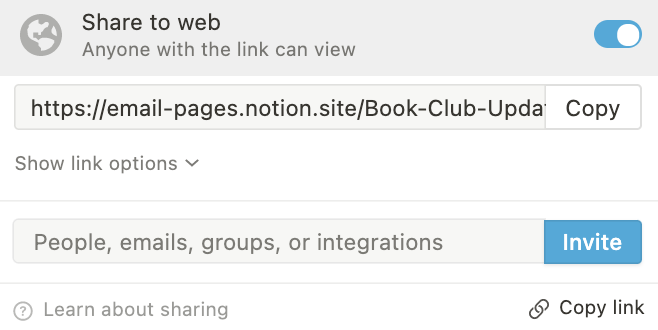
After finishing formatting the page - you can remove public access to the page and make it private again.
2. Convert the notion page to the email with NotionSender
Now we need to transform our page into an actual email. At this stage, it's essential to review the final result and make sure the formatting looks flawless. You can go back any time and make any necessary changes.
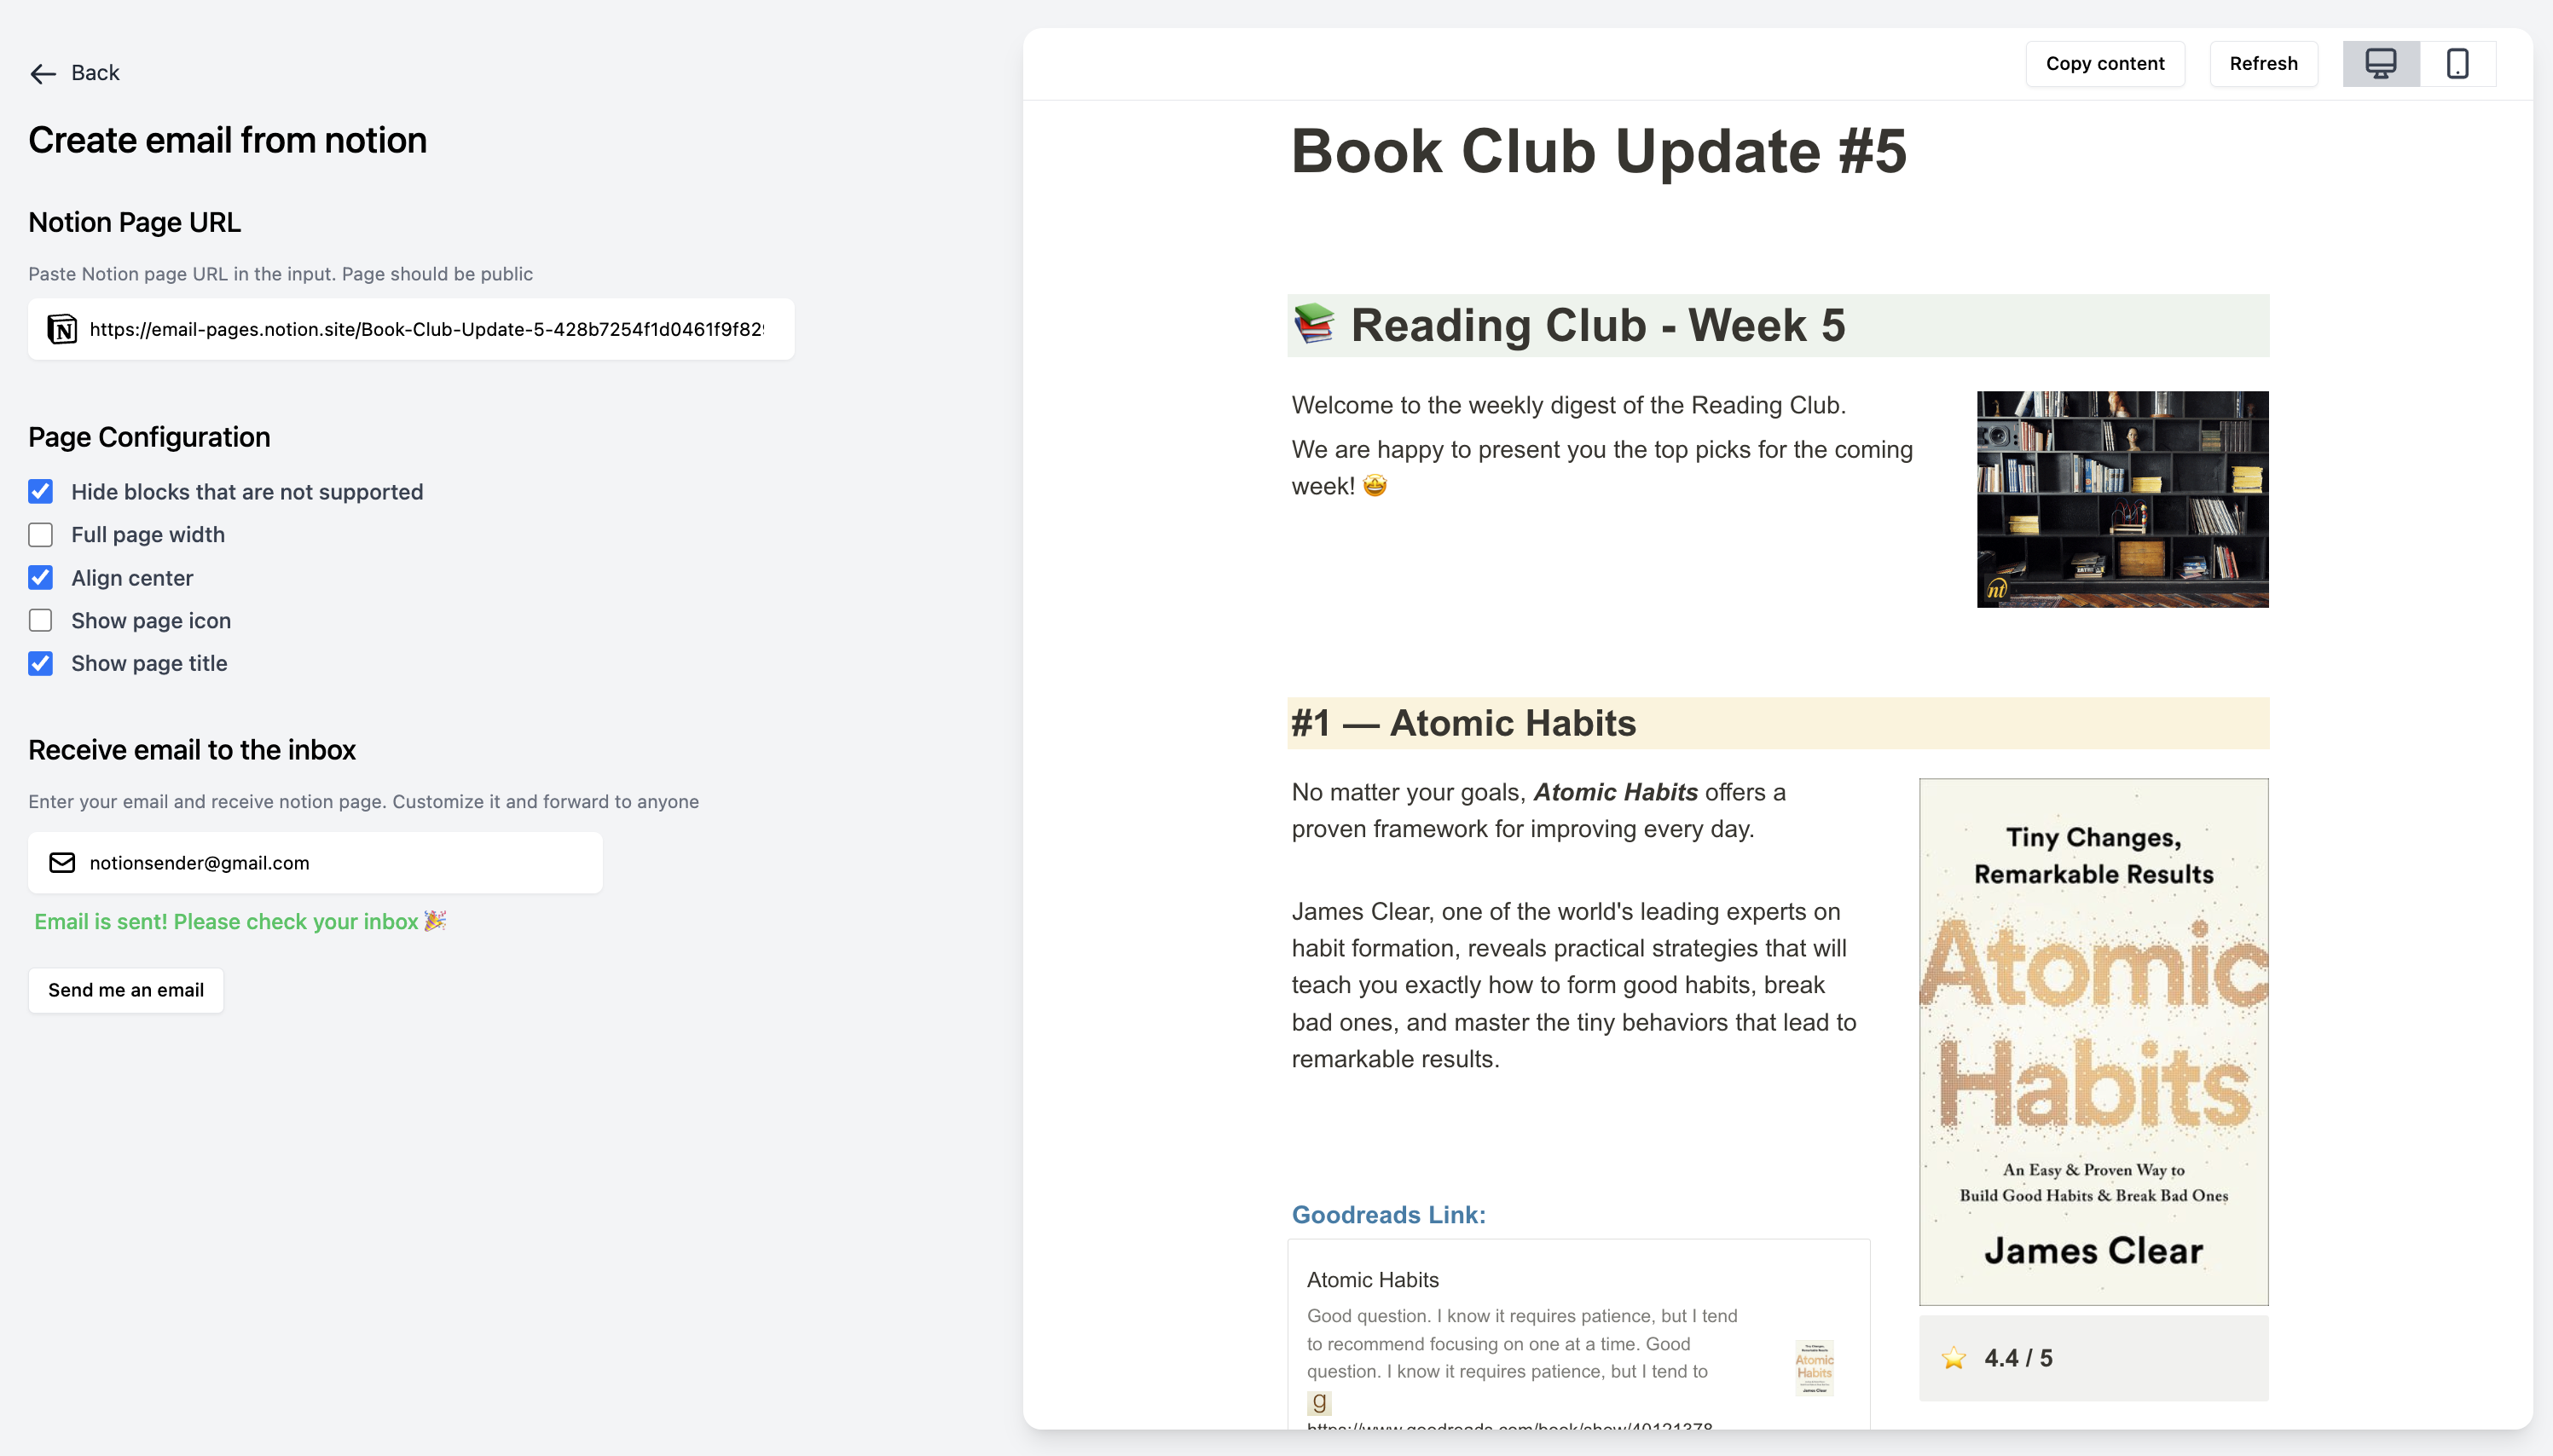
To convert the notion page to email, we will use the NotionSender app. We need to copy our notion page URL and paste it into the NotionSender app. Make sure that your page is public. It's essential; otherwise, NotionSender won't be able to process the page.
After we paste the notion page URL to the input field, the preview will automatically generate and show on the right side of the screen. Here, we also can adjust rendering options like page alignment, title, and icon appearance. After the notion page is converted, we can play with the configuration and review the final result.
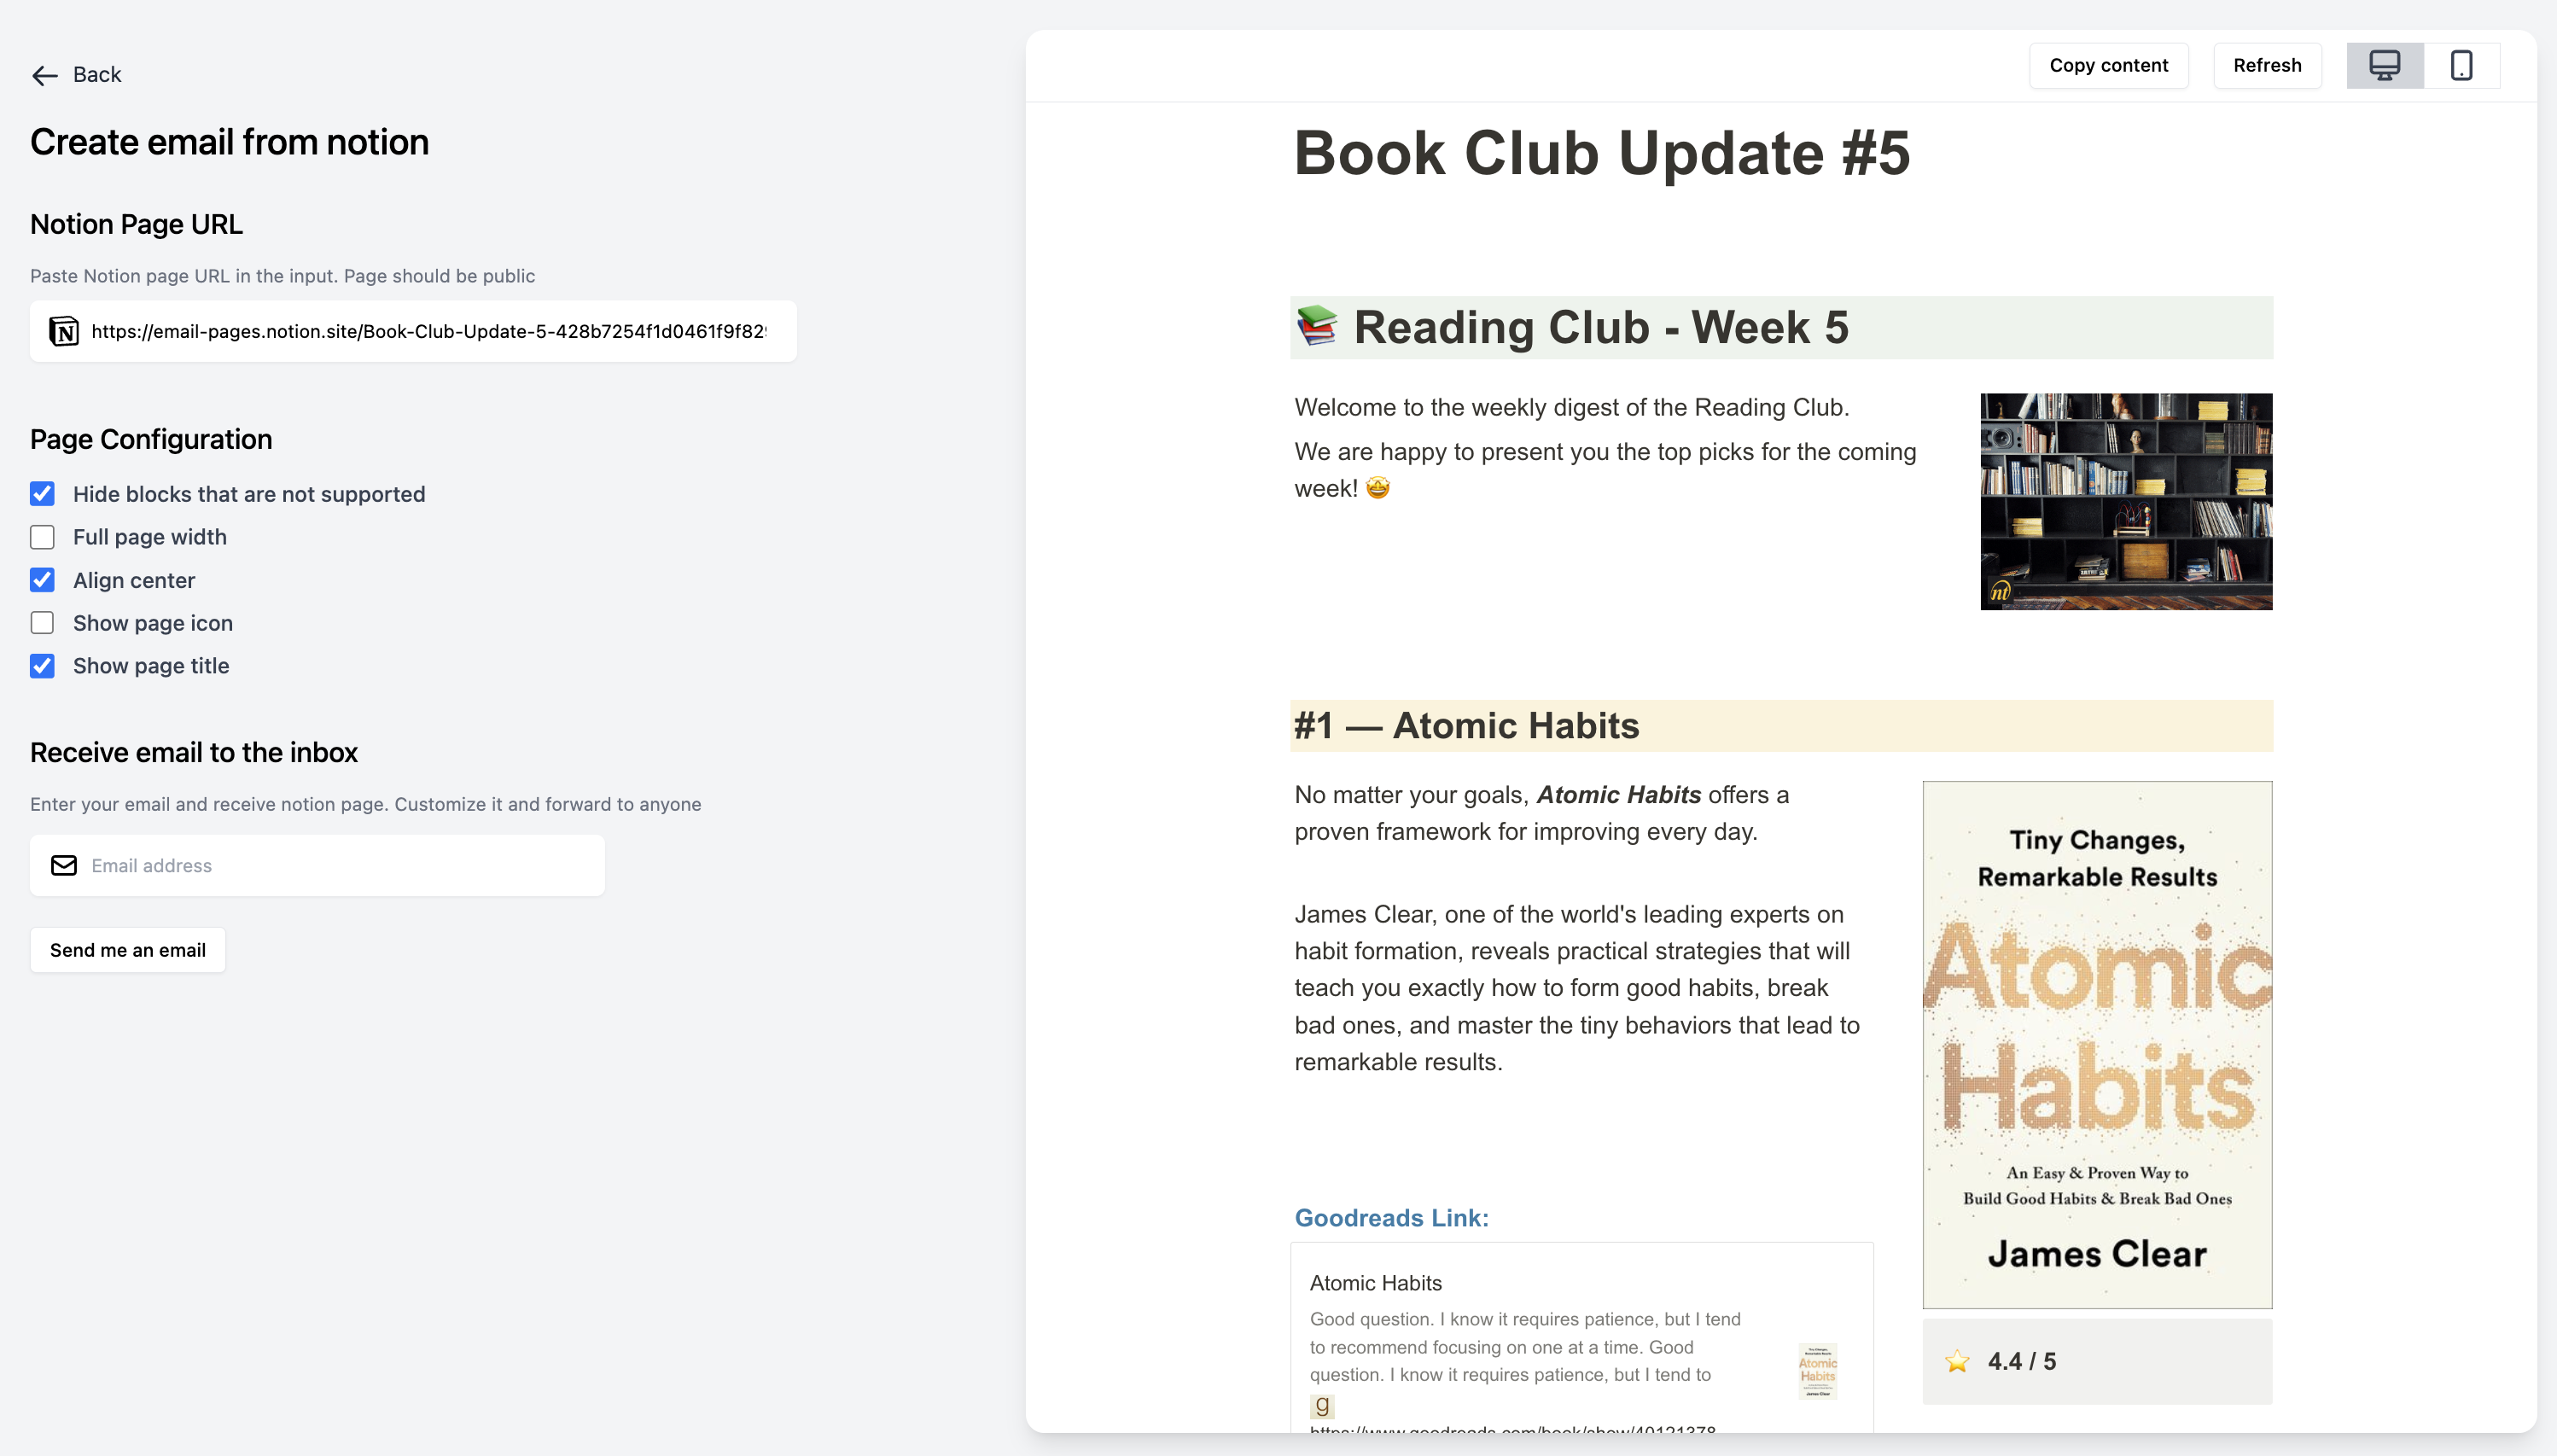
Once you are happy with the result, let's see how to send the email. NotionSender allows you to receive email results from the notion page directly in your inbox.
If you want to receive the result - write your address in the input field and press the "Send" button. NotionSender will send it shortly to your address.
3. Sending notion email to other users
At this stage, you have already received the email and can customize and send it to the other people. Let's navigate to the mailing client and check the result.
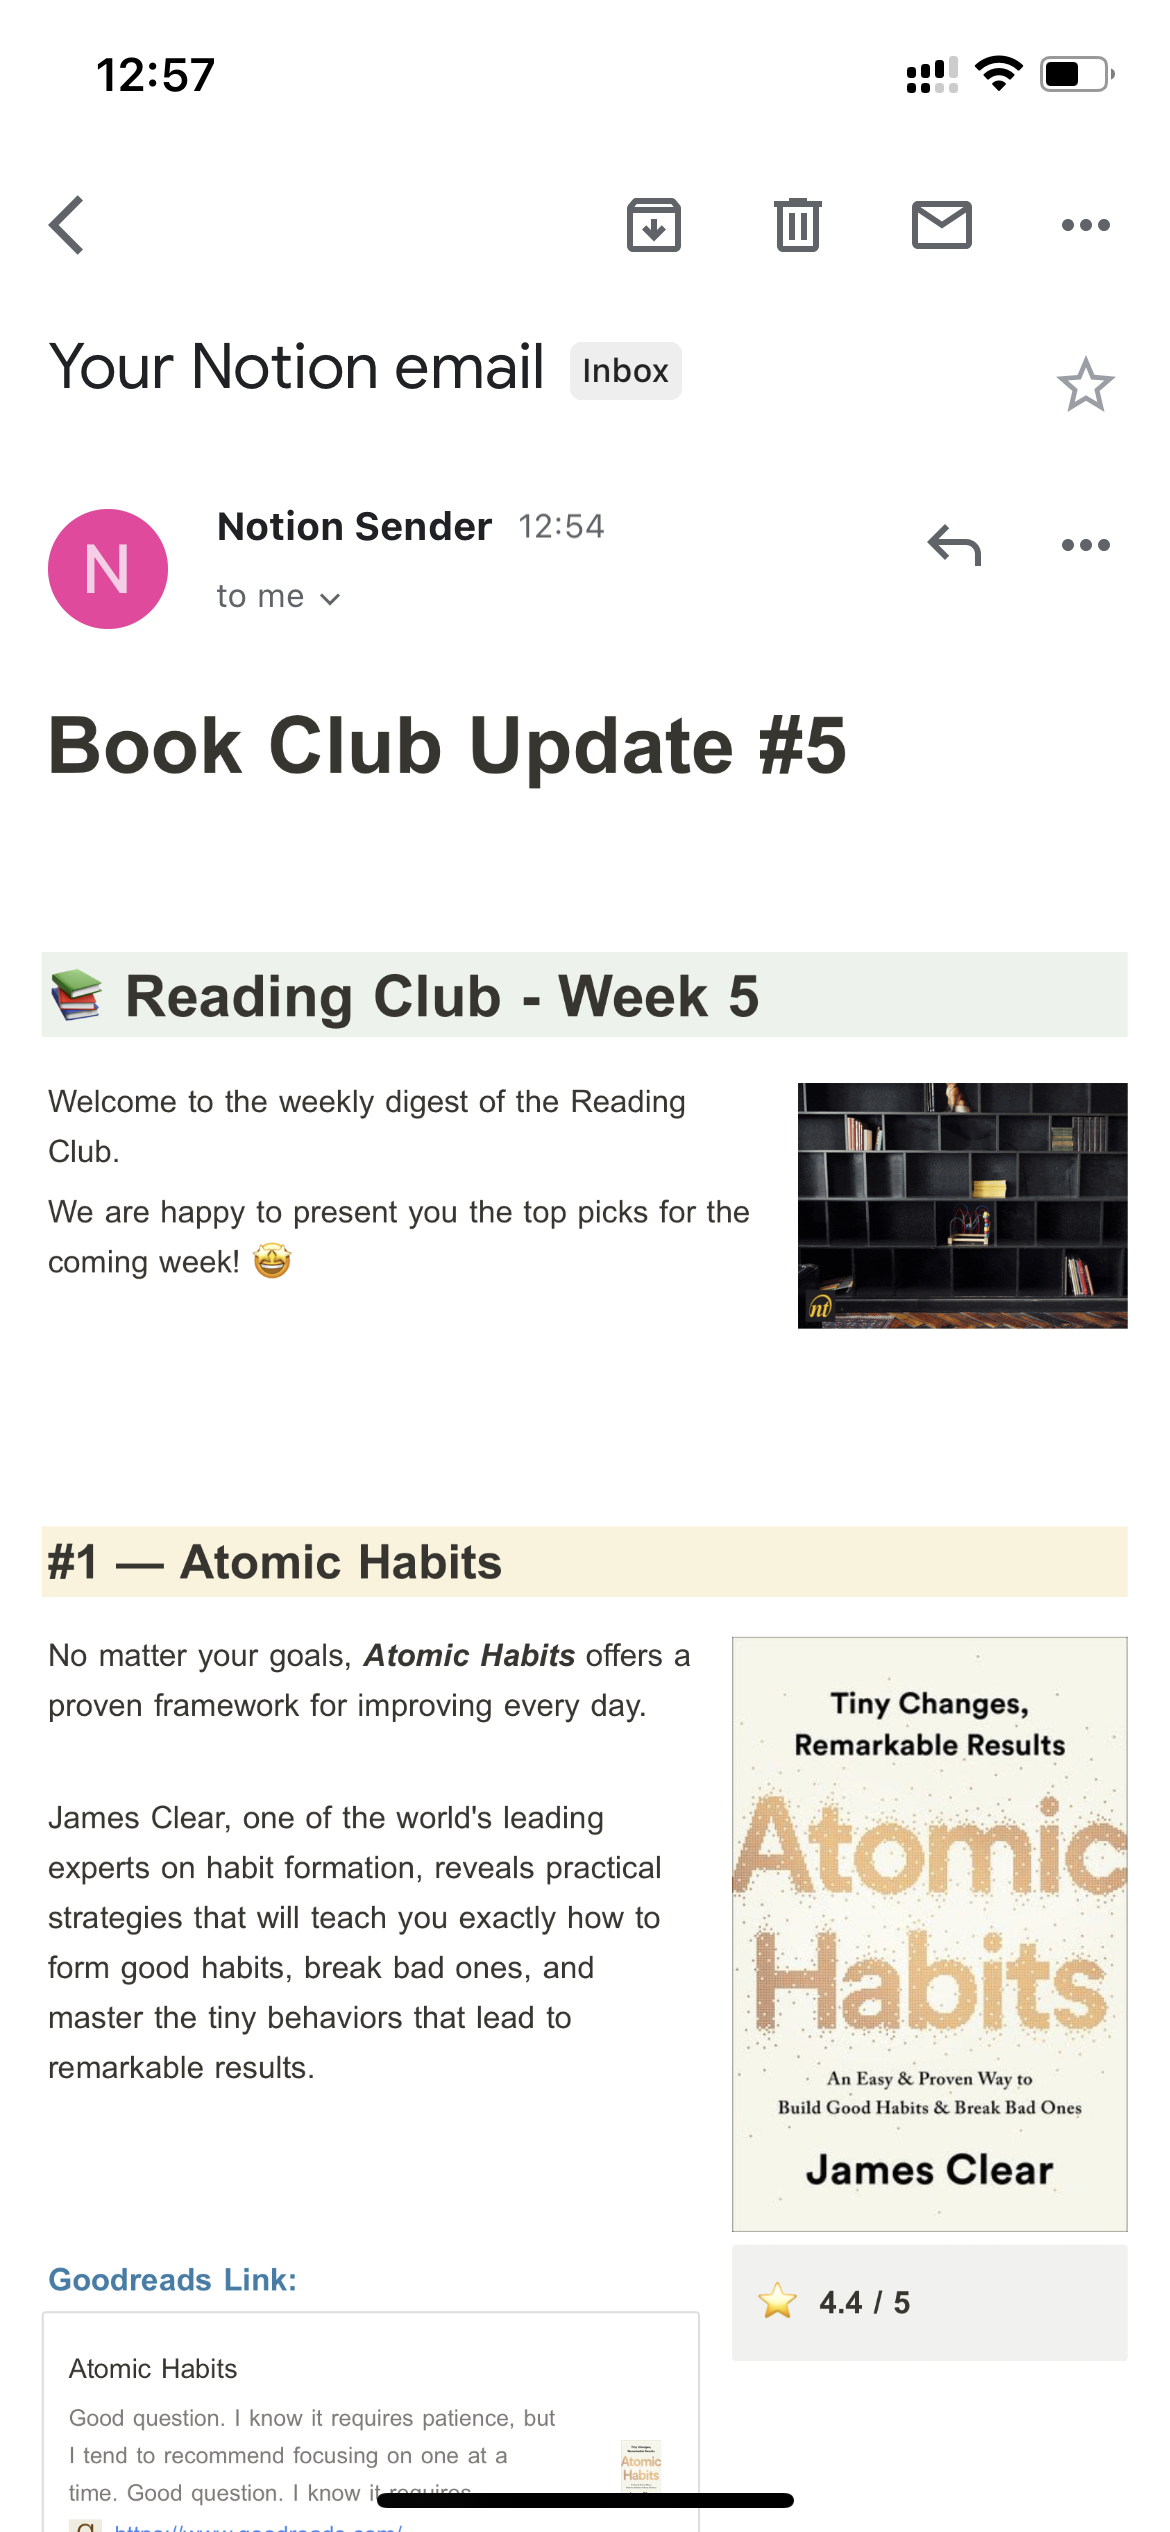
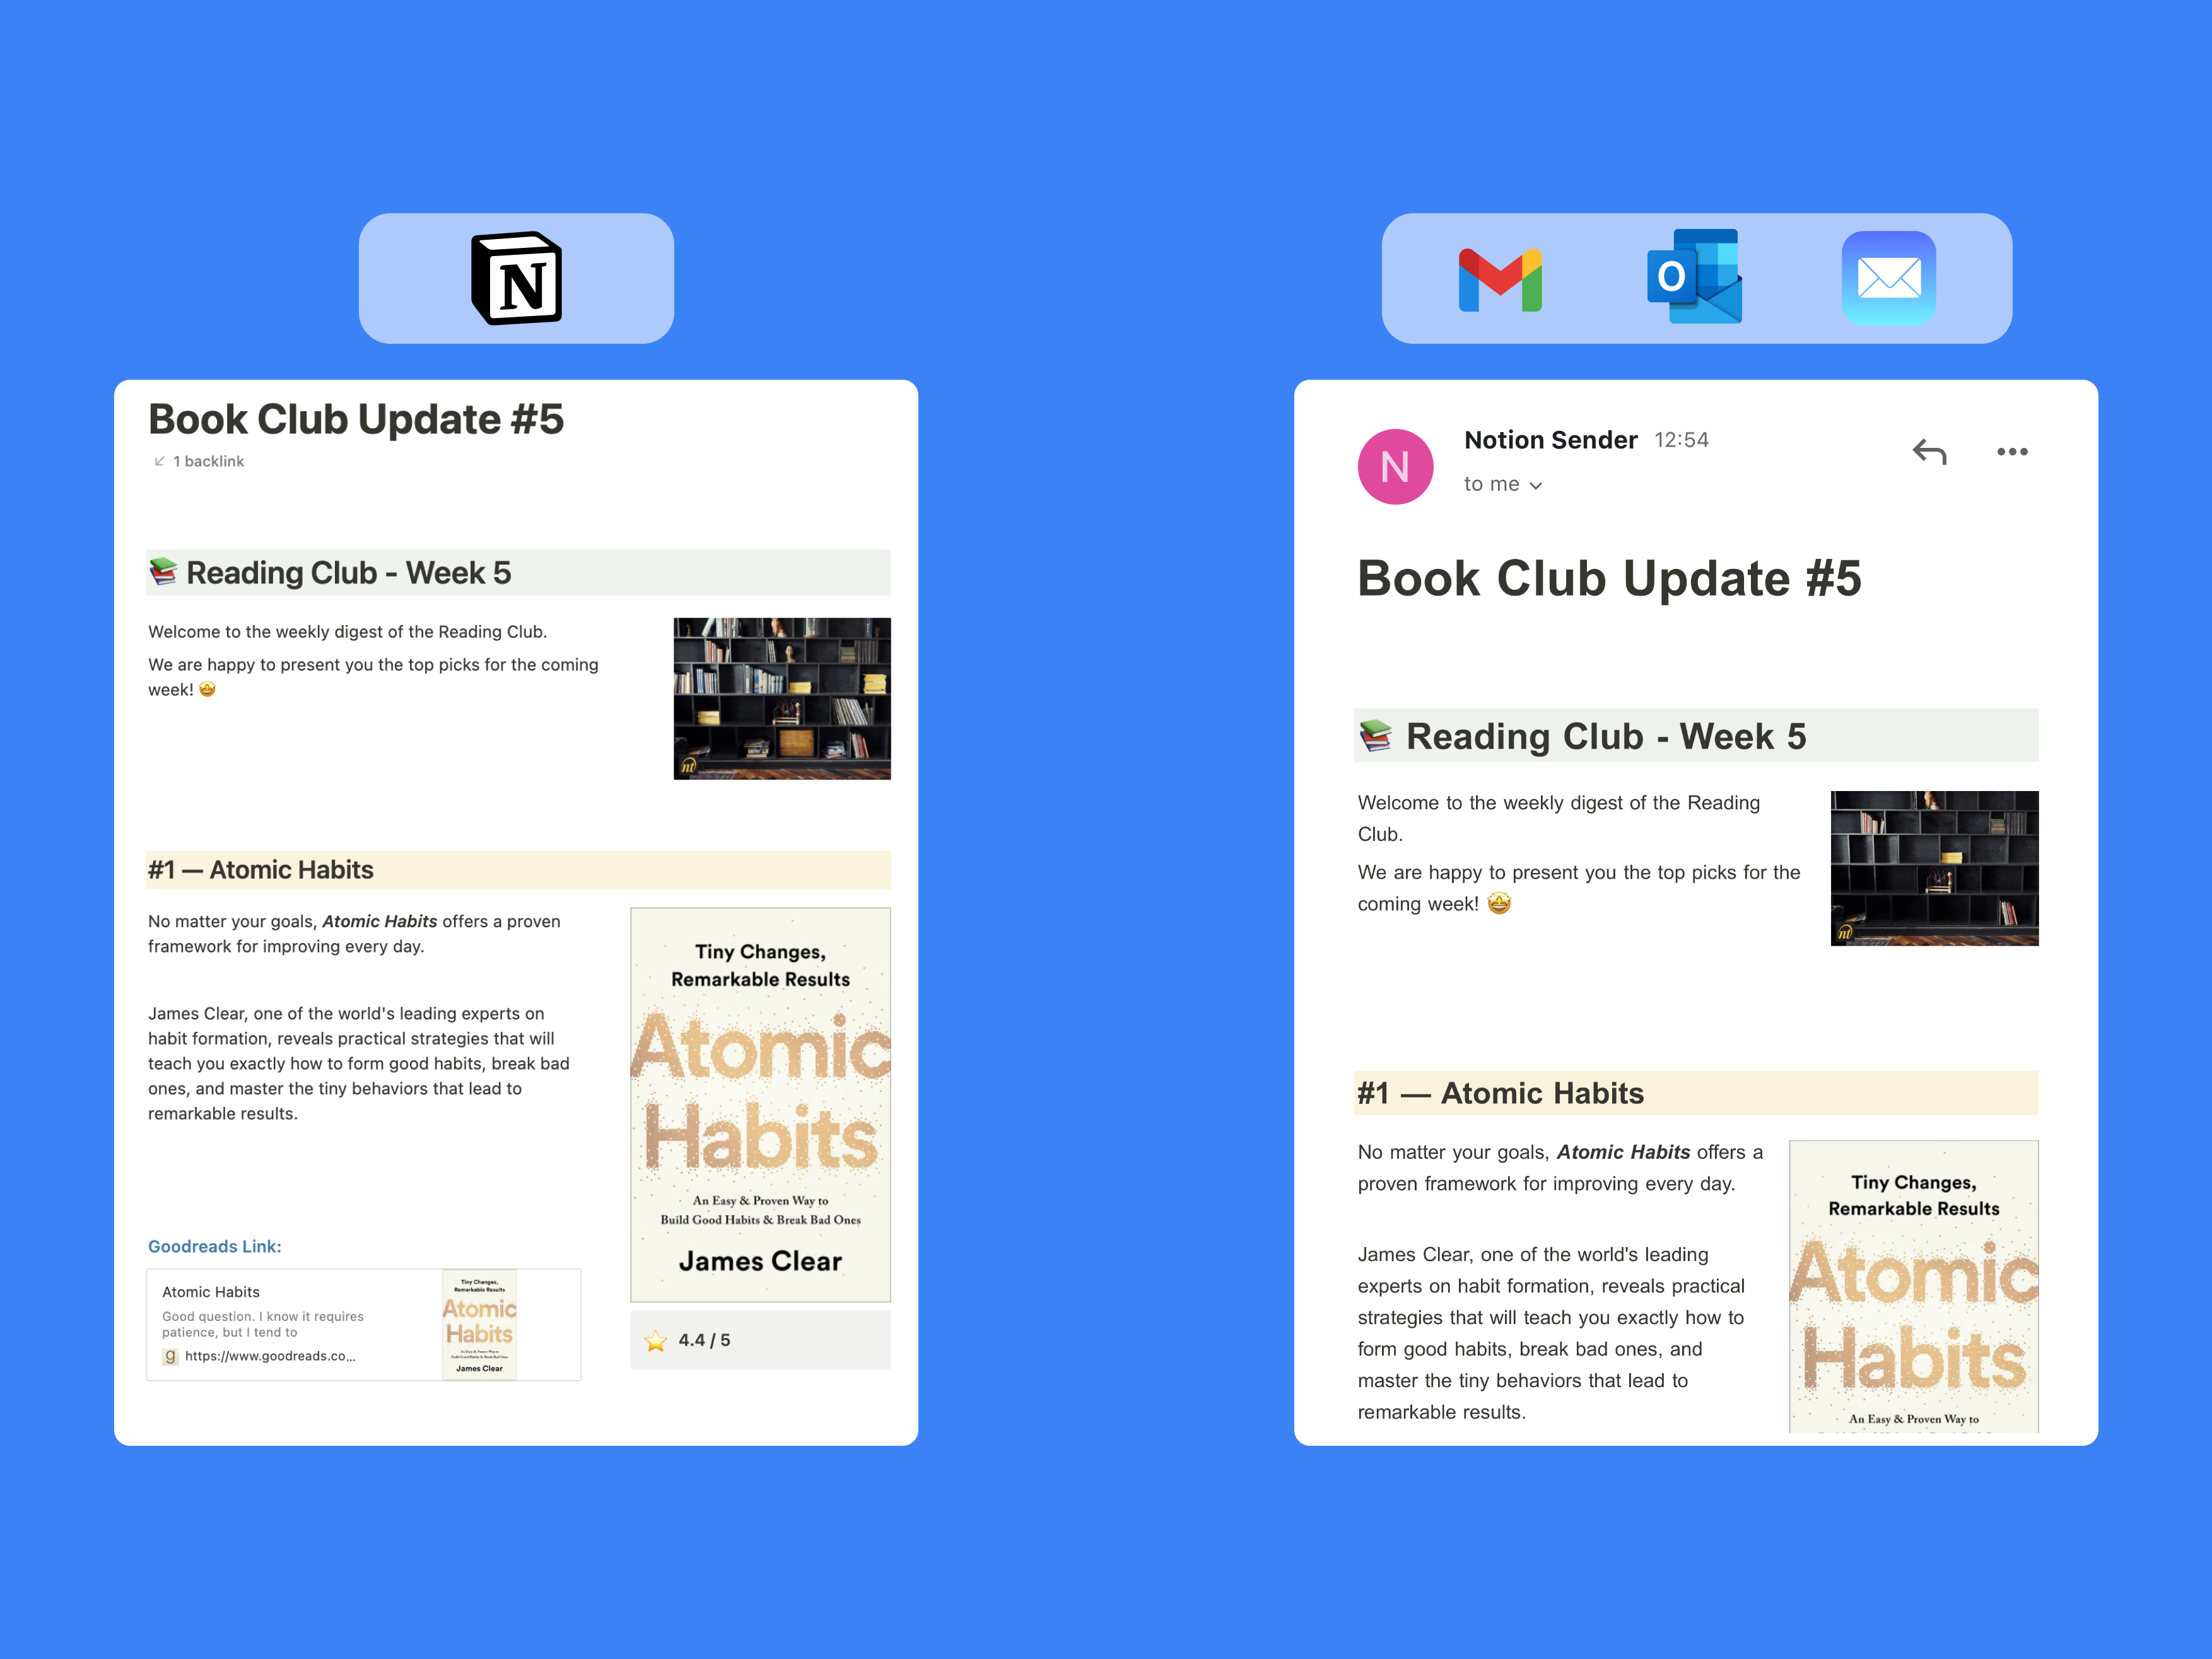
Looks awesome!
The styling looks similar to the Notion, and media files like images and gifs are displayed correctly. Now we can customize it, add some text, and send it!
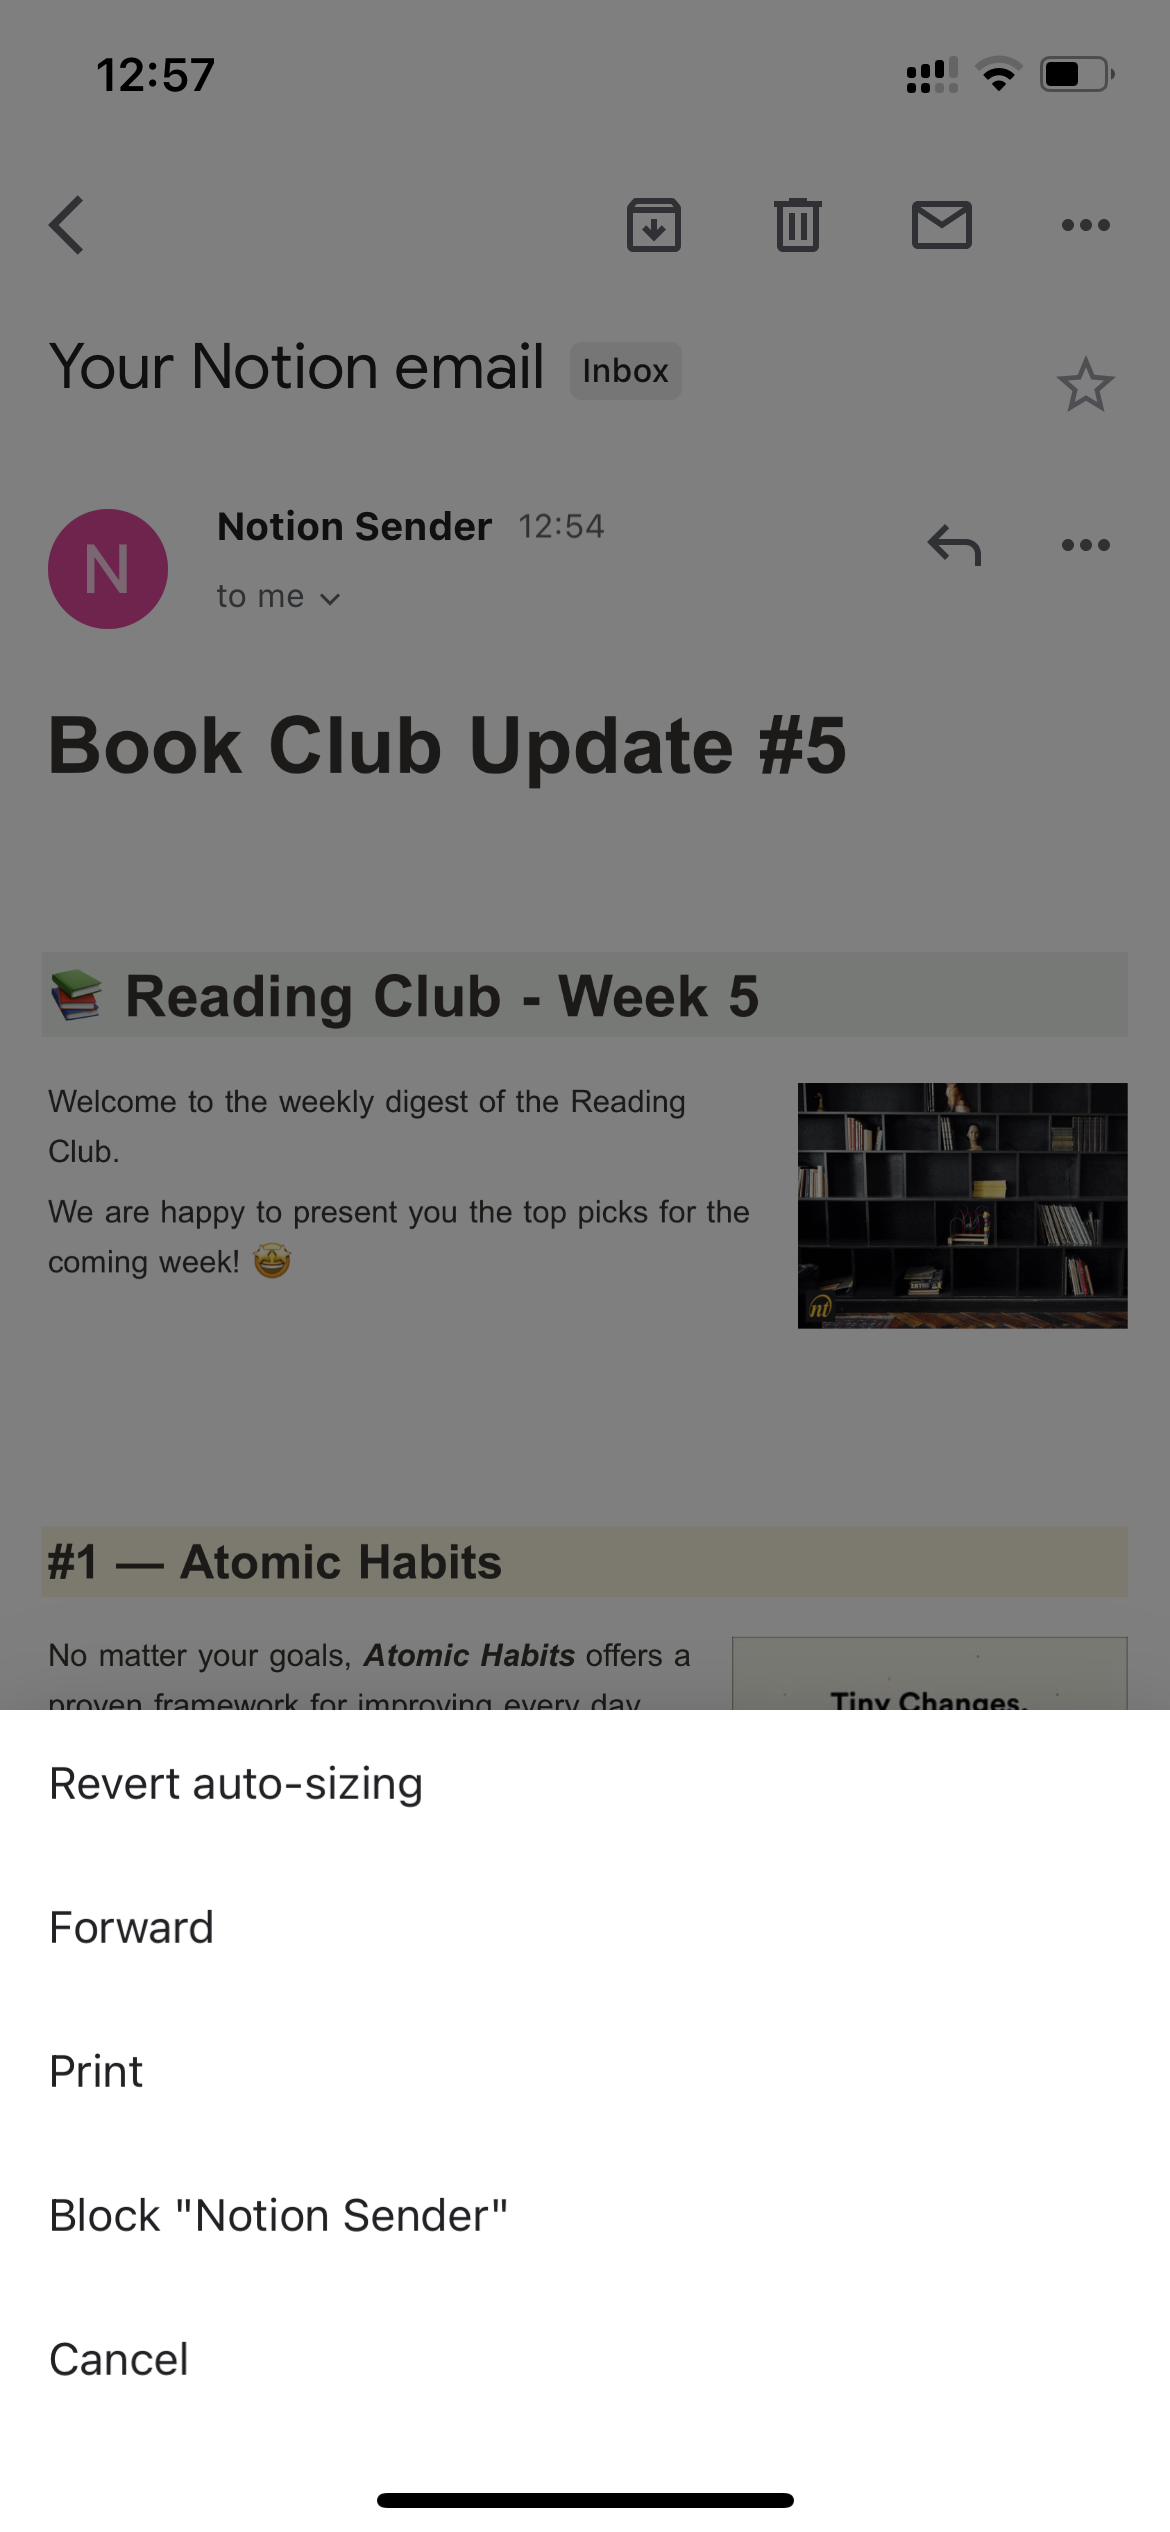
We will use the "forward" option in the menu to use the existing content. When pressing forward, it's essential to:
- Remember that you can change anything here; you can adjust any text or style
- Change the subject from "FWD:"
- Remove the default forward prefix
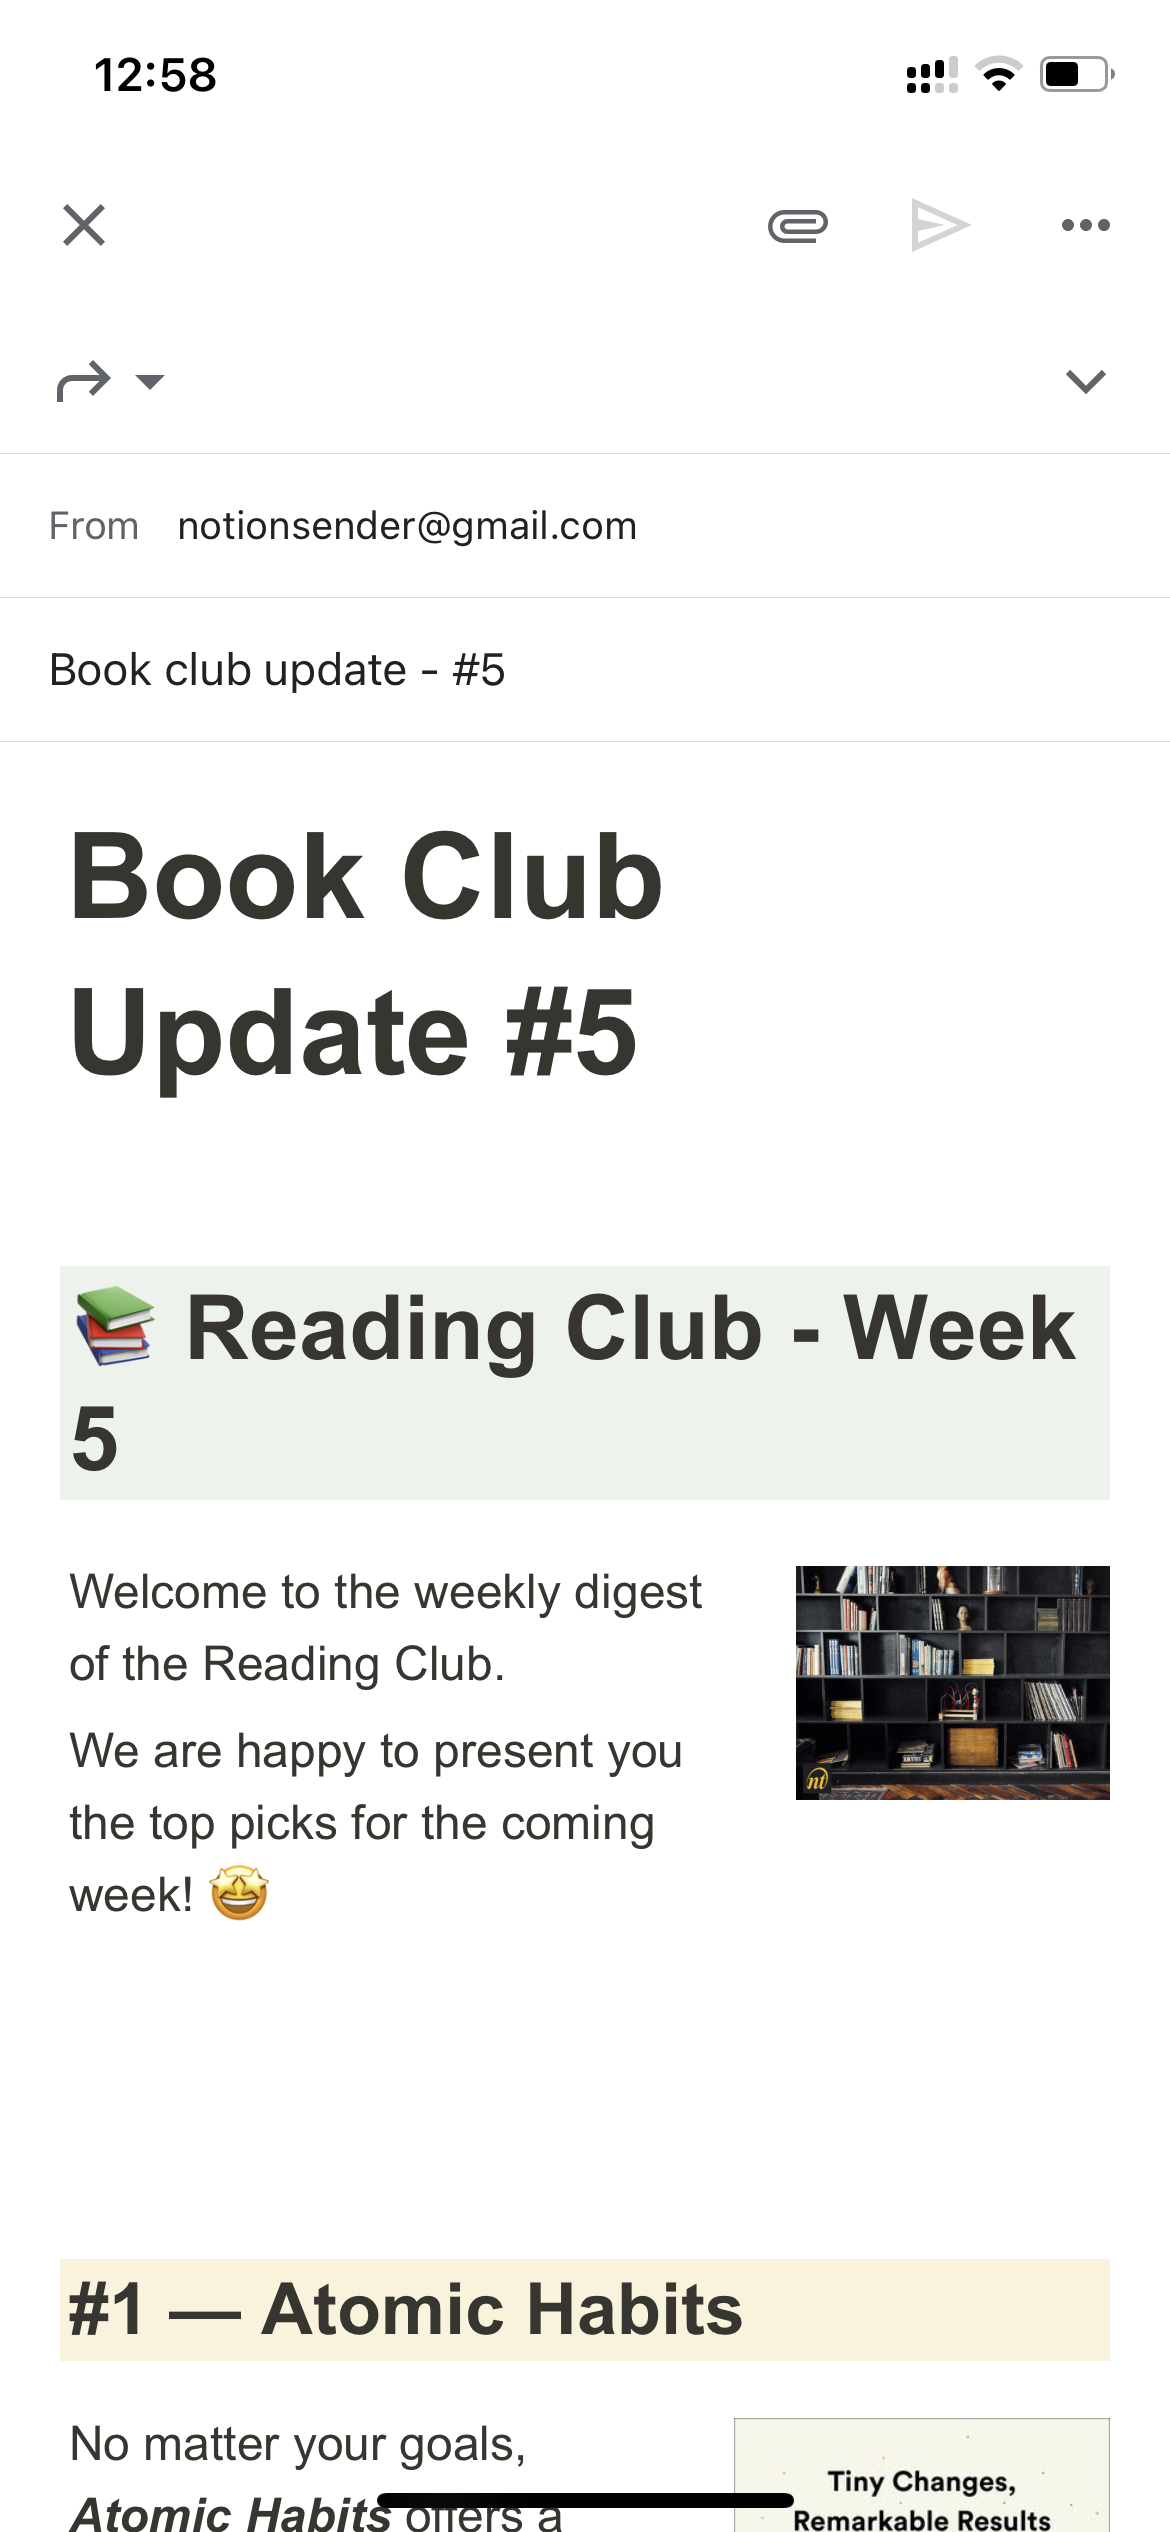
When everything is done and polished, write the recipient's address and send them to your address.
Conclusion
This article explained how to create emails from the notion page. It's an excellent opportunity for writers and Notion users to improve the quality of the emails you write and deliver.
Click here to create email from notion page