Master Your Workflow with a Notion Table with 2 Columns
Published Mar 8, 202615 min read
In this article7 sections
- Why a Simple 2-Column Notion Table Is a Game Changer
- Building Your First 2-Column Table in Notion
- Real-World Examples of 2-Column Tables for Business
- Put Your Data Entry on Autopilot with NotionSender
- Troubleshooting Common Table and Integration Problems
- Expanding Beyond Two Columns When You Are Ready
- Common Questions & Pro Tips

Are you drowning in a sea of cluttered spreadsheets and databases that have become too complex to manage? Sometimes, the best solution is the simplest one. A minimalist Notion table with 2 columns can be a secret weapon, bringing instant clarity to your workflow by pairing a key piece of information with a status or action.
Why a Simple 2-Column Notion Table Is a Game Changer

It’s surprisingly easy to fall into the trap of over-engineering our systems. We add just one more column, another property, a few more relations—and before we know it, our once-helpful database is a source of stress. Going back to basics with a simple table with 2 columns forces you to focus only on what's absolutely essential.
This stripped-down structure gives you an immediate, at-a-glance understanding of your most critical data. If you're a small business owner, this could be as simple as pairing a 'Client Name' with a 'Project Stage'. For project managers, it might be an 'Action Item' linked directly to its 'Due Date'.
The Power of Simplicity in Data Management
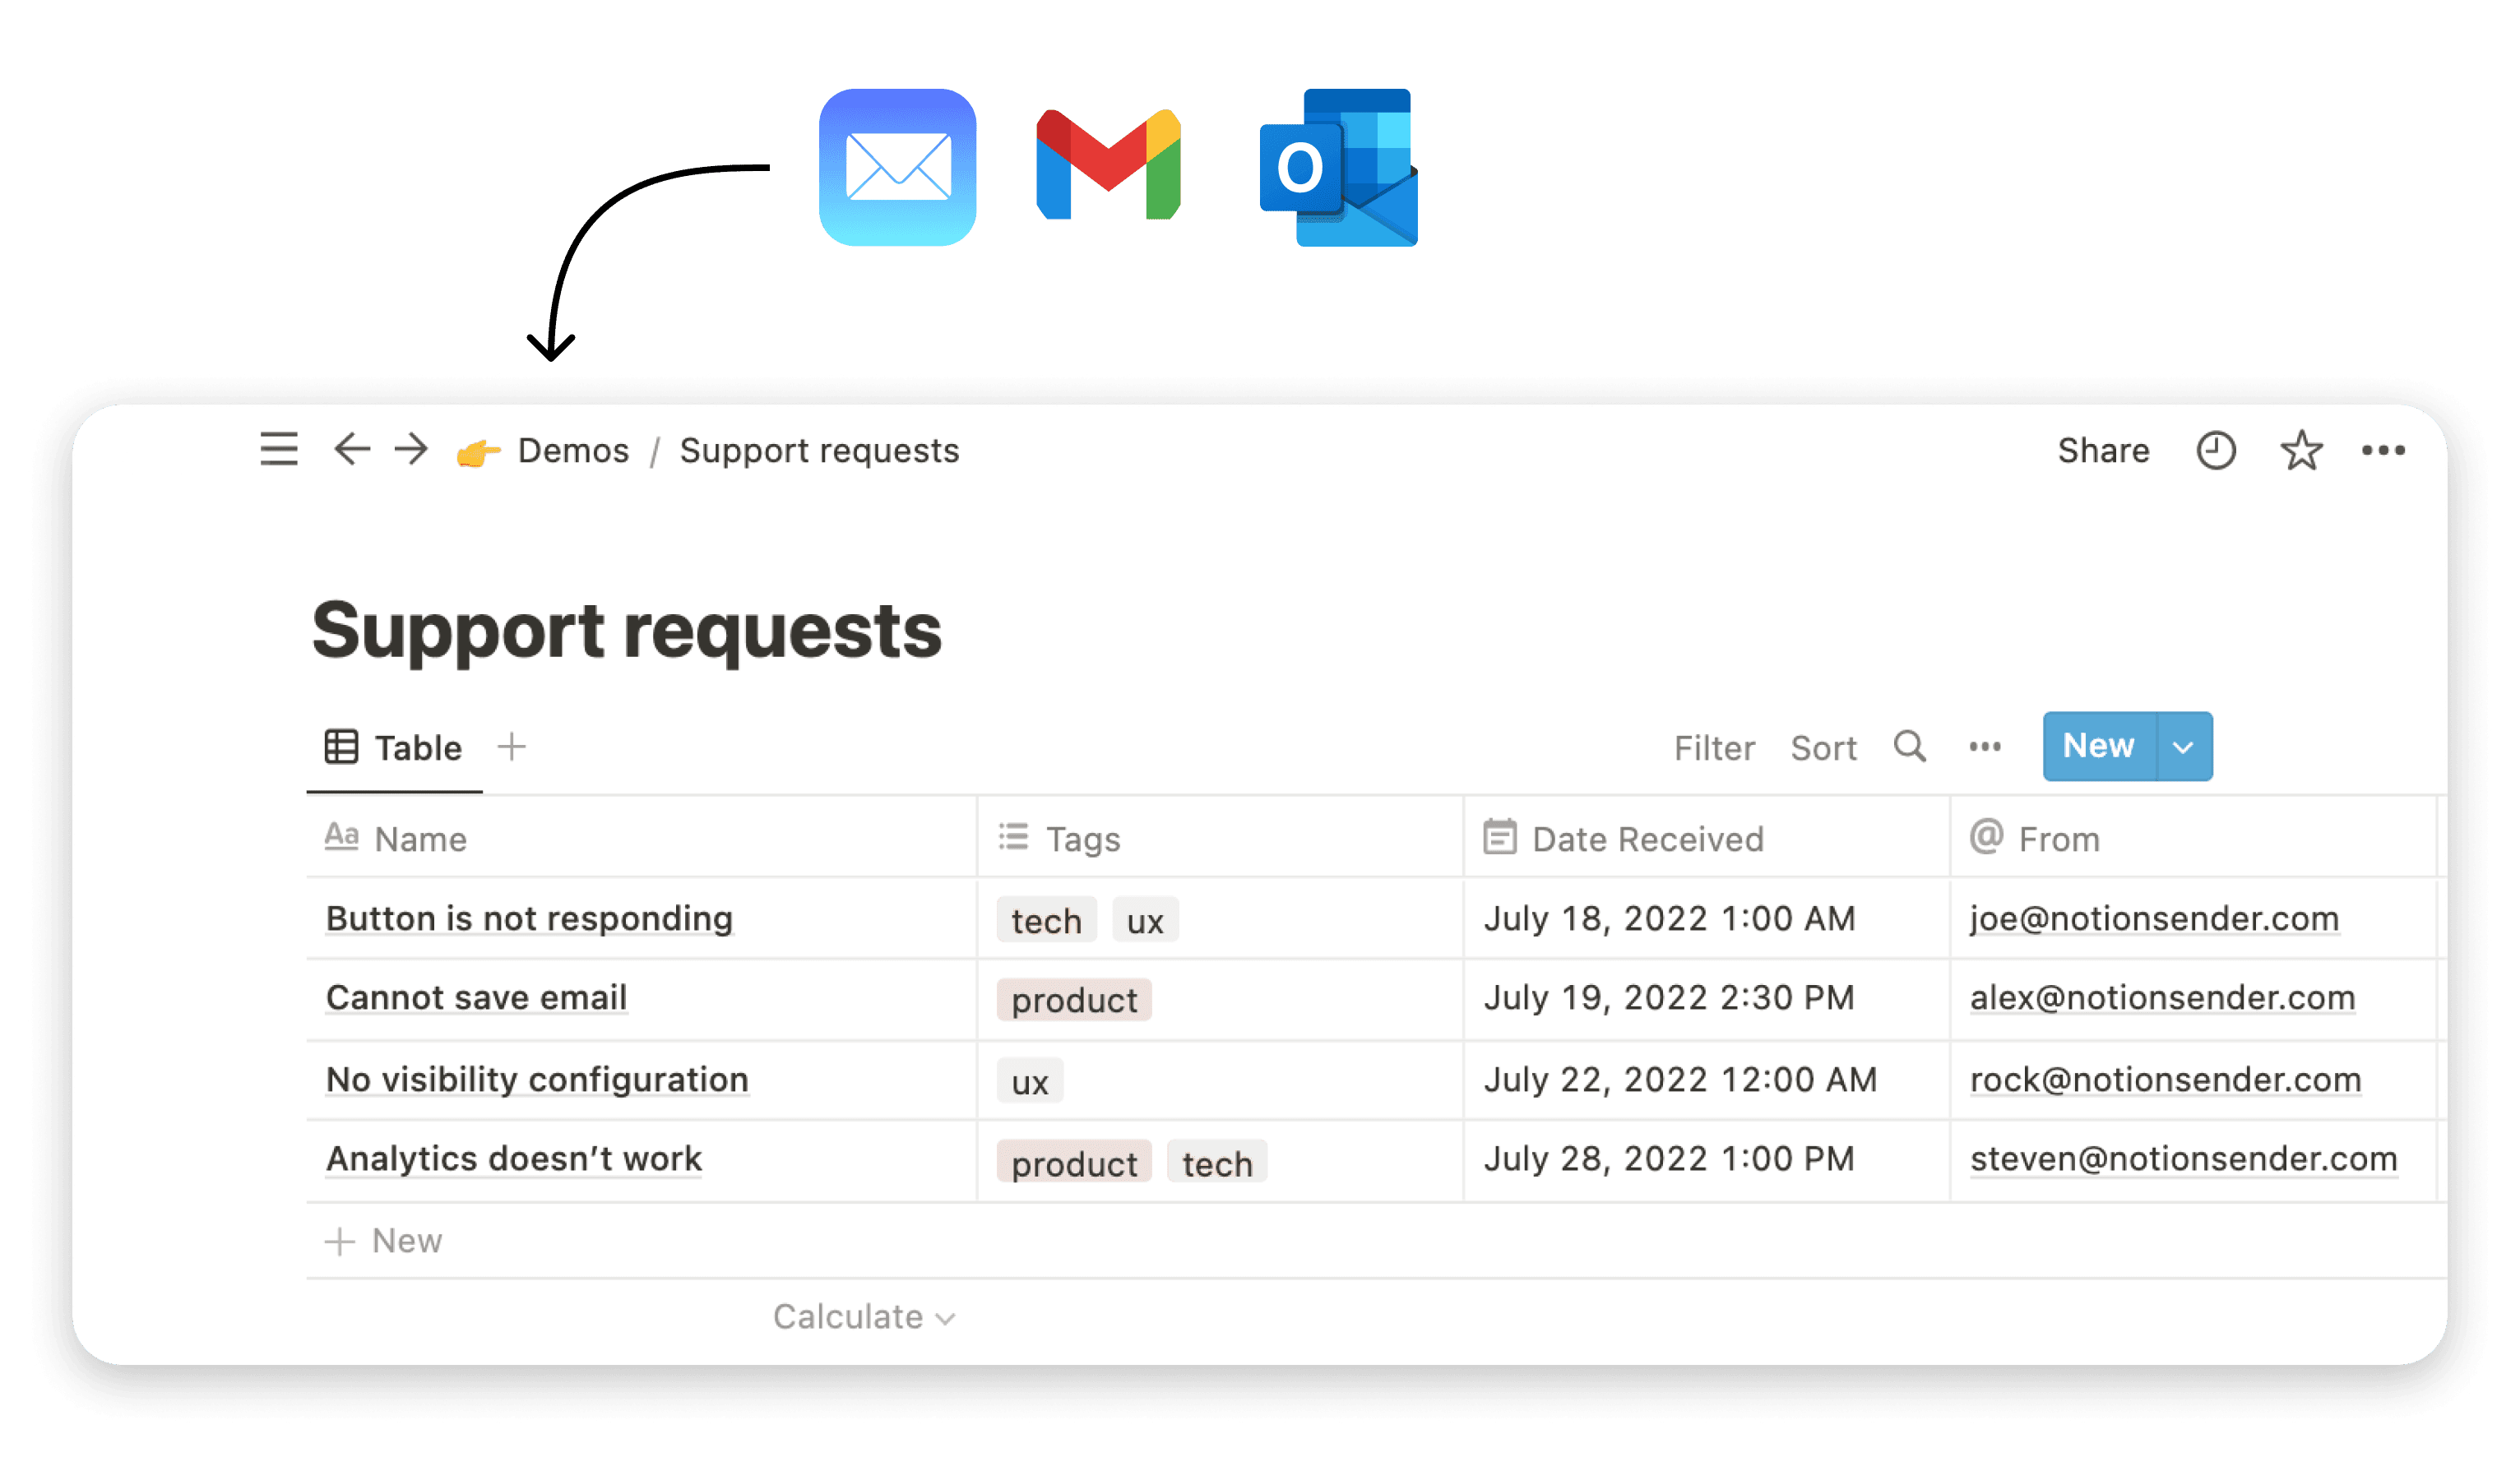
The real magic begins when this clean structure meets automation. Imagine turning the chaos of your inbox into a neatly organized Notion database. This is where a simple table setup truly shines, especially for small business owners juggling invoices, client updates, and follow-ups.
This move toward simple, powerful tools is a big reason for Notion's incredible growth. As of 2026, Notion has skyrocketed to over 100 million users worldwide—that's a massive 5x growth from just 20 million users back in 2022.
Sticking to a two-column layout delivers some clear wins:
- Less Mental Strain: Fewer columns mean less information to process, which helps you make decisions faster.
- Quick Setup: You can get a functional two-column table up and running in just a few minutes.
- Crystal Clear Focus: It cuts through the visual noise, making it painfully obvious what needs your attention right now.
A two-column table acts as your command center. It doesn't need to hold every single detail; it just needs to tell you what's important and where to look next. This focus is its greatest strength.
Of course, simple tables are just the beginning. As you get comfortable, you can unleash the power of Notion time tracking to dial in your efficiency even further. For more ways to adapt the platform to your needs, check out our guide on 10 tips to get the most out of Notion.so.
Building Your First 2-Column Table in Notion

Alright, enough theory. Let's get our hands dirty and build a useful table with 2 columns. The best part is how fast this is—you can go from a blank page to a working system in just a couple of minutes.
First, open a new Notion page. Just type /table and pick the Table view option from the menu. Notion will then prompt you to select a data source. Go ahead and choose "+ New database" to start completely fresh.
This gives you a basic table with a few default columns. We're going to simplify this down to the two columns we actually need.
Configuring Your Columns for Maximum Impact
By default, your first column is the Title property. Think of this as the main identifier for each row—what is this entry about? If you're using this to manage incoming emails, a great name for this column is "Email Subject."
Now for the second column. This is where you can really start to build a workflow. Click the + icon to the right of your title column to add a new property.
Let's say you want to turn your email list into a simple to-do list. You could pair your "Email Subject" column with a new one called "Next Action." For this, the Select property is perfect because it lets you create a predefined set of color-coded tags.
Here's a simple, effective setup you could use:
- Respond Today: For anything urgent that can't wait.
- Follow Up: For leads or conversations that need a check-in later.
- Archive: For emails that are handled and can be filed away.
As you get more comfortable, you can start exploring more advanced setups. Understanding the core ideas behind a flawless data extraction table will help you design your tables to be clean and useful right from the beginning.
The real power comes from picking the right property type for that second column. While a simple Text property works, using a Select or Status property gives your table structure, which makes sorting and filtering a breeze.
With just this simple structure, you've instantly clarified what needs your attention. You can see your priorities at a glance. You haven't just made a list; you've built a small, dynamic engine to manage your work.
Real-World Examples of 2-Column Tables for Business
<iframe width="100%" style="aspect-ratio: 16 / 9;" src="https://www.youtube.com/embed/TXfMT_N4pZw" frameborder="0" allow="autoplay; encrypted-media" allowfullscreen></iframe>
Alright, enough with the abstract stuff. Let's look at some battle-tested layouts you can put to work right away. The beauty of the most effective two-column systems is their simplicity—they're built for a single, clear purpose. A simple table with 2 columns cuts through the noise and gives you instant clarity.
I've personally used these exact kinds of setups to untangle workflows for all sorts of businesses. The whole idea is to pick a primary identifier for one column and pair it with a status or an action item in the second. This simple structure makes making decisions quick and almost automatic.
Streamlining Client and Financial Workflows
If you run a service-based business, you know that keeping track of clients and payments is everything. A cluttered spreadsheet just adds to the chaos. Instead, give these focused two-column tables a try.
- Client Portfolio Tracker: For the first column, use Client Name (Title). For the second, use Project Link (URL). This gives you a single, clean dashboard to jump into any active project without digging through folders or searching for links.
- Simple Invoice Management: Use Invoice ID (Text) and pair it with Payment Status (Select). Your status property can have options like "Sent," "Paid," and "Overdue," giving you a lightning-fast overview of your cash flow.
This lean approach works because it forces you to focus on what's important. Instead of tracking a dozen different metrics for every client, you're zeroed in on the essentials: who the client is and the status of their work or payment.
The real power of a simple table with 2 columns is in what it leaves out. When you resist the urge to add "just one more column," you keep a crystal-clear view of what actually drives your business forward.
Managing Internal Tasks and Content
These simple tables are also fantastic for internal project management. They help you organize tasks and content pipelines without the heavy lifting of complex project management tools. You can find more inspiration for sending emails directly from your Notion setup in our guide on using Notion for email.
A common setup for a content team might look something like this:
- Column 1 (Primary Identifier): Blog Post Idea (Title Property)
- Column 2 (Status): Current Stage (Select Property with tags like "Idea," "Drafting," "Editing," and "Published")
This simple change can turn a messy, scattered list of ideas into an organized, actionable content calendar. You can instantly filter the view to see only the articles in the "Drafting" stage, helping your team focus on exactly what needs to be done next.
Put Your Data Entry on Autopilot with NotionSender

So you’ve built your shiny new table with 2 columns. That’s a great start, but the real win is turning it into a system that runs itself. Let's be honest, nobody enjoys manually copying and pasting info from their inbox. It’s tedious, and it’s where things get missed.
This is where a tool like NotionSender completely changes the game. It creates a direct pipeline from your email inbox right into your Notion database. You get a unique email address for your table, and anything you send or forward there just appears as a new entry. It's the key to taking back hours of your week.
Connecting Your Inbox to Your Table
Getting this set up is surprisingly quick. After you connect your Notion account, NotionSender generates that special email address for the database you want to automate. All that’s left is to tell it where to put the information.
You'll create a simple mapping rule. A common setup is to map an email's subject line to your first column (like "Task Name") and the body of the email to your second column (like "Details"). This is perfect for capturing things on the fly:
- Client receipts: Just forward the email, and it’s logged in your expense tracker.
- Sales leads: Have new inquiries from your website's contact form automatically sent over.
- Action items: Turn emails from your team into instant tasks in a shared project board.
Email overload is a huge productivity killer, especially for anyone in marketing or sales. A basic table with 2 columns—maybe ‘Sender’ and ‘Action Items’—plus an integration like this can finally get your inbox organized. Since Gmail and Apple Mail hold a combined 88% of the global market, a smooth connection is non-negotiable. You can find more insights about Notion's rising popularity on SQ Magazine.
The whole point is to make manual data entry a thing of the past. Once you set up this automation, you can trust that nothing important will get buried in a messy inbox again. It’s a true set-it-and-forget-it system.
Think about it—if you run an e-commerce store, you could set up a rule in your email to auto-forward every order confirmation. Instantly, each order appears as a new row in your "Orders" table inside Notion, ready for your team to process.
Ready to give it a try? You can start creating your first automated workflow and see just how much time you save.
Troubleshooting Common Table and Integration Problems
So you’ve set up your beautiful two-column table, connected it to an automation like NotionSender, and are ready for that sweet, sweet productivity boost. But then… something doesn’t work. It’s a frustrating moment we’ve all been through, but don't worry. Most of these hiccups are surprisingly common and easy to fix.
One of the most frequent facepalm moments is seeing your email data populate the wrong columns. You send a test, and the subject line ends up where the body should be. This almost always boils down to a simple mapping error during your initial setup. Just pop back into your NotionSender settings and double-check that the email Subject is pointed at your first column (like "Task Name") and the email Body is correctly aimed at your second.
Solving Connection and Formatting Glitches
What if the automation just stops working entirely, or never worked in the first place? When a connection seems dead in the water, the first place I always look is Notion's permissions.
- Integration Access: Did the NotionSender integration lose access? Make sure it can still "see" the specific page where your table with 2 columns is located.
- Database Sharing: Sometimes, sharing the parent page isn't enough. You might need to explicitly share the database itself with the NotionSender connection.
Another classic issue is messy formatting. You might find a big chunk of raw HTML from an email's body cluttering up your table's second column, making it hard to read.
Remember why you created this view in the first place: for at-a-glance clarity. The messy HTML details are meant to live inside the row's page content, not junk up your clean, two-column dashboard.
Finally, if an automation fails and you're not sure why, take a deep breath and send a simple test. A basic email with a one-word subject and a one-word body is your best friend here. This quick test helps you figure out if the problem is with complex email content or a fundamental flaw in the connection itself. Taking it one step at a time solves these little integration puzzles faster than you’d think.
Expanding Beyond Two Columns When You Are Ready

A simple table with 2 columns is a fantastic starting point. It keeps things clean and focused. But as your projects or business get more complex, your Notion setup will need to grow along with them. The trick is to expand thoughtfully, so you don't end up back in the same chaotic mess you were trying to escape.
Don't make the mistake of adding five new columns all at once. Instead, ask yourself: what's the single most important piece of information I'm always looking for but can't see? This keeps your table from getting bloated and ensures every new column serves a real purpose.
For most people, the first natural addition is a way to track deadlines or priority levels. Simply introducing a third column with a Date property for a deadline or a Select property for priority can instantly add a new layer of control to your workflow.
When to Add a Third Column
You'll know it's time to add a column when you find yourself repeatedly asking questions your two columns can't answer. Are you constantly wondering when a task is due? Or how important it is compared to everything else on your plate? That's your cue.
- Priority: A "Priority" column, using Notion's Select property with tags like "High," "Medium," and "Low," lets you sort your entire list by what matters most.
- Deadline: Adding a "Deadline" column with the Date property does more than just show a date—it unlocks Notion's Calendar view, giving you a completely different visual perspective on your schedule.
- Owner: The moment you start collaborating, an "Owner" column using the Person property becomes non-negotiable. It's essential for assigning tasks and creating personalized views for each team member.
The goal isn't just to add more data; it's to add columns that unlock new actions. A "Deadline" column isn't just info—it's what powers Notion's calendar and reminder features.
Down the road, you can even start connecting different tables together using Notion's powerful Relation property. Imagine linking your main "Tasks" table to a separate "Clients" table. This creates a deeply connected system where individual tables stay simple, but the whole setup scales with you—all growing from that original two-column table.
Common Questions & Pro Tips
A two-column table sounds great in theory, but you might be wondering how it holds up in the real world, especially as your needs get more complex. Let's tackle some of the most common questions we hear from folks using this minimalist setup.
The beauty of this system is its simplicity, but what happens when you need to scale it for a team or manage more detailed information?
How Can a Simple 2-Column Table Work for a Team?
It scales surprisingly well with a few smart tweaks. While the basic 2-column setup is perfect for solo projects, adapting it for a team is pretty straightforward.
Just introduce a ‘Person’ property as a third column. This lets you assign tasks or ownership to different team members. From there, you can use Notion's powerful filters to create unique database views for everyone, so they only see the items on their own plate.
This way, the master table stays complete for you, but each person gets a clean, focused view without feeling overwhelmed.
What’s the Best Way to Handle Complex Information?
Think of your two-column table as a high-level dashboard, not a digital filing cabinet for every single detail. For all the complex stuff, you’ll want to use the page content area inside each database entry.
When NotionSender sends an email into your database, the entire email body, attachments and all, gets tucked away neatly inside that row's page.
Your two columns are for a quick, scannable overview. To dig into the detailed notes, attachments, and full context, you just click 'Open' on any row. This keeps your main view clean and actionable.
It really is the best of both worlds: a tidy, high-level list with all the deep, accessible detail just a click away when you need it.
Any Good Filtering Tips to Get Started?
Definitely. The quickest win is to start filtering by your second column—which for most people is a ‘Status’ or ‘Action’ field. This is how you turn a simple list into a dynamic productivity engine.
Try creating a few different database views for key statuses:
- To-Do: A view that only shows items that haven't been started.
- In Progress: This isolates only the tasks you're actively working on.
- Completed: A place for all finished items that you can archive later.
For example, you could create a view called ‘Urgent’ that only shows rows where the status is set to ‘High Priority.’ Suddenly, your simple table becomes a powerful, focused to-do list, all without adding a single extra column or any clutter.
Ready to stop manually copying emails and start automating your workflow? Get your unique Notion database email address and put your data entry on autopilot with NotionSender. Start your free trial today!