
Mastering the Notion Linked Database
Ever heard of a Notion linked database? Think of it not as a copy, but as a mirrored view of an original database. It's like creating a dynamic window into a central information hub, letting you display and work with the same data in multiple spots across your workspace without ever duplicating it.
The best part? Any update you make in one view is instantly reflected everywhere.
Why Linked Databases Transform Notion Workflows

Before we jump into the "how-to," it's worth taking a moment to appreciate why this feature is a total game-changer for organizing your digital life. The real power here is the ability to establish a "single source of truth."
Instead of juggling separate, disconnected lists for your tasks, projects, and meeting notes, you can build one central master database. From there, you use linked databases to spin up customized, purposeful views of that information exactly where you need them. This simple concept single-handedly solves the biggest productivity killers: redundant data entry and the chaos of version control.
From Data Silos to a Unified System
Let's look at a classic team workflow. The project manager has a master project plan. A marketing specialist keeps a separate content calendar. Every team member has their own personal to-do list. In the old world, these are three separate documents that have to be manually updated and cross-referenced. It's a recipe for missed deadlines and constant miscommunication.
The linked database model elegantly fixes this. You can have a single master "Projects & Tasks" database that powers multiple views across the workspace:
- For the C-Suite: An executive dashboard showing a high-level table view with just project statuses and timelines.
- For the Team: A shared project page with a Kanban board, grouped by project, displaying all related tasks.
- For Individuals: A filtered list view on a private page showing only tasks assigned to "Me" and due "This Week."
The real breakthrough is that when a team member marks a task "Complete" on their personal list, the status instantly updates on the project board and the executive dashboard. Everyone is always working with live, accurate information without ever leaving their own customized view.
To help understand just how different this approach is, here's a quick comparison:
Traditional Data Management vs Notion Linked Databases
| Feature | Traditional Method (Separate Copies) | Notion Linked Database (Single Source) |
|---|---|---|
| Data Integrity | High risk of outdated info and version conflicts. | Always up-to-date. Changes sync instantly everywhere. |
| Updating | Requires manual updates across multiple documents. | Update it once, and it’s updated everywhere automatically. |
| Customization | Each list is a separate entity with its own structure. | Create unlimited custom views (boards, lists, etc.) from one source. |
| Collaboration | Fragmented. Team members work in isolated documents. | Centralized. Everyone works from the same live data set. |
This shift from siloed data to an interconnected system is a huge reason behind Notion's explosive growth. The platform shot past 100 million users by 2024—a massive leap from 20 million just two years prior—with over 50% of Fortune 500 companies now using it to centralize their operations.
Building Practical and Accountable Workflows
This principle goes way beyond simple task management. Imagine having a central "Meetings" database that feeds filtered views into every relevant project page. To really boost your team's accountability, you could model it after an effective action items meeting minutes template, where every action item logged becomes a trackable task across the entire workspace.
You can even connect your internal organization with your external communications. There are tons of ways to use Notion to send emails and manage communications, turning database entries into actionable outreach. Once you embrace the linked database, you stop managing static documents and start orchestrating a dynamic information ecosystem.
Building Your First Linked Database View

Alright, this is where the magic really happens. Creating your first notion linked database is surprisingly straightforward, but once you get the hang of the workflow, it completely changes how you organize your workspace. It all starts with that master database—your single source of truth.
Let’s run through a real-world example. Imagine you have a master database called "All Company Projects." This thing is a beast, tracking every project, its status, who's leading it, the deadline, and the department. It’s perfect for a 30,000-foot view but an absolute nightmare for a single team trying to see their daily tasks.
Our mission: create a clean, focused view just for the Marketing department on their team homepage, pulling only what they need from that master list.
Bringing a Linked View to Life
First, head over to the page where you want this new view to live. This could be a team dashboard, your weekly planner, or a specific project brief. Find a blank space on the page and just type a forward-slash (/).
That single keystroke pops open Notion’s command menu, which is basically your toolkit for everything. Start typing "linked view," and you’ll see the option you need: Linked view of database. Give that a click.
Notion will then ask you to pick your source. A little search bar will pop up showing your recent databases. You could scroll, but it's way faster to just type in the name. We'll type "All Company Projects" and select it from the list.
Boom. Just like that, Notion creates a linked copy of the database right on your page. It'll probably show up as a basic table with all the same columns and data as the original. Don't sweat it—this is just our starting point.
Shaping Your View and Layout
You've officially created a linked database. It’s a perfect mirror of the source, but the real power is in making it your own. Look right above the new database block; you'll see a menu where you can add and tweak views.
The first thing I always do is give the view a descriptive name. The default name is just a copy of the original, which gets confusing fast. Let's rename this one "Marketing Team Projects" so everyone knows exactly what it is.
Next up is the layout. A table is fine for raw data, but different layouts can make the information much more intuitive. You've got options:
- Board View: My personal favorite for tracking progress. Think Trello or Kanban boards, perfect for grouping projects by their "Status" property.
- Calendar View: A must-have for visualizing timelines and hitting deadlines. If your projects have dates, this is a no-brainer.
- Gallery View: A super visual layout. It's awesome for things like content calendars or design portfolios where you want to see a preview image.
- List View: Clean, simple, and minimalist. I use this for quick to-do lists or daily agendas.
- Timeline View: A classic Gantt-chart style for mapping out complex project dependencies and durations.
For our "Marketing Team Projects" view, a Board (Kanban) layout grouped by status is the perfect, actionable choice.
Key Takeaway: The layout you pick here is completely independent of the original. Changing this view to a Kanban board has zero effect on the "All Company Projects" master database, which stays a table. This is the whole point of a notion linked database—custom views without messing up the source.
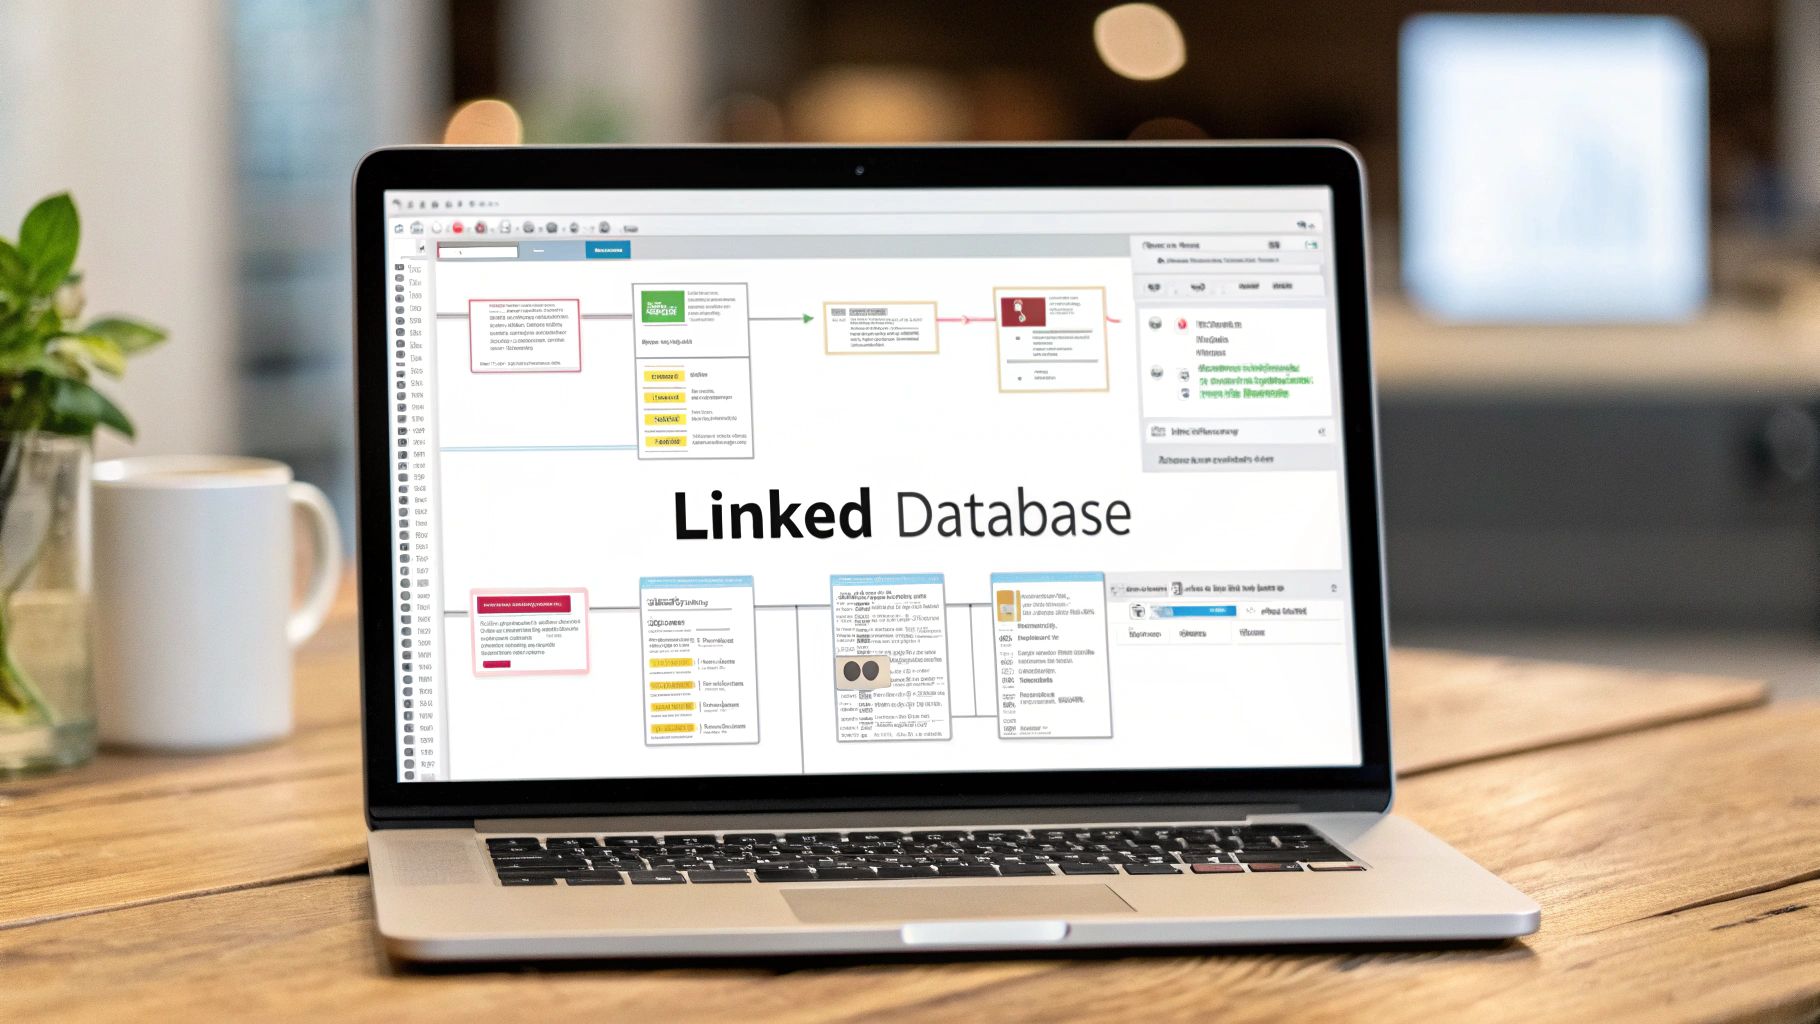
The image below shows that menu where you select your source database. This is the simple step that connects your central data hub to all the custom dashboards you're about to build.
Stacking Multiple Views in One Place
But why stop at one layout? One of the best features of a linked database is creating multiple tabs with different views inside the same block.
After setting up our Kanban board, we can click the little + button right next to the "Marketing Team Projects" view tab. This lets us add another perspective on the exact same data.
Let's add a Calendar view and call it "Marketing Deadlines." This new tab instantly displays the same marketing projects, but now they're plotted on a calendar based on their due dates. With a single click, the marketing team can flip between their workflow-focused board and a date-focused calendar, all powered by the same linked data.
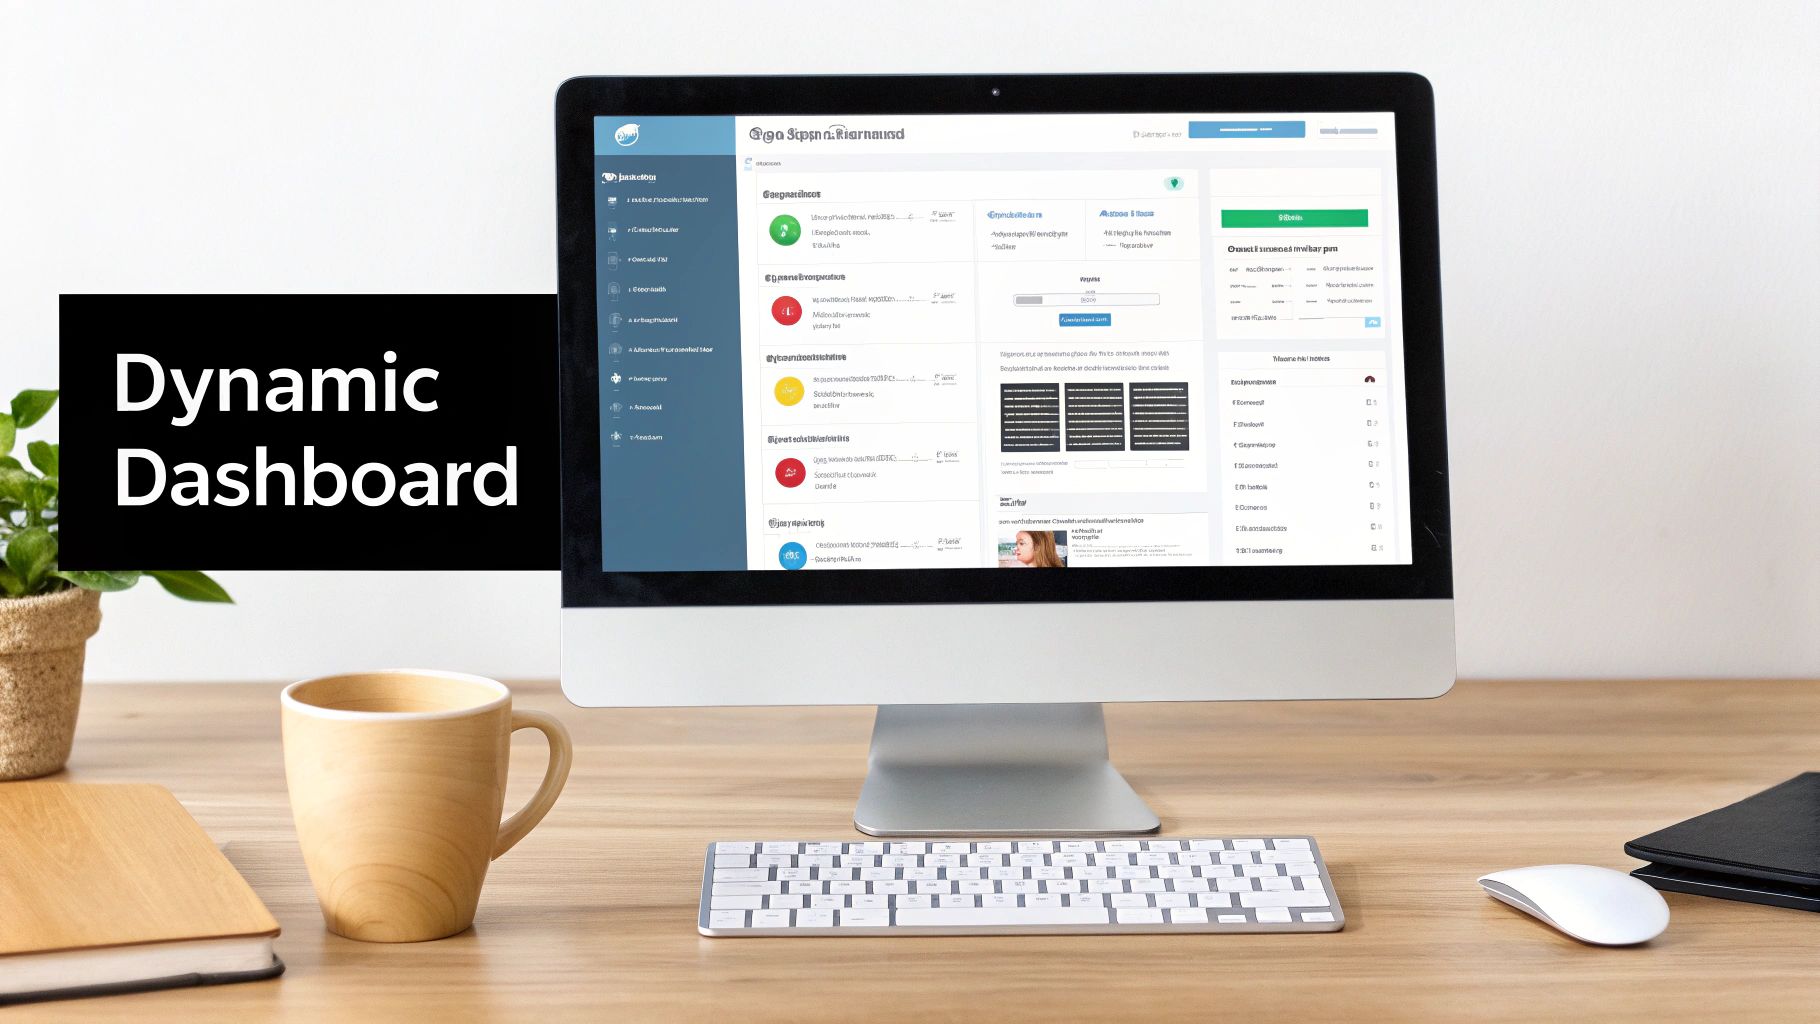
This turns a simple data block into a dynamic, multi-faceted dashboard. In the next section, we’ll get into the really fun part: making these views even smarter with custom filters and sorts.
Crafting Dynamic Dashboards with Filters and Sorts
Okay, so you've created a linked database. That's a great start, but the real magic happens when you tell that data exactly what to show you. This is where filters and sorts come in. They’re the tools that turn a raw, overwhelming firehose of information into a sharp, personalized, and genuinely useful dashboard.
Think of it this way: you're transforming a massive to-do list into a focused view of what you need to do right now. Without filters, every notion linked database would just be a full copy of the original, and that’s rarely what you want.
Mastering Complex Filter Logic
You'll find the Filter button at the top right of your linked database. A simple filter is straightforward enough—like showing only tasks where the "Status" property is Not started. But the real power is in layering these conditions to build some incredibly specific views.
This is where you get to play with filter groups and the crucial 'And'/'Or' logic.
- An 'And' condition is strict; it requires all rules to be true, which really narrows down your results.
- An 'Or' condition is more flexible, showing you anything that meets any of the rules you set.
Let's cook up a practical example for a personal dashboard: a view that shows only "High-priority tasks assigned to me that are due this week." It's easier than it sounds.
- First, add a filter group. This keeps all our rules bundled together.
- Set the first rule:
AssigneeisMe. - Add another rule inside that same group:
PriorityisHigh. - And the final rule:
Due DateisThis week.
Because these rules are all connected with 'And' logic, an item has to check every single box to show up. Just like that, you’ve cut through the noise and surfaced only what demands your immediate attention.
By combining multiple 'And' and 'Or' conditions, you move from basic data viewing to building a dynamic, intelligent system. Your dashboards start to think for you, automatically surfacing the right information at the right time without any manual sorting.
Creating Order with Multi-Layered Sorting
Once you've filtered down to the right information, sorting puts it all in a logical order. A single sort is handy, like organizing tasks by due date. But just like with filters, the real value comes from stacking multiple sorting rules to create a perfectly prioritized list.
Take that "This Week" task list we just made. Sorting by due date is a good first step, but what happens when you have five tasks all due on Wednesday? This is where a secondary sort becomes a lifesaver.
- Primary Sort:
Due Date- Ascending (sooner dates first). - Secondary Sort:
Priority- Descending (so 'High' priority pops up before 'Low').
With this setup, tasks for today will always be at the top. And if several tasks share the same due date, the most important ones—the "High" priority items—will be listed first. It’s a simple, multi-layered approach that guarantees your most critical work is always front and center.
Grouping Data for Visual Clarity
The final piece of this puzzle is the Group by feature. If filters and sorts organize your data logically, grouping organizes it visually. It's a game-changer in Board and Timeline views, but it's just as useful in tables and lists.
For a Marketing Team project board, grouping by "Status" is a classic. It instantly creates columns for "Not Started," "In Progress," and "Completed," giving you a bird's-eye view of the entire workflow. You could just as easily group by "Project Lead" to see who's handling what, or by "Quarter" to map out your content pipeline.
Using these three tools—filters, sorts, and groups—in harmony is the secret to building truly powerful, self-updating dashboards. You can create a "Today" view that only shows tasks due today, a "Client A" dashboard that pulls in every project, meeting, and invoice related to them, or a "Q4 Content Pipeline" for your entire team. Each notion linked database becomes a unique, purposeful lens into your single source of truth.
As your Notion workspace starts to fill up, you might notice something… a bit of a lag. That notion linked database that used to pop open instantly now takes a few extra seconds to think. It's more than just a minor annoyance; it's a genuine drag on your productivity, especially when you're trying to manage thousands of entries.
The good news is, you don't have to live with a sluggish workspace. With a little strategic thinking, you can keep things snappy, no matter how much data you throw at it. The trick isn't to stop adding information, but to structure it smarter from the get-go.
This is a common growing pain. A recent 2024 survey found that 65% of users with databases over 10,000 rows reported a significant slowdown. The same experts discovered that proactively breaking up data into smaller, connected databases can boost response times by up to 50%. You can dig into more of these optimization strategies in the full survey on large dataset performance.
Segment Your Master Databases
The single biggest mistake I see people make is creating one gigantic "everything" database. It seems simple at first—one place for all company tasks, projects, notes, and resources. But before you know it, that all-in-one database becomes a massive performance bottleneck.
A much better approach is to think in terms of focused, interconnected hubs. Instead of one monstrous "Tasks" database, break it down by department or even by client:
- Marketing Tasks
- Engineering Sprints
- Client A Projects
You can then use relations and rollups to link everything together. This strategy keeps each individual database lean and fast, while still letting you build high-level dashboards that pull in the big-picture view from all your smaller sources.
Archive and Prune Regularly
Let's be honest: not every piece of data needs to be at your fingertips forever. Completed projects, old tasks, and random notes from two years ago are probably just cluttering up your active views and bogging down your queries.
Set up a simple archiving system. Create a dedicated "Archive" database, and every quarter, make it a habit to move completed or irrelevant items over. A simple checkbox property like [ ] Archive can make this process incredibly easy.
Filtering for and moving these items in bulk does more than just declutter your main views. It significantly cuts down on the processing load every single time you open a page that contains a linked view of that database.
Optimize Your Properties and Views
The number and type of properties in your database have a direct line to its performance. A database with 30 properties, especially one loaded with complex formulas and rollups, is always going to load slower than a lean one with just 10 simple properties.
Here are a few practical tips to keep your properties in check:
- Limit Complex Rollups: Rollups are powerful, but they are resource-hungry. If a particular view doesn't absolutely need to show rollup data, hide that property to speed things up.
- Fewer Properties in High-Traffic Views: For those daily-driver dashboards, be ruthless. Hide any property that isn't mission-critical for that specific context.
- Don't Overdo It With Formulas: While incredibly useful, a database groaning under the weight of dozens of complex formulas will eventually start to lag. If performance becomes a real issue, consider if some things can be calculated manually.
By being mindful of your database size, archiving old data, and streamlining your properties, you can maintain a fast and efficient workspace. For a deeper dive into more advanced techniques, check out our guide covering 10 tips to get the most out of Notion, where we get even more granular on workspace optimization.
Automating Email Workflows with NotionSender
<iframe width="100%" style="aspect-ratio: 16 / 9;" src="https://www.youtube.com/embed/-SgFQYBqm3Q" frameborder="0" allow="autoplay; encrypted-media" allowfullscreen></iframe>
While a notion linked database is a powerhouse for organizing your internal world, its real magic happens when you connect it to the outside. This is where a tool like NotionSender steps in, turning your structured databases into smart, automated inboxes that can completely change how you handle communication.
The concept is beautifully simple. NotionSender lets you assign a unique, dedicated email address to any database in your workspace. Suddenly, your static client tracker or project board becomes a live destination for real-world emails.
Setting Up Your First Email-Enabled Database
Getting this up and running is surprisingly quick. After integrating NotionSender, you just pick a database—let's use your "Client Projects" master database as an example. With a couple of clicks, you generate a unique email for it, something like client-projects.123@notionsender.com.
This one move unlocks a ton of new workflows. Now you can forward any relevant email directly to this address, and NotionSender will instantly create a new page in your database, perfectly organized and ready for you to work with.
This capability is a big reason why many scaling startups are simplifying their tech stack. In fact, a remarkable 70% of these users ditched two or more productivity tools after switching to Notion. They're able to merge notes, project management, and databases into one hub, and linked databases are the glue that holds these complex automations together.
Harnessing Smart Data Extraction
But the real genius here isn't just about saving emails—it's about how NotionSender understands them. The smart extraction feature automatically scans incoming emails and intelligently maps key information to the database properties you've already created.
This means the sender's address automatically lands in your "Contact Email" property. The subject line populates the "Subject" field, and any attachments are saved and linked right inside the new database page. You can customize this mapping to fit your exact setup, making sure every bit of data ends up in the right place without any manual copy-pasting.
This isn't just email archiving; it's data structuring. An unstructured email thread becomes a clean, queryable data point inside your Notion ecosystem. From there, you can filter, sort, and display it in any linked database you need.
This infographic illustrates a common workflow for handling large volumes of data, where information is segmented and then archived to keep things running fast—a process that email automation makes almost effortless.
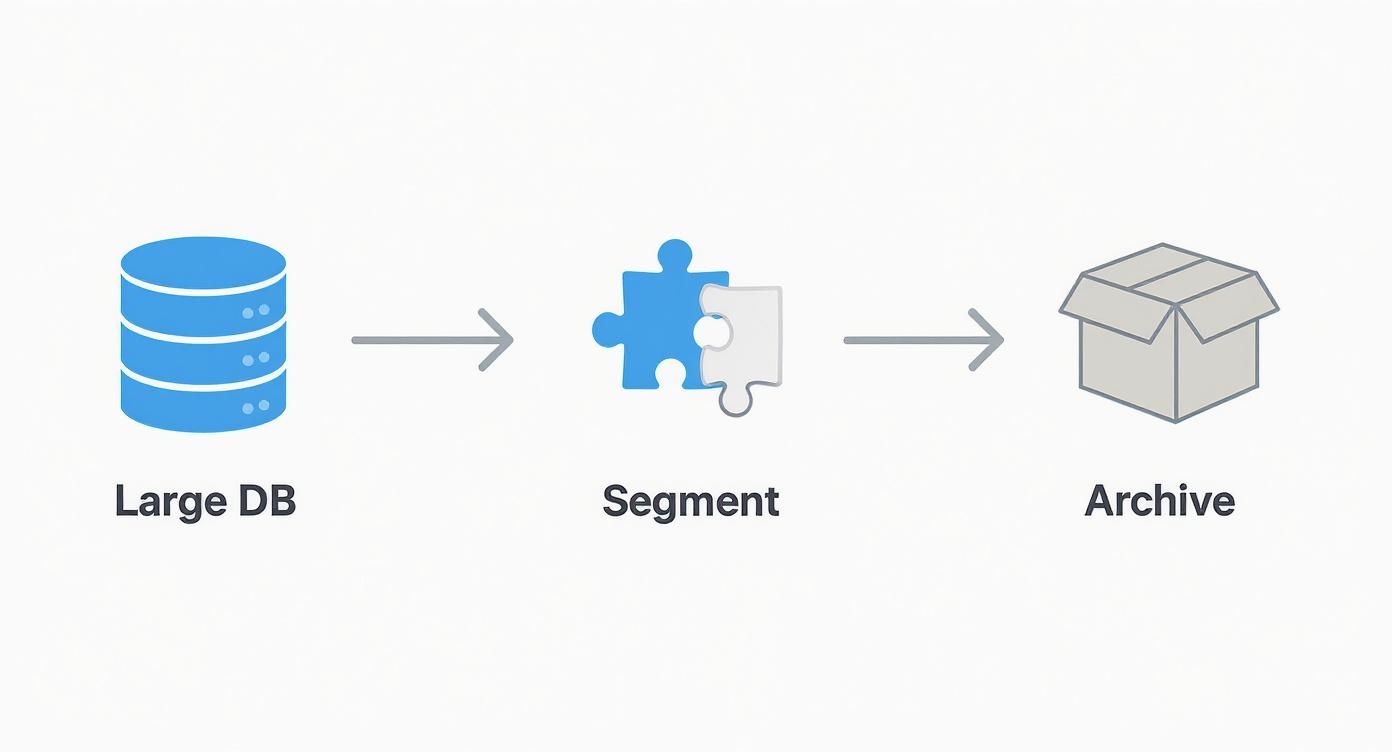
By automating how emails flow into specific, segmented databases, you keep your main workspaces from getting bogged down and cluttered with old communications.
Real-World Automation Examples in Action
So, how does this actually work day-to-day? Let's get practical. The possibilities are endless, but here are a few common scenarios where this kind of automation is a total game-changer.
-
Client Communication Logging: Give your "Clients" CRM database its own email address. Then, just BCC that address on all your client correspondence. Every email is automatically logged as a new entry and linked to the right client using a Relation property. Just like that, you have a complete, searchable communication history right inside each client's profile.
-
Invoice and Receipt Tracking: Create a "Finances" database and assign it an email. When a digital receipt or a contractor's invoice hits your inbox, just forward it. NotionSender saves the email, pulls out the PDF attachment, and logs who it came from. Your bookkeeping just got a whole lot simpler.
-
Meeting Agenda Capture: Your "Team Meetings" database can also have its own email. When someone sends the agenda for the weekly sync, they can CC the database's address. The agenda instantly shows up as a new page for that week's meeting, ready for the team to see.
Of course, this works both ways. You can also build workflows to send emails directly from your database. For a full walkthrough, check out our guide on how to create and send email from Notion, which dives into scheduling, templates, and more.
And to make sure your automated emails actually land in the inbox, it's always a good idea to brush up on best practices with some solid email deliverability guides.
By connecting your notion linked database to an email automation tool, you're building a bridge between your internal workspace and your external communication, creating a truly seamless and powerful command center for your work.
Got Questions About Linked Databases?
As you start weaving linked databases into your Notion setup, a few questions tend to bubble up pretty quickly. It's a seriously powerful feature, but getting your head around the little details is the key to making it work for you, not against you.
Let's jump into some of the things people ask most often.
Can I Actually Edit Stuff in a Linked Database?
Yes, absolutely! This is actually one of the best things about them.
When you make a change in a linked view—say, you update a project's status from "In Progress" to "Done," or you tweak a due date—that change is instantly reflected in the original, master database. It's a two-way street.
This means your information stays perfectly consistent across your entire workspace, no matter which "window" you're looking through. The only thing you can't change from a linked view is the structure of the database itself. If you want to add a new property (like a "Budget" column), you'll have to pop back to the original source database to do that.
What’s the Difference Between a Linked Database and a Template?
This one trips a lot of people up, but the distinction is pretty simple once you see it.
A linked database is a live, dynamic view of a database that already exists and is filled with your data. Think of it as a portal or a real-time window into that central source of truth.
A database template, on the other hand, is just a blueprint. It's a pre-configured structure you use to stamp out a brand new, completely independent database. You use a template to build a fresh, empty home for future information, complete with all the properties you need from day one.
In short: a linked database lets you look at existing data in new ways, while a template helps you create new places to store data.
How Do Permissions Work?
This is a big one for security. Permissions are always inherited directly from the original source database. There are no exceptions.
If you share a page that has a linked database on it, but the person you share it with doesn't have access to the original database, they won't see a thing. All they'll get is an error message telling them they don't have permission.
This is great because it means your sensitive information stays locked down. To share a linked view with someone, you first have to go to the original database and grant them at least "Can view" access there.
Can Each Linked View Be Different?
Yes, and this is where linked databases really shine. Every single linked instance you create is its own independent canvas. You can give each one unique views, filters, sorts, and groups.
Imagine you have a master "All Company Tasks" database. From that one source, you could create:
- A Kanban board on your personal dashboard, filtered to show only tasks assigned to you.
- A Calendar view on the "Project Phoenix" page, showing only the deadlines for that specific project.
- A high-level Table view on an executive summary page, filtered for "High Priority" tasks and sorted by due date.
Changing the layout or filters on one of these linked views has zero impact on the others or on the master database. This flexibility is what allows you to build perfectly tailored dashboards for every single part of your workflow.
Ready to turn your Notion databases into a communication command center? With NotionSender, you can assign a unique email address to any database, automatically save emails, and extract key data without lifting a finger. Streamline your client communication, invoice tracking, and team collaboration by integrating your inbox directly with your workspace. Start automating your email workflows with NotionSender today.

