
Build a Notion Task Manager That Actually Works for You
If you're tired of being shoehorned into the rigid structure of off-the-shelf to-do list apps, you're in the right place. Building your own Notion task manager is the answer. It’s about creating a flexible system that finally adapts to your unique workflow, not the other way around.
By weaving together databases, custom views, and smart relations, you can build a central hub that organizes everything from simple daily tasks to sprawling, complex projects.
Why a Custom Notion Task Manager Is a Game Changer
Let's be honest: standard task apps often feel limiting. They force you to contort your process to fit their pre-built boxes. A custom Notion setup completely flips that script. It gives you the raw materials to build a system that mirrors how you actually think and work.
You aren't just downloading another app; you're architecting your own personalized command center.
This is exactly why so many people have embraced Notion as their go-to productivity tool. Instead of juggling separate apps for notes, projects, and tasks, you can pull everything into one cohesive space. For a freelancer, that might mean linking a single task directly to a client's project page, a specific invoice, and all the relevant meeting notes—all living together in perfect harmony.
The Core Building Blocks of a Powerful System
The real magic behind a killer Notion setup comes down to a few key features that work beautifully together:
- Flexible Databases: These are the heart of your system. Think of a database as a master list for every single task, but where each entry is its own dynamic, expandable page.
- Dynamic Views: This is where you get to see your data through different lenses. You can use a Kanban board for a visual overview of progress, switch to a calendar to track deadlines, or pull up a filtered list showing only today’s high-priority items.
- Powerful Relations: Relations are the glue that connects different databases. For instance, your "Tasks" database can be linked directly to a "Projects" database, creating a clear hierarchy and smashing information silos.
The real power here isn’t just listing what you need to do. It’s about providing the context for why it needs to be done. When you connect tasks to larger goals and projects, you create a system that drives truly meaningful progress.
The demand for these kinds of adaptable tools is exploding. The task management software market, valued at USD 4.92 billion, is projected to soar to USD 15.74 billion by 2033. This massive growth reflects a huge shift toward more agile and integrated ways of working.
Now, let's break down the essential Notion components we'll be using. This table gives a quick look at each feature and why it’s so critical for building a robust task manager from the ground up.
Core Notion Features for Your Task Manager
A quick look at the key Notion components we'll use and why they're essential for a powerful setup.
| Notion Feature | Its Role in Your System | Why It's a Game Changer |
|---|---|---|
| Databases | The central repository for all your tasks, projects, and notes. | Acts as a single source of truth, but with infinite flexibility for each entry. |
| Views | Different ways to visualize your database (Kanban, Calendar, List, etc.). | Allows you to see the same information from multiple perspectives without duplicating data. |
| Properties | Custom fields for each database entry (e.g., Status, Priority, Due Date). | This is how you categorize, filter, and sort tasks to create focused views. |
| Relations | Links that connect entries across different databases (e.g., Tasks to Projects). | Creates a web of interconnected information, eliminating scattered data. |
| Templates | Pre-configured pages you can spawn with one click. | Drastically speeds up your workflow for recurring task types or project kickoffs. |
| Formulas | Perform calculations and logic based on other properties. | Automates status updates, progress tracking, and complex data analysis. |
These are the fundamental pieces we'll assemble. While Notion offers incredible customization, many freelancers also explore specialized tools found in guides for the best project management software for freelancers to compare options.
But for anyone who craves a system built from scratch to their exact specifications, nothing beats creating your own in Notion.
Building Your Core Task Database from the Ground Up
Every truly great Notion task manager starts with a solid foundation. We're not talking about a messy collection of to-do lists scattered across your workspace. The goal here is to build a single, central database that will act as the "brain" for your entire productivity system.
Taking this central database approach from the get-go is what makes the whole thing scalable and keeps your data from getting siloed. Trust me, it makes your workflow incredibly efficient down the line.
We'll kick things off by creating a new, full-page database. This master database is where every single task will live—big or small, regardless of its project or deadline. Think of it as your ultimate digital filing cabinet where everything has its place, making it a breeze to find and organize.
This diagram gives you a high-level view of how this central database becomes the command center for your entire setup, branching out into different views and connections.
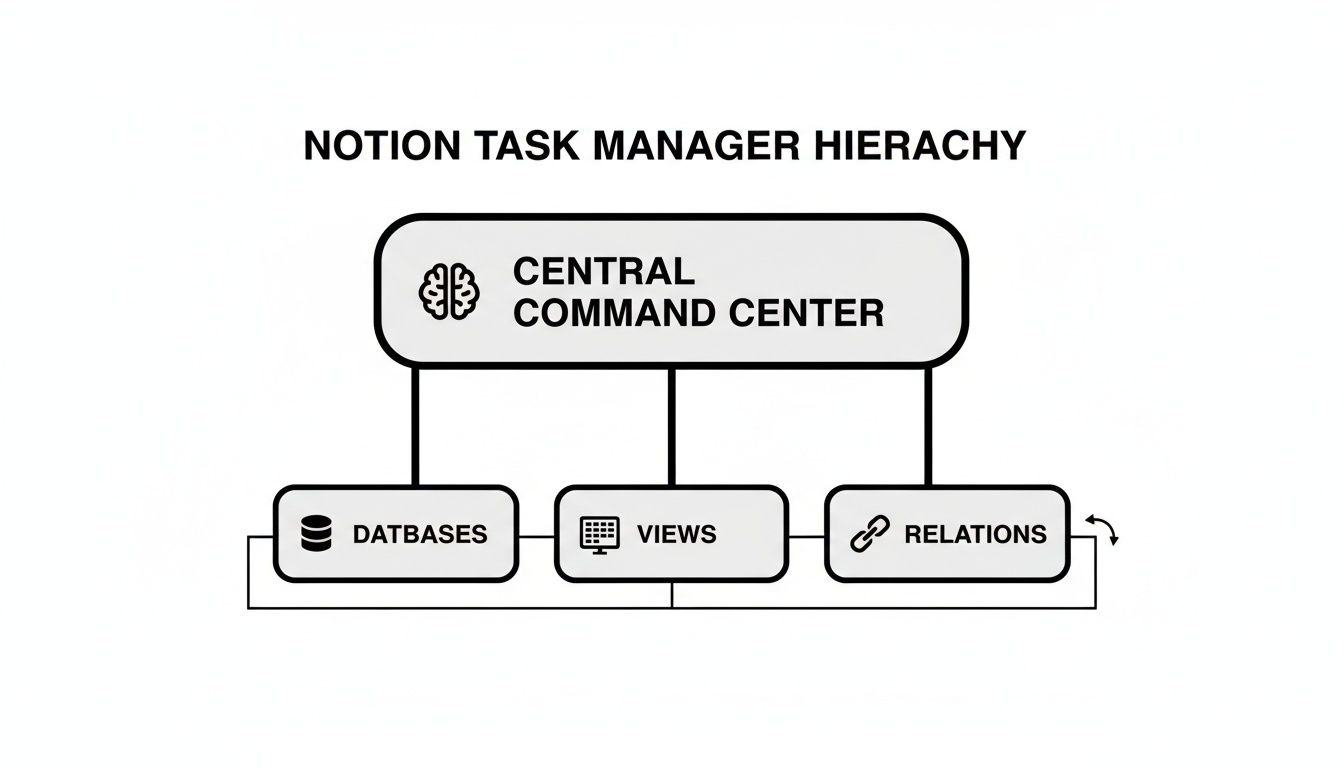
By starting with a strong database core, you can spin up countless customized views and link related information without ever having to duplicate your work. It's a game-changer.
Setting Up Essential Database Properties
The real magic of a Notion database is in its properties. These are the custom fields that let you slice and dice your tasks with surgical precision. For a task manager that can actually handle the chaos of real work, a few properties are absolutely non-negotiable.
Let's start by adding the columns that will bring your task list to life. Each one serves a specific purpose, turning a simple checklist into a dynamic, actionable tool.
Core Properties to Add:
- Status (Select): This is your progress tracker. I always start with simple options like
To Do,In Progress, andDone. The "Select" property is perfect because a task can only have one status at a time. - Priority (Select): To help you focus on what really matters, add a priority field.
High,Medium, andLoware the classic go-tos. Pro tip: add colors to these tags for a quick visual cue when you're scanning your list. - Due Date (Date): No task manager is complete without deadlines. The "Date" property lets you assign a specific day, and you can even set reminders so nothing slips through the cracks.
- Project (Relation): Here's where we start connecting the dots. Before you can use this, you'll need another simple database called "Projects." Once that's set up, add a "Relation" property to your Tasks database and link it to your Projects database. Just like that, you can associate every task with a larger goal.
These four properties are the bedrock of the entire system. They provide enough structure to manage complex workflows while staying simple enough that you'll actually use them every day. With just this basic setup, you can instantly filter your database to see all high-priority tasks for a specific project due this week.
Customizing Properties for Your Unique Workflow
The beauty of building your own Notion system is how adaptable it is. Those core properties are just a starting point. Now you get to add custom fields tailored specifically to how you work. This deep personalization is a massive reason why Notion has exploded in popularity.
Notion's growth to 100 million users worldwide, with over 4 million paying customers, isn't just hype. It shows a massive demand for flexible tools that can replace rigid, one-size-fits-all software. You can dive deeper into these fascinating Notion usage statistics on sqmagazine.co.uk.
The goal isn't just to track tasks, but to build a system that understands the context of your work. Custom properties are how you teach Notion what's important to you.
Let's look at a few real-world examples of how you can extend your database beyond the basics.
Practical Examples of Custom Properties:
- For a Content Creator: You might add a "Platform" (Select) property with tags like
YouTube,Blog, andNewsletter. This lets you plan and track content across all your channels from one central hub. - For a Software Developer: A developer could add a "Sprint" (Relation) property, linking tasks to a separate "Sprints" database. They might also include a "Ticket ID" (Text) property to reference items from a system like Jira or GitHub.
- For a Freelancer: A freelancer juggling multiple clients could add a "Client" (Relation) property. I'd also recommend a "Billable" (Checkbox) property to make invoicing a snap.
By taking a few minutes to think through your specific needs, you can build a truly bespoke system. Don't be afraid to experiment. You can always add, remove, or change properties as your workflow evolves. This initial investment in a thoughtful database structure will pay off immensely, giving you clarity and control over everything on your plate.
A powerful task database is only half the battle. Let's be honest, if you can't see the right information at the right time, your perfectly structured data just becomes digital clutter.
This is where Notion's dynamic views come into play. Think of them as different lenses that bring focus and clarity to your work, transforming that raw task list into an actionable command center.
The real key is moving beyond the default table view. While it’s great for data entry, a simple table doesn't help you decide what to work on next. We're going to build a set of curated views, each designed for a specific purpose, giving you exactly what you need, right when you need it.
The best part? This approach lets you slice and dice your master task list without ever duplicating a single entry. Every change made in one view instantly reflects across all the others because they're all looking at the same source of truth.
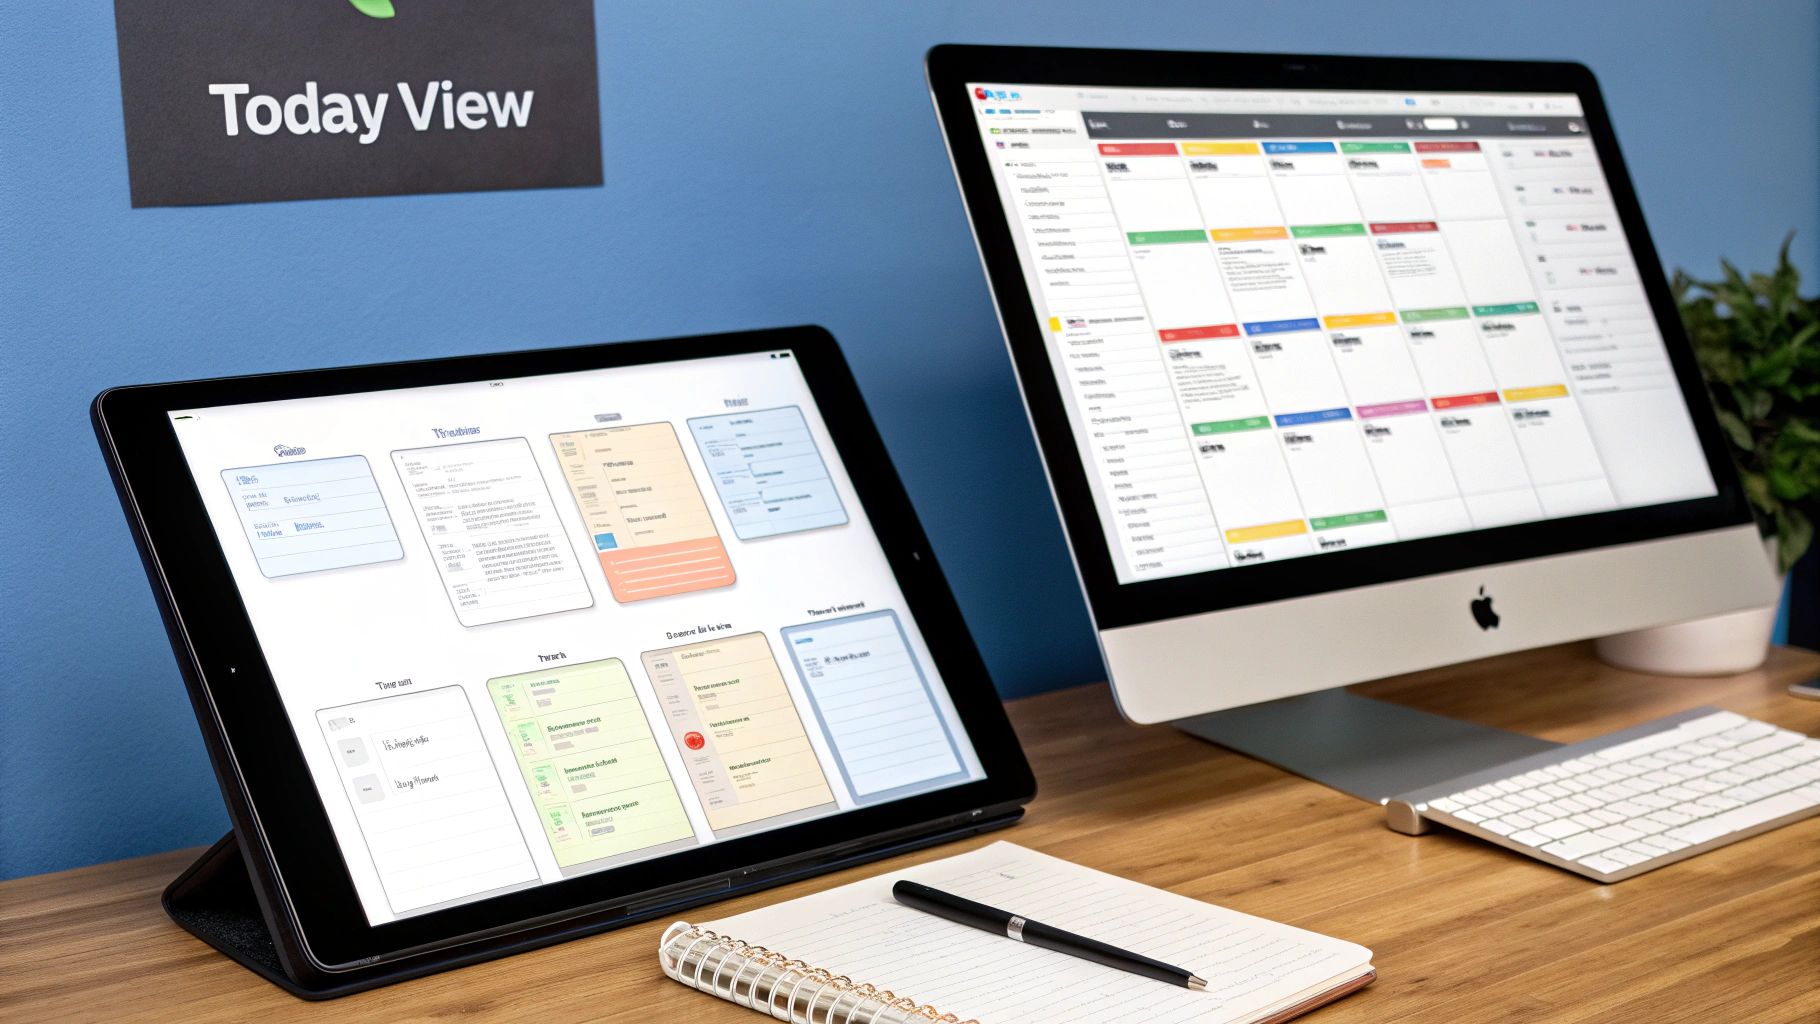
Creating the Essential 'Today' View
First up, let's build the most critical view for daily productivity: your "Today" list. The whole point here is to cut through the noise and see only the tasks that are due today or are already overdue. This view should be your daily starting point, offering a focused, manageable list to tackle.
To get this done, create a new "List" view of your main database and call it "Today." Then, it's all about the filters:
- Filter 1:
Due Dateis on or beforeToday. This is the core rule, pulling in everything that needs your immediate attention. - Filter 2:
Statusis notDone. This is a crucial housekeeping step to prevent completed items from sticking around.
For an extra layer of clarity, I always add a sort rule to push the most critical items to the top. A simple Sort by Priority (Ascending) ensures your High-priority tasks are always front and center.
Your "Today" view isn't just a list; it's a commitment. By filtering out everything that isn't immediately actionable, you're making a conscious decision to focus on what truly matters now—a cornerstone of effective time management.
This simple, focused list is your best defense against feeling overwhelmed and provides a clear path for the day.
Visualizing Progress with a Kanban Board
While a "Today" list is perfect for daily focus, a Kanban board is absolutely unmatched for visualizing your entire workflow. It gives you that deeply satisfying feeling of dragging tasks from left to right as they inch closer to completion.
Go ahead and create a new "Board" view and name it "By Status." By default, Notion will probably group the cards by the "Status" property we created earlier, giving you neat columns for To Do, In Progress, and Done. This visual layout makes it incredibly easy to spot bottlenecks and understand where your work stands at a glance.
A project manager, for example, could add another filter: Assignee contains Me. Boom—a personalized Kanban board showing only their tasks. They could just as easily create separate views filtered for each team member to monitor individual workloads, all without leaving the main notion task manager.
Planning Ahead with a Master Calendar
To avoid the shock of a looming deadline, you need a long-term perspective. A "Calendar" view gives you that bird's-eye look at your upcoming commitments, making it perfect for weekly and monthly planning.
Create a new "Calendar" view of your database. Notion automatically populates it by placing tasks on their "Due Date." This is invaluable for spotting overloaded weeks or identifying those rare, beautiful periods where you have more capacity for deep work.
Here are a couple of ways I like to make my calendar even more powerful:
- Show Properties: Customize the calendar cards to show "Priority" and "Project" right on the event. It adds so much context.
- Filter by Project: If you're deep in a specific project, filter the calendar to show only tasks related to it. This is a game-changer for planning project-specific sprints or phases.
Mastering these views is a huge step toward a more effective system. If you're looking for even more ways to level up your setup, check out these 10 tips to help you get the most out of Notion.so.
Isolating Deep Work with a Priority View
Finally, there are times when you just need to block out all distractions and focus on your most impactful work. For this, we'll create a "High Priority" view. This is your go-to list when you have a block of uninterrupted time and want to make some real progress.
Create a new "List" or "Table" view. The setup is incredibly simple but wildly effective.
- Add a filter where
PriorityisHigh. - Add a second filter where
Statusis notDone. - Sort by
Due Date (Ascending)to make sure you tackle the most urgent, high-impact items first.
This focused view completely eliminates decision fatigue. You no longer have to scan a long, intimidating list wondering what to do; the system has already surfaced the most important tasks for you. A student could easily adapt this by creating a view grouped by "Course" to manage all their assignments, which just shows how flexible these views can truly be.
Once you have a well-structured database and some dynamic views, you’ve got clarity. But the real magic, the kind that gives you back hours in your week, comes from automation. This is where we stop doing the repetitive, manual work and let the system handle the grunt work for us.
We'll kick things off with one of Notion's biggest time-savers: database templates.
<iframe width="100%" style="aspect-ratio: 16 / 9;" src="https://www.youtube.com/embed/JGT7PSXHXaM" frameborder="0" allow="autoplay; encrypted-media" allowfullscreen></iframe>
These aren’t just pretty page layouts; they're pre-configured entries for your tasks database. Think of them as a blueprint for any repeatable job. Instead of manually typing out the same sub-tasks every single time you start a new project, you build a template that populates everything for you with a single click.
Creating Your First Database Template
Let's say you’re a content creator with a specific checklist for every blog post. Manually adding "Outline," "Draft," "Edit," and "Publish" every single time is a real drag on your creative flow.
We can solve this by building a "New Blog Post" template right inside your Tasks database.
- Find the blue "New" button in your database and click the little dropdown arrow right next to it.
- Choose "+ New template."
- Give it a name like "New Blog Post" and pick a fitting icon.
- Inside the body of this new template, build out your standard checklist. This could be anything from "Research keywords" and "Write first draft" to "Create graphics" and "Schedule promotion."
Now, the next time you're ready to write, just select this template. The entire checklist instantly appears inside the new task page. It's a simple move that not only saves time but, more importantly, frees up the mental energy you’d otherwise spend trying to remember every little step.
A great template doesn't just save you clicks; it enforces consistency. By standardizing your processes for recurring work, you ensure that no critical steps are ever missed, leading to higher-quality outcomes every time.
You can create these for literally anything: new client onboarding, weekly financial reports, or project kickoffs. Each template becomes a pre-built launchpad, turning what was a complex, multi-step process into a one-click affair.
Mastering Recurring Tasks
Some tasks don't just have repeatable steps; they pop up on a regular schedule. For these, Notion’s built-in repeat feature is your best friend. It’s perfect for things like "Send weekly update email" or "Pay monthly invoices."
Setting this up couldn't be easier.
- Start by creating a task like you normally would.
- Click the "..." menu at the top-right corner of the task page.
- Look for the "Repeat" option and set your schedule: daily, weekly, monthly, or even yearly.
Once it's set, Notion will automatically spit out a fresh copy of that task right on schedule. It’s a classic set-it-and-forget-it solution that guarantees your routine responsibilities never slip through the cracks.
Implementing Simple Automations
Beyond templates and repeating tasks, Notion has some basic automations that can handle simple "if-then" scenarios. They aren't as powerful as dedicated third-party tools, but they’re fantastic for smoothing out common handoffs in your workflow.
A classic example is automatically assigning a task to someone else once its status changes.
- Click the lightning bolt icon at the top of your database. This opens the automations menu.
- Create a new automation. For the trigger, set it to:
When Status is changed to 'Ready for Review'. - Then, set the action:
Set Assignee to 'Jane Doe'.
This tiny tweak eliminates the need to manually reassign the task, making the transition from one stage to the next completely seamless. For more complex workflows that need to talk to other apps, it helps to understand the foundational concepts of webhooks, which can unlock a whole new world of integration possibilities.
These built-in features are just scratching the surface. If you're looking to build even more powerful, code-free connections with other services, it's worth exploring what's possible with Notion's API. By combining smart templates, recurring tasks, and simple automations, your Notion system truly starts working for you.
Your new Notion task manager is a powerful command center, but let's be real—most of our tasks don't start there. They land in our email inbox. The old way of dealing with this? A painful, focus-draining cycle of copying details from an email, switching to Notion, creating a new task, and pasting everything in.
That constant context-switching is a productivity killer. Every time you leave your inbox to update Notion, you break your flow. But there’s a much smarter way to handle this. You can connect your email directly to your task database, making sure nothing ever gets lost in translation again.
The goal is to build a seamless bridge. An email from a client or a request from a colleague should become a perfectly formatted task in your system with a single action—no copy-pasting required.
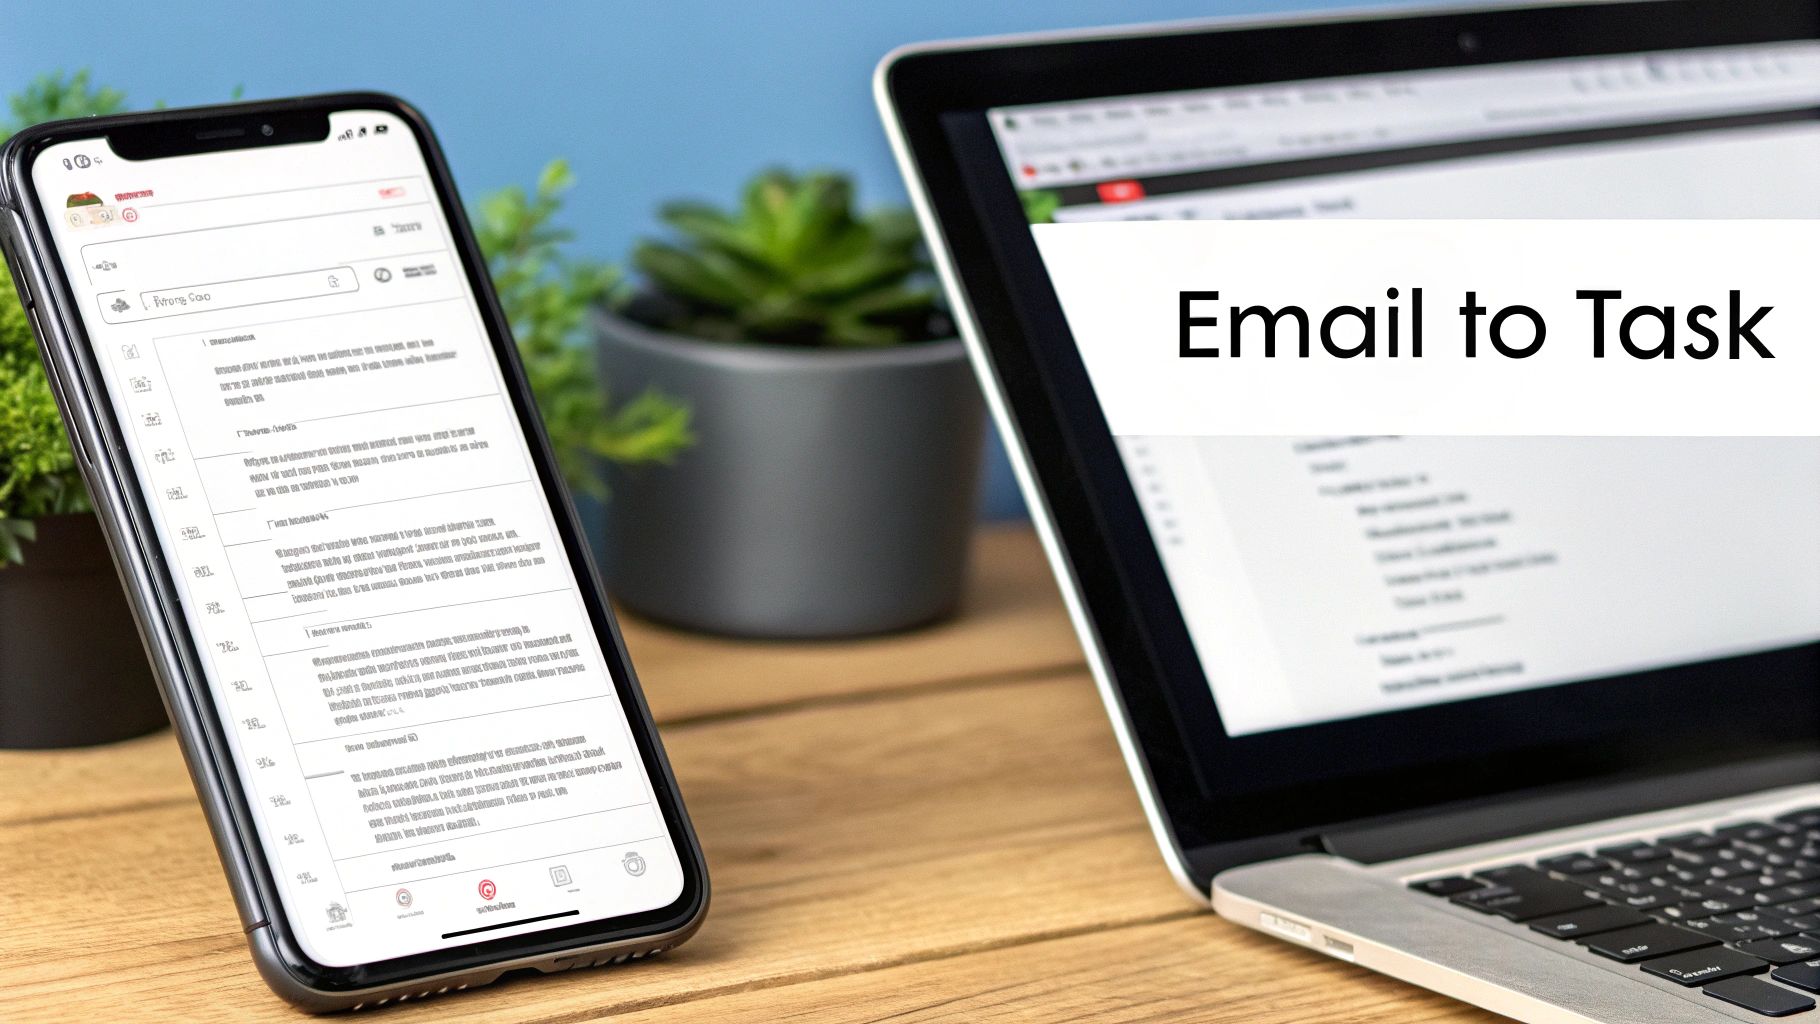
The Power of an Email-to-Task Workflow
Picture this: a client sends an email with an urgent request. Instead of juggling apps, you just forward that email to a unique, dedicated address. Within seconds, a new task pops up in your Notion database. The subject line is the task name, and the email body is neatly tucked into the notes.
That's the magic of an automated email-to-task workflow. It completely removes the friction between communication and action.
By using a specialized tool like NotionSender, you can generate a unique email address tied directly to your Tasks database. This address acts as a pipeline, catching emails and turning them into structured data inside your notion task manager. It’s a simple concept with a massive impact on your daily efficiency.
The most effective productivity systems are the ones that meet you where you are. Integrating your email directly into Notion removes the biggest barrier to capturing tasks, transforming your inbox from a source of stress into a reliable input for your workflow.
Setting it up is surprisingly straightforward. You can connect a database in just a few clicks and get back to what matters.
The whole point is to spend less time configuring and more time doing the actual work.
How Smart Data Extraction Works
The real advantage here goes way beyond just creating a new task page. Modern integration tools can intelligently read the email and map its contents to specific properties in your database. This is where you unlock some serious automation.
For instance, when you forward an email, the system can be configured to:
- Use the email subject as the Task Name.
- Drop the email body into the page content.
- Extract the sender's email address and map it to a "Submitted By" property.
- Even grab any files from the email and attach them directly to the Notion task page.
This level of automation turns a simple forward into a sophisticated data entry machine. You can even set up rules to automatically assign a default priority or status to any task coming in via email, saving you even more clicks. Our guide on how to send email to Notion gives a detailed walkthrough of this entire process, from initial setup to advanced mapping.
Let's look at the difference side-by-side.
Manual Email Entry vs Automated Workflow
See the difference in efficiency when you stop copying and pasting and start automating your email-to-task process.
| Action | The Old Manual Way | The New Automated Way |
|---|---|---|
| Task Creation | Open Notion, find the database, click "New." | Forward the email to your unique address. |
| Adding Details | Copy the subject line and paste it as the task name. Copy the email body and paste it into the page. | The system automatically extracts the subject and body. |
| Attaching Files | Download attachments from the email, then re-upload them to the Notion task. | Attachments are automatically transferred and linked to the task. |
| Assigning Context | Manually set properties like "Priority," "Status," and "Project." | Default properties can be pre-set to apply to all incoming email tasks. |
The efficiency gains are undeniable. By automating this crucial entry point, you not only save a ton of time but also ensure your Notion task manager becomes a truly reliable single source of truth for everything on your plate.
Got a Question About Your Notion Task Manager?
Once you start living in your new Notion task manager, you'll inevitably run into a few little wrinkles. They feel like showstoppers at first, but they’re usually just small tweaks away from being solved. I've seen these questions pop up time and time again, so let's get you some quick answers.
These aren't complicated fixes, just practical adjustments that make a world of difference in your daily flow.
How Should I Handle Sub-Tasks?
Big projects feel overwhelming. The only way to eat that elephant is one bite at a time, which means breaking big tasks down into smaller, concrete steps. Notion gives you two great ways to do this, and the one you pick really depends on how complex your project is.
- For simple checklists: The easiest route is to just add a To-do list block right inside the main task's page. This is perfect for a simple sequence of steps like "Draft," "Edit," and "Publish," where you just need the satisfaction of checking things off.
- For complex sub-tasks: But what if those smaller steps have their own deadlines, assignees, or priorities? That's when you'll want to create a separate "Sub-tasks" database. You can then connect it to your main "Tasks" database with a relation property. This creates a clean parent-child link, letting you track all the granular details without cluttering up your main board.
Getting this right keeps your high-level view clean while still giving you all the detail you need when you click into a specific task.
My Active Views Are Getting Cluttered
This is probably the most common growing pain. Your Kanban board or "Today" list starts filling up with completed tasks, creating a ton of visual noise. It makes it hard to focus on what actually needs to get done. The fix? Create a dedicated archive.
The goal isn't to delete completed tasks, but to get them out of your active workspace. You want to preserve that history for future reviews or reports, but keep your daily views focused on what's next.
It's a simple two-step process. First, add a filter to your main views that says "Status is not Done." Poof. All completed tasks will vanish. Then, just create a new page or a separate database view called "Archive" and give it a single filter: "Status is Done." Now, every time you complete a task, it automatically moves out of your way and into the archive.
Can I Share My Task Board?
Of course. Notion’s sharing features are incredibly flexible, whether you're working with internal team members or showing progress to an external client. You have total control over who sees what.
If you're working with your team, you can invite them directly to the page with full editing access. They'll be able to drag cards, update statuses, and collaborate in the comments just like you.
For clients, you can use the "Share to web" option to generate a public link. Here’s a pro tip: create a special view filtered to show only that client's projects. Then, share the link to that specific view. They’ll see everything they need to, and nothing they don’t, keeping all your other work private.
Is It Possible to Track My Time?
While Notion doesn't have a native time tracker built-in, it plays nicely with the tools that do. Integrations are your friend here.
Services like Toggl and Clockify have slick browser extensions that often add a "start timer" button right onto your Notion pages. Clicking it links the time entry directly to that task, so you never lose track.
Want a more manual, low-tech solution? Just add "Start Time" and "End Time" properties to your database (use the Date property and make sure to include the time). Then, a simple formula property can automatically calculate the duration. It’s a great way to get a clear picture of where all those hours are really going.
Ready to streamline your workflow even more? Turn your inbox from a source of stress into a task-creation machine. With NotionSender, you can forward any email directly into your task database, automatically capturing all the details without the tedious copy-paste. Stop letting tasks get buried in your inbox and start automating your productivity. Check out NotionSender to get started.

