Build Powerful Notion Project Overview Templates
A project overview template is essentially a structured summary of a project’s most critical pieces: its goals, timeline, stakeholders, and key deliverables. Think of it as the single source of truth that gets everyone on the same page, instantly.
Why Your Workflow Needs a Project Overview Template
Let's be honest. We've all been there: projects scattered across endless email chains, chaotic spreadsheets, and a dozen different Slack channels. It's a recipe for missed deadlines and confused team members.
When you don’t have a central hub for project information, critical details inevitably slip through the cracks. Everyone is left scrambling to find the latest updates, and nobody has a clear picture of what's actually happening. A standardized project overview template fixes this.
This isn't about adding more bureaucracy. It's about creating a clear, real-time view of a project's health, aligning teams and stakeholders from day one. You move from a reactive scramble to a proactive workflow that supports clarity and efficiency all the way through.
From Chaos to Clarity
Imagine a marketing agency juggling a dozen client campaigns. Before they had a system, every project manager did their own thing. Some used ridiculously complex spreadsheets, others relied on a maze of shared documents, and a few just tried to track everything through email. Pulling together a simple status report was a full-blown detective mission that took hours.
By implementing a standardized project overview in Notion, the agency created a unified dashboard for every single campaign. Suddenly, they had a central command center with an immediate snapshot of every active initiative.
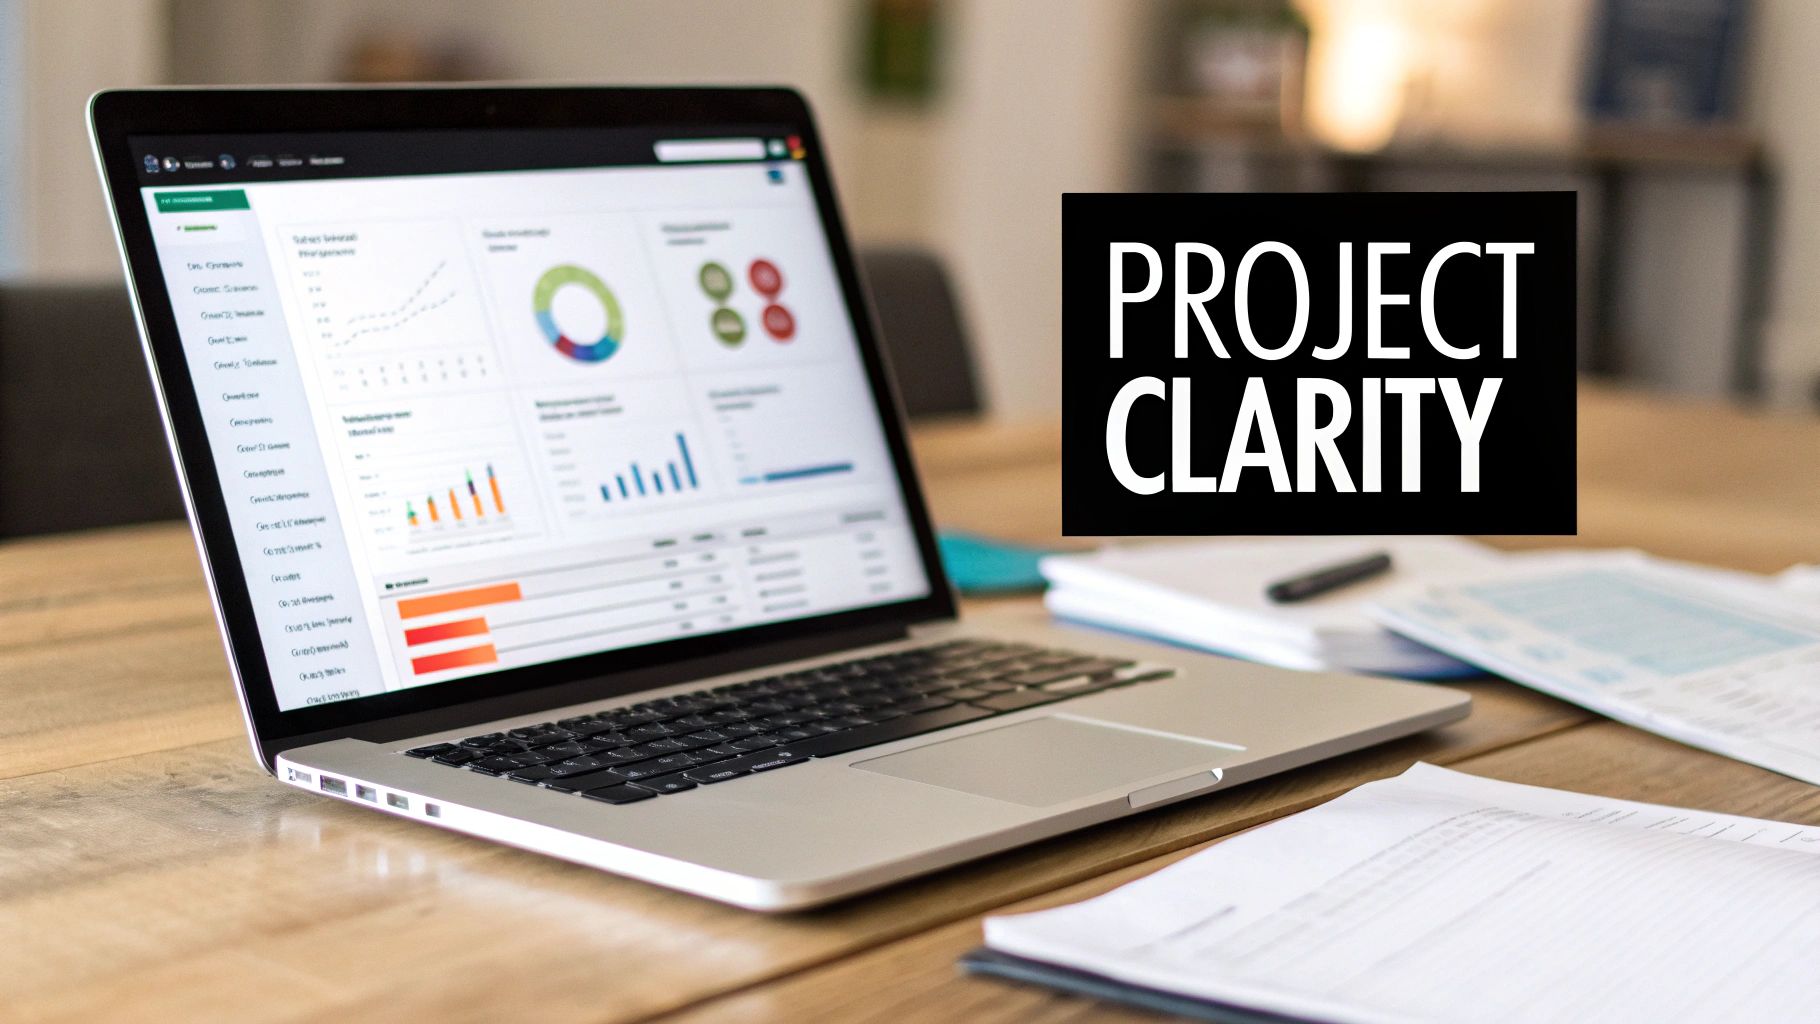
With a dashboard view like this, anyone—from an executive to a new hire—can grasp a project's status, upcoming deadlines, and who owns what in just a few seconds. To get the most out of this approach, it helps to understand the fundamentals of a solid project management strategy and how a simple template can accelerate everything.
The difference a good template makes is night and day. It transforms how teams communicate and execute, moving from disjointed efforts to a cohesive, transparent operation.
Before and After A Project Overview Template
Here’s a quick look at how implementing a standardized template can completely change the game for any team.
| Challenge | Before Template (The Old Way) | After Template (The Notion Way) |
|---|---|---|
| Finding Information | Digging through emails, Slacks, and spreadsheets. "Where's the latest version?" is a common question. | All key details—goals, timeline, owners, files—are in one predictable, easy-to-find place. |
| Stakeholder Updates | Manually compiling status reports, which are often outdated by the time they're sent. | Stakeholders can access a live dashboard for real-time progress, reducing the need for constant meetings and check-ins. |
| Onboarding New Members | A long, confusing process of explaining project history and pointing to scattered documents. | New team members get up to speed instantly by reviewing a single, comprehensive overview. |
| Measuring Progress | Progress is tracked inconsistently, making it hard to spot risks or delays until it's too late. | Clear milestones and statuses provide an at-a-glance view of project health, making it easy to identify roadblocks. |
The shift is undeniable. It's about trading frantic searching for focused doing.
The Real-World Impact of Structure
This move toward structured overviews isn't just a trend; it's a massive shift in how effective teams work. The project management software market is expected to hit USD 23.09 billion by 2031, which shows just how many organizations are ditching unstructured methods for good.
Considering that studies show over 50% of projects fail due to a lack of structure and clear communication, adopting a simple template is a powerful, low-effort way to stack the odds in your favor. And the best part? You can use a tool like NotionSender to automate stakeholder updates right from your project database, which we cover in 7 Ways to Use Notion to Send Emails and More.
Anatomy of a Powerful Project Overview Template
A great project overview template isn't just a static document. Think of it as your project's command center—an interactive dashboard that turns fuzzy goals into a concrete, actionable plan. To build a really effective one, you need to break it down into its core parts.
These are the essential properties that bring clarity and control to your workflow.
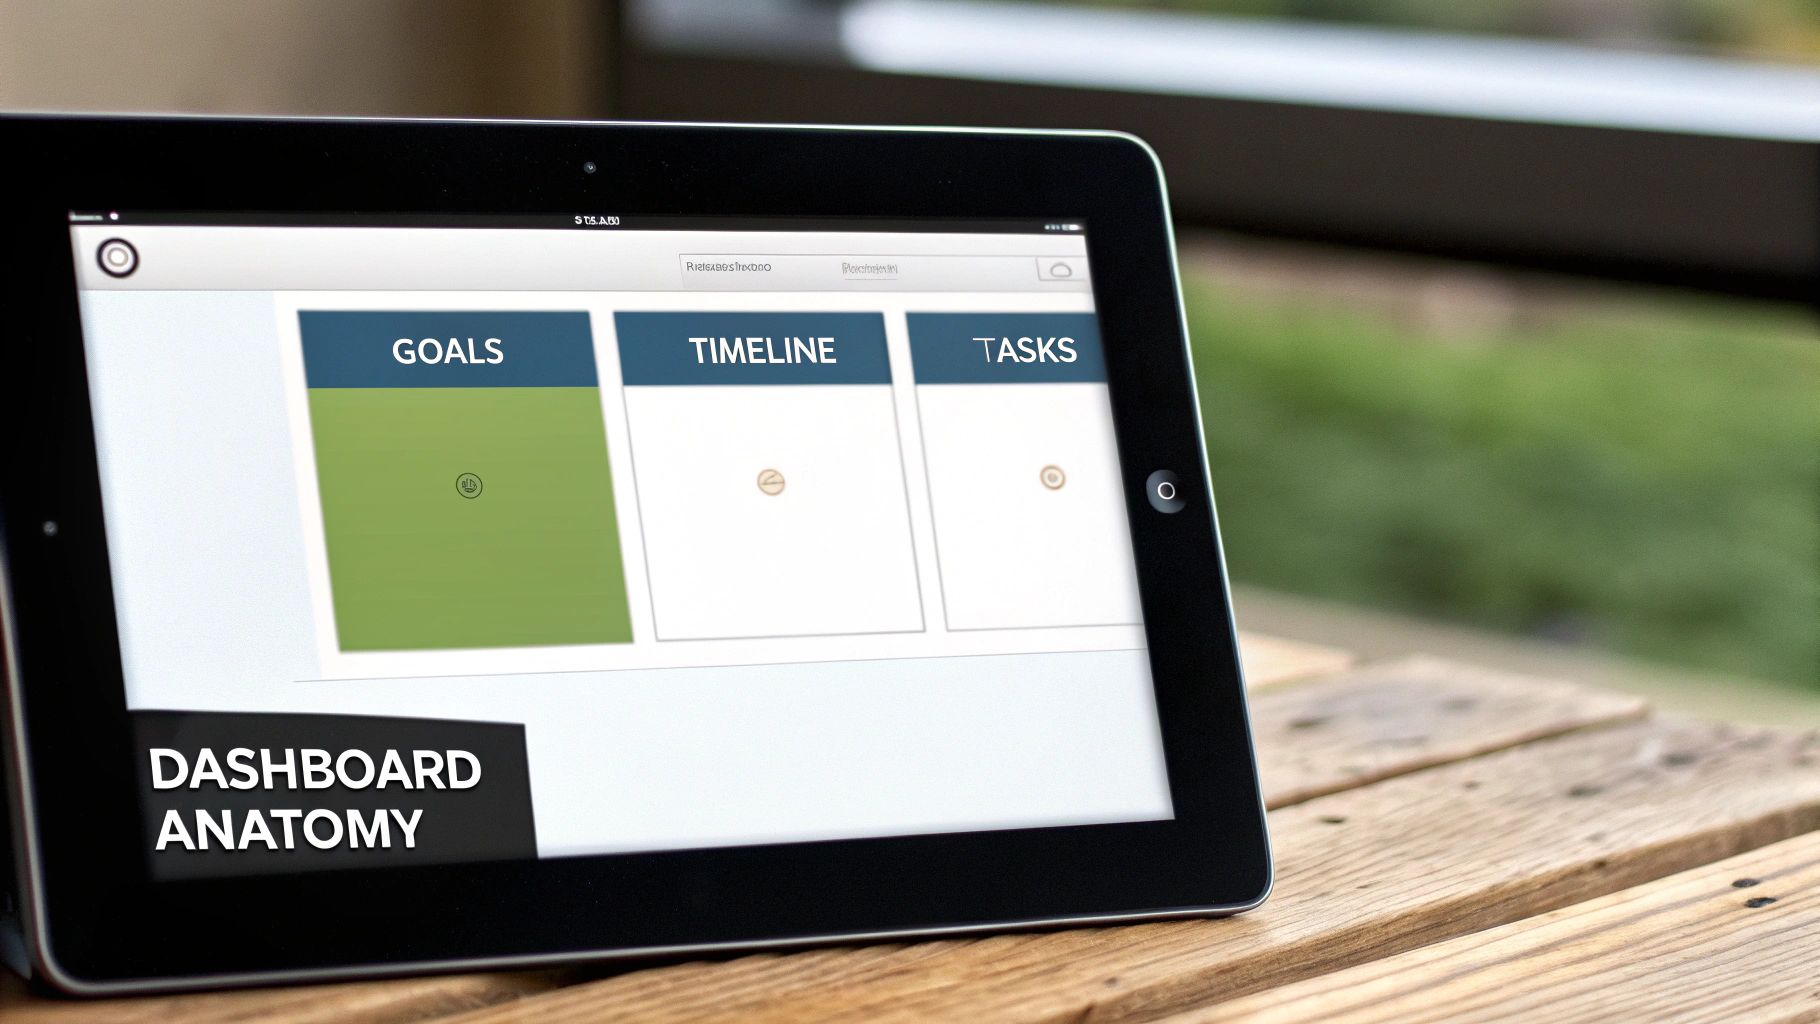
I like to think of these components as the building blocks of project clarity. Each one answers a critical question right up front, so everyone has the info they need without having to constantly ask for it.
High-Level Strategic Components
Before you get lost in the weeds of daily tasks, your overview has to nail the "why" and the "what." These high-level fields are all about getting everyone aligned on the ultimate purpose and preventing that dreaded scope creep down the road.
- Project Goal: This should be a single, punchy sentence defining the primary objective. What does a win actually look like?
- Success Metrics: How will you actually measure that win? This field is where you ditch vague goals for hard KPIs, like "Achieve a 15% increase in user sign-ups" or "Reduce customer support tickets by 20%."
- Key Stakeholders: Who are the decision-makers and main points of contact? Using a
Personproperty in Notion is perfect for this, as it makes it dead simple to assign roles and ping the right people directly from the page.
Getting these elements right sets your entire strategic direction. It’s a bit like creating a blueprint for a house before you start buying bricks. Speaking of which, exploring various project outline example templates can give you some great ideas for structuring your project documentation from the ground up.
Granular Operational Details
Once the strategy is locked in, the next layer of your template drills down into execution—the "how" and the "when." This is where your team will be living day-to-day, tracking progress and managing their work.
Here’s what you absolutely need for the operational side:
- Status: A
SelectorStatusproperty is non-negotiable. Use clear, actionable stages everyone understands, likeNot Started,In Progress,Blocked, andComplete. - Timeline / Due Dates: A
Dateproperty with both a start and end date is crucial. This is what powers timeline views and keeps everyone honest about deadlines. - Task List: I always use a relational database that connects to a separate "Tasks" database. This keeps the main overview clean while letting you see every single associated task linked to the project.
- Resource Allocation: This can be a simple
Files & Mediaproperty for key documents or just a text field where you can drop links to budgets, briefs, and other important resources.
A project overview without clear, measurable success metrics is just a wish list. Tying every project to specific outcomes—like campaign ROI or lead generation targets—is what separates busy work from impactful results.
For example, a marketing manager can use the Success Metrics field to track campaign ROI right inside the project page. As new data rolls in, they can update the numbers in real-time. This makes it incredibly easy to see if the project is hitting its financial targets without ever leaving Notion, turning the overview from a static plan into a dynamic performance tracker.
Alright, theory is great, but now it's time to get your hands dirty. Let's actually build your project overview template right inside Notion. We'll go from a totally blank page to a powerful, repeatable system you can use for every new project with just a single click.
Starting with a Fresh Database
First things first, we need a central hub for all your projects. Think of it as your command center.
Just create a new page in Notion. Once you're on the blank page, type /database and pick the Database - Full page option from the menu that pops up. Go ahead and give it a clear, simple title like "My Projects" or "Client Work." This is where everything will live.
With the foundation in place, we can start adding the properties that bring this database to life.
Adding the Core Properties
This is where we turn a simple list into an interactive dashboard. We're going to add the essential fields we talked about earlier. To add a new property, just click the + sign at the top right of your database table and choose the right type.
Here are the must-haves:
- Project Name: The default
Nameproperty is already there and works perfectly. No need to change it. - Status: For this one, use the
Statusproperty type. Notion gives you some great pre-built options likeNot Started,In Progress, andDone, which are perfect for a quick visual on where things stand. - Timeline: Select the
Dateproperty. A key tip here is to toggle on the "End date" option. This lets you set a clear start and finish for every project, which is critical for planning. - Project Lead: The
Personproperty is what you want. It lets you assign a team member directly from your workspace to own the project. - Priority: A
Selectproperty is ideal. You can create your own options likeHigh,Medium, andLow, and even give each one a color for at-a-glance sorting.
This is what it looks like when you're ready to create the actual template within the database you just built.
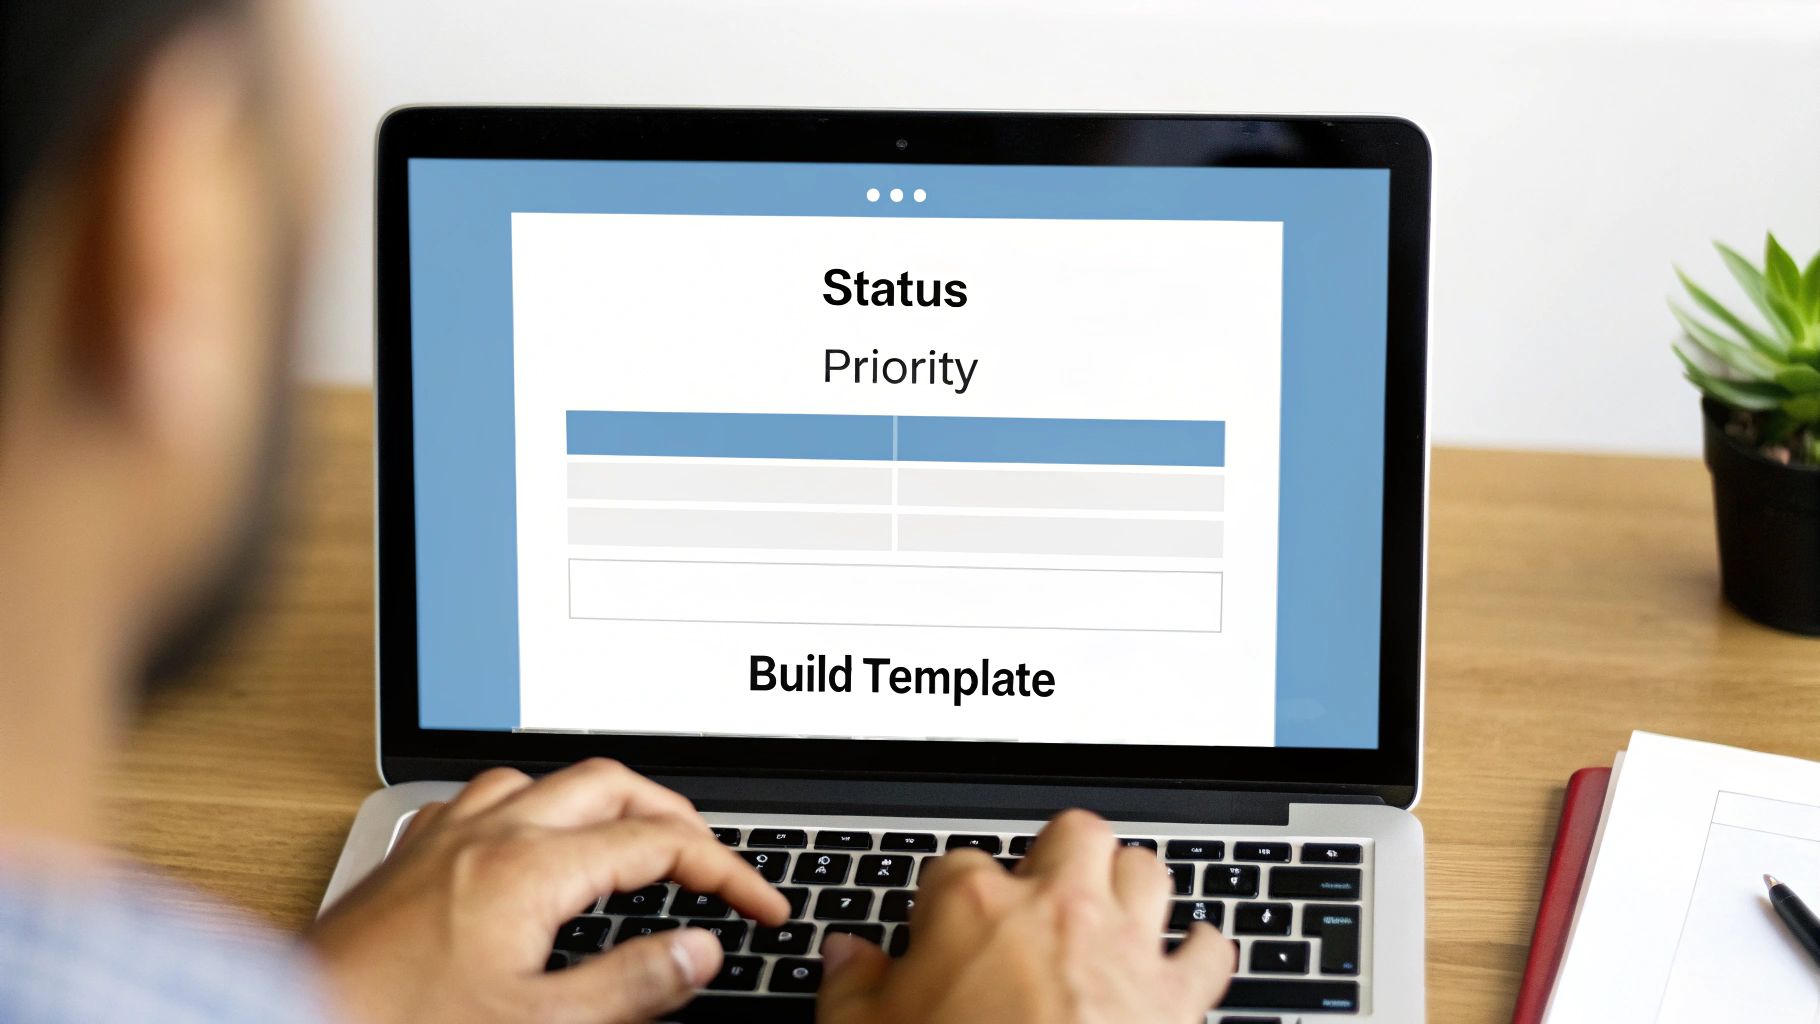
That little "New template" button hiding in the dropdown menu is the key to making this whole system work effortlessly.
My advice? Don't go crazy adding a dozen properties right away. Start with these core fields. You can always come back and add more specific ones later—like a "Budget" (
Numberproperty) or "Client" (Relationproperty)—as you figure out what you truly need.
Designing the Reusable Template Page
Now for the magic. By creating a database template, you can pre-design the entire page for every new project. This means total consistency, every single time.
In the top-right corner of your database, find the blue "New" button. Click the little dropdown arrow next to it and select + New template. Let's give it a name like "New Project Template."
Now you have a blank canvas. Inside this template page, you can add all the sections you'll need for every project. I recommend starting with headings for things like:
- Project Goals & Objectives
- Success Metrics (KPIs)
- Key Deliverables
- Important Links & Resources
Once you save this, every time you start a new project, you can simply click "New" and pick your "New Project Template." A fresh project entry will pop up with this entire structure already built out for you. No more starting from scratch or forgetting a crucial section.
For even more ideas on getting your workspace organized, check out our 10 tips to help you get the most out of Notion. A little setup now turns a chaotic process into a smooth, repeatable workflow that anyone on your team can jump into without confusion.
Automate Your Template with NotionSender
So you've built the perfect project overview template. It's clean, organized, and ready to go. But right now, it's a static blueprint. The real magic happens when you turn it into a dynamic system that actively works for you, not the other way around.
This is where you can connect your email inbox directly to your project hub using an integration like NotionSender. Suddenly, your template goes from a simple record-keeper to an automated command center. Imagine never having to copy-paste client feedback, forward important files, or manually log updates again. Communication just flows, right from an email into the correct project. You'll save hours.
Bridge the Gap Between Email and Notion
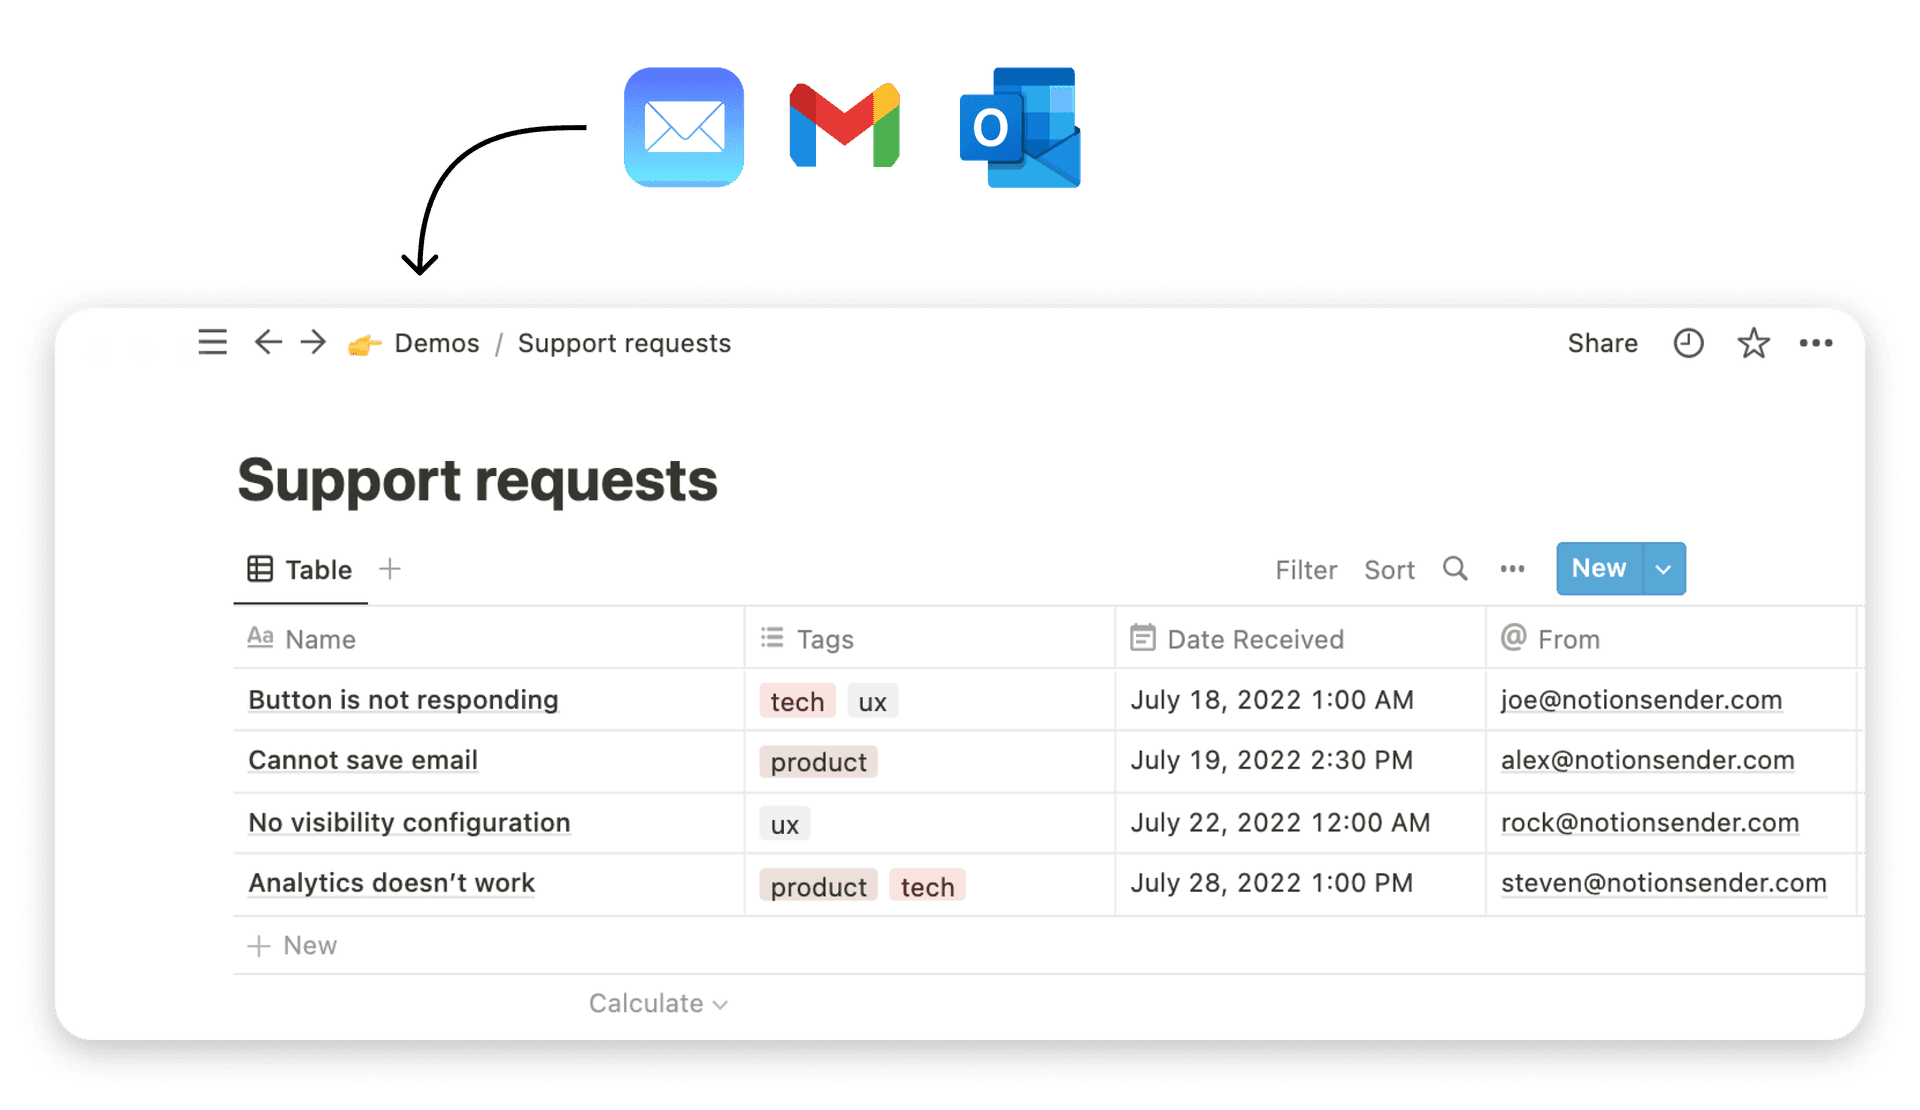
The core of this setup is a unique email address generated specifically for your Notion database. When you set up your project database with NotionSender, you get an email that acts as a direct pipeline. Anything sent to this address gets automatically captured and turned into a new entry in your project overview.
Think about the possibilities. A freelance developer gets a bug report from a client. That email instantly creates a new task in the right project inside Notion. Or maybe a marketing team gets sent a folder of creative assets from a partner—they land directly in the relevant campaign page, attachments and all.
This simple connection removes the friction of manual data entry. More importantly, it ensures no critical information gets lost in the chaos of a cluttered inbox.
Use Smart Extraction to Populate Your Template
Here's where it gets really powerful. You can actually teach NotionSender how to read incoming emails. Using smart data extraction, you can map specific parts of an email—like the subject line, the sender, or even content inside the body—to the properties in your project overview template.
- Subject Line to Project Name: Just set a rule so the email's subject automatically becomes the "Project Name" in your database.
- Sender to Stakeholder: You can map the sender's email address to the "Client" or "Stakeholder"
Personproperty. - Email Body to Project Brief: Have the entire body of the email dump right into a "Notes" or "Initial Brief" field.
Think of it this way: you’re creating a set of rules that tells NotionSender exactly how to sort and file incoming information. A client's revised brief doesn't just sit in your inbox; it automatically updates the "Brief" property in their specific project page.
This level of automation is a total game-changer, especially for freelancers and small teams who are constantly juggling communication. The industry is moving this way, too. Cloud-based project management solutions are expected to grab a 56.6% market share by 2026 as more teams ditch disconnected, on-premise systems. You can dig into the full analysis on the online project management software market to see the shift for yourself.
By automating how information gets into your project templates, you create a truly centralized source of truth that builds itself.
Customizing Your Template for Different Roles
<iframe width="100%" style="aspect-ratio: 16 / 9;" src="https://www.youtube.com/embed/BzhPPYtSKK0" frameborder="0" allow="autoplay; encrypted-media" allowfullscreen></iframe>
A generic project overview template is a fantastic starting point, but its real power is unlocked when you tailor it to your specific needs. The truth is, different roles have vastly different priorities. A one-size-fits-all approach just doesn't cut it and often leads to cluttered dashboards where your team has to wade through irrelevant info to find what they actually need.
The goal is to create focused, personalized views that give each person exactly what they require, without the noise. This does more than just boost efficiency—it makes it far more likely that your team will actually adopt and consistently use the system you’ve built.
For the Freelance Developer
A freelance developer's world is all about milestones, client assets, and clear communication. Their project overview needs to be lean, mean, and focused on execution. High-level business KPIs are just noise when you're deep in code and trying to hit a deadline.
Here are a few key customizations that make a world of difference for a freelancer:
- A "Client" Property: Use a
Relationproperty to link every project back to a central client database. This is a game-changer for keeping contact info, project history, and communication logs all in one spot. - A "Milestones" Checklist: Right inside the project page, add a simple checklist of key deliverables. This gives both you and the client a crystal-clear, at-a-glance view of exactly where things stand.
- An "Assets" Gallery: A
Files & Mediaproperty or a basic Gallery view is perfect for corralling all project-related files—think design mockups, contracts, and final deliverables.
For managing the day-to-day workflow, nothing beats a Kanban board view organized by status (To Do, In Progress, Awaiting Feedback). This setup gives a freelancer a clean, actionable dashboard to manage their entire client load.
For the Marketing Team
Now, think about a marketing team gearing up for a big product launch. Their needs are completely different. They're juggling multiple moving parts across a dozen channels, tracking campaign performance, and keeping a long list of stakeholders in the loop.
Their template should be built from the ground up for collaboration and measurement:
- A "Campaign Channel" Property: A
Multi-selectproperty is your best friend here. Tag each project with the channels involved, like Social Media, Email, or SEO. - A "Launch Date" Calendar: A dedicated Calendar view isn't just nice to have; it's essential. It lets you visualize deadlines for content creation, ad launches, and press releases, so nothing slips through the cracks.
- "Success Metrics" Properties: Don't bury your KPIs in another spreadsheet. Add specific
Numberproperties like "Leads Generated" or "Conversion Rate" right inside the project so performance is always front and center.
And what about getting new campaigns into this system? The diagram below shows how you can automate data entry straight from your email inbox using a tool like NotionSender.
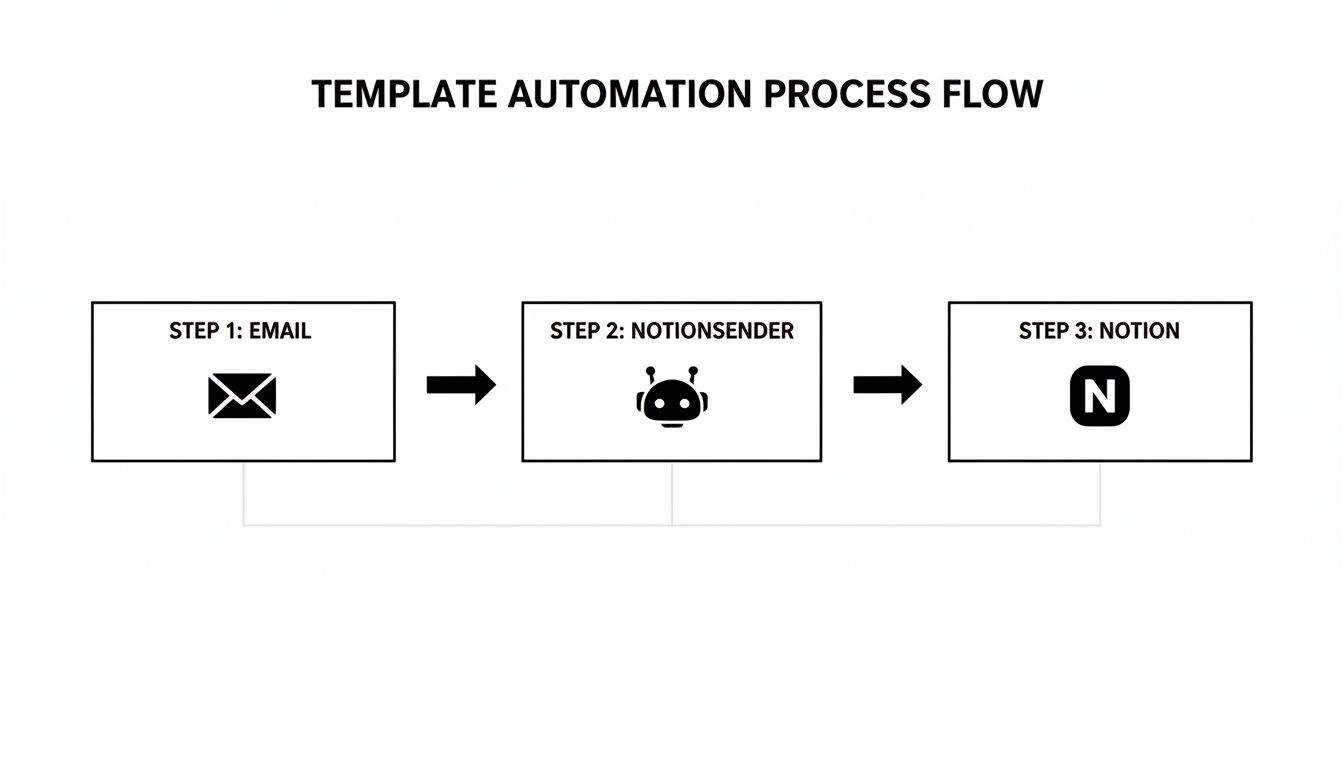
This simple flow shows how an integration can automatically parse an email and populate a new project entry in your Notion database, completely killing off tedious manual data entry.
For the Business Owner
A business owner or executive needs the 30,000-foot view. They aren't concerned with individual tasks; they care about overall project health, budget adherence, and alignment with company goals.
The most effective project overview templates for leadership are dashboards, not to-do lists. They should answer the big questions—Are we on budget? Are we on track? Is this project delivering value?—in seconds.
Creating a filtered "Executive Dashboard" view is the key. This view should hide all the granular tasks and instead shine a spotlight on properties like "Overall Status," "Budget vs. Actuals," and "Alignment with Q3 Goals." By using database rollups and relations, you can pull key data from other sources to paint a complete financial and strategic picture without the owner ever having to leave their dashboard.
Template Customization Ideas by Role
To give you a head start, here’s a quick-reference table with some ideas for tailoring your project overview template. Think of it as a cheat sheet for building the perfect dashboard based on who's using it.
| Role/Industry | Essential Custom Properties | Most Useful Notion View |
|---|---|---|
| Freelancer | Relation to Clients, Files & Media for assets, Select for project type. |
Kanban (by Status) |
| Marketing Manager | Multi-select for channels, Date for launch, Number for KPIs (e.g., Leads). |
Calendar or Timeline |
| Business Owner | Formula for Budget vs. Actual, Rollup for team progress, Select for strategic goal. |
Gallery or Table |
| Content Creator | Select for content type, Date for publish date, Person for assignee. |
Calendar |
| Product Manager | Relation to user stories/features, Select for sprint, Formula for progress %. |
Board (by Sprint) |
| Agency | Relation to Client DB, Person for Account Manager, Formula for billable hours. |
Table (grouped by Client) |
These are just starting points, of course. The best part about Notion is its flexibility, so don't be afraid to experiment and find the combination of properties and views that makes your workflow click.
Got Questions About Notion Project Templates?
Even with the best guide, jumping into a new system always brings up a few questions. Building project templates in Notion is a game-changer, but a couple of common sticking points can trip people up. Let's clear up the most frequent ones so you can get your new setup humming.
And remember, getting your template just right is a process. Don't feel like you have to build the perfect, all-knowing system on day one.
How Detailed Should My Template Be?
This is, without a doubt, the number one question I get. The answer? Start simpler than you think you need.
It’s so tempting to build out a project template with dozens of properties to track every conceivable metric. I've been there. But this almost always backfires, leading to a cluttered, overwhelming system that your team quietly ignores.
Start with the absolute must-haves: a clear goal, a timeline, a project lead, and a status. As you actually use the template for a few projects, you'll naturally see what's missing and what's genuinely needed.
A template is only good if people actually use it. An overly complex system creates friction and just encourages everyone to slip back into their old, disorganized habits. Focus on clarity first; add more detail only when it solves a real problem.
Can I Use Just One Template for Everything?
You could try, but it’s usually not the best move. A project template for a freelance web developer tracking code commits and client assets will look completely different from one for a marketing team managing a multi-channel campaign.
A much better approach is to create a master "core" template. This one has all the universal fields everyone needs, like "Project Name" and "Status." From there, you can duplicate and customize it for specific teams or project types, adding specialized properties where they make sense.
For example:
- Marketing Team: Add properties for
Campaign ChannelandLaunch Date. - Development Team: Include a
Sprintrelation and aCode RepositoryURL field. - Leadership Team: Create a high-level view with
Budget vs. Actualsand aStrategic Goalrelation.
This hybrid approach gives you consistency across the company while still providing the flexibility different roles need. It keeps everyone on the same page without forcing them into a one-size-fits-all box that doesn't really fit anyone. A great system should adapt to the work, not the other way around.
Ready to stop copying and pasting data and finally automate your workflow? NotionSender connects your email inbox directly to your Notion project templates, turning client messages into structured, actionable data automatically. Sign up for free and see how it works.