
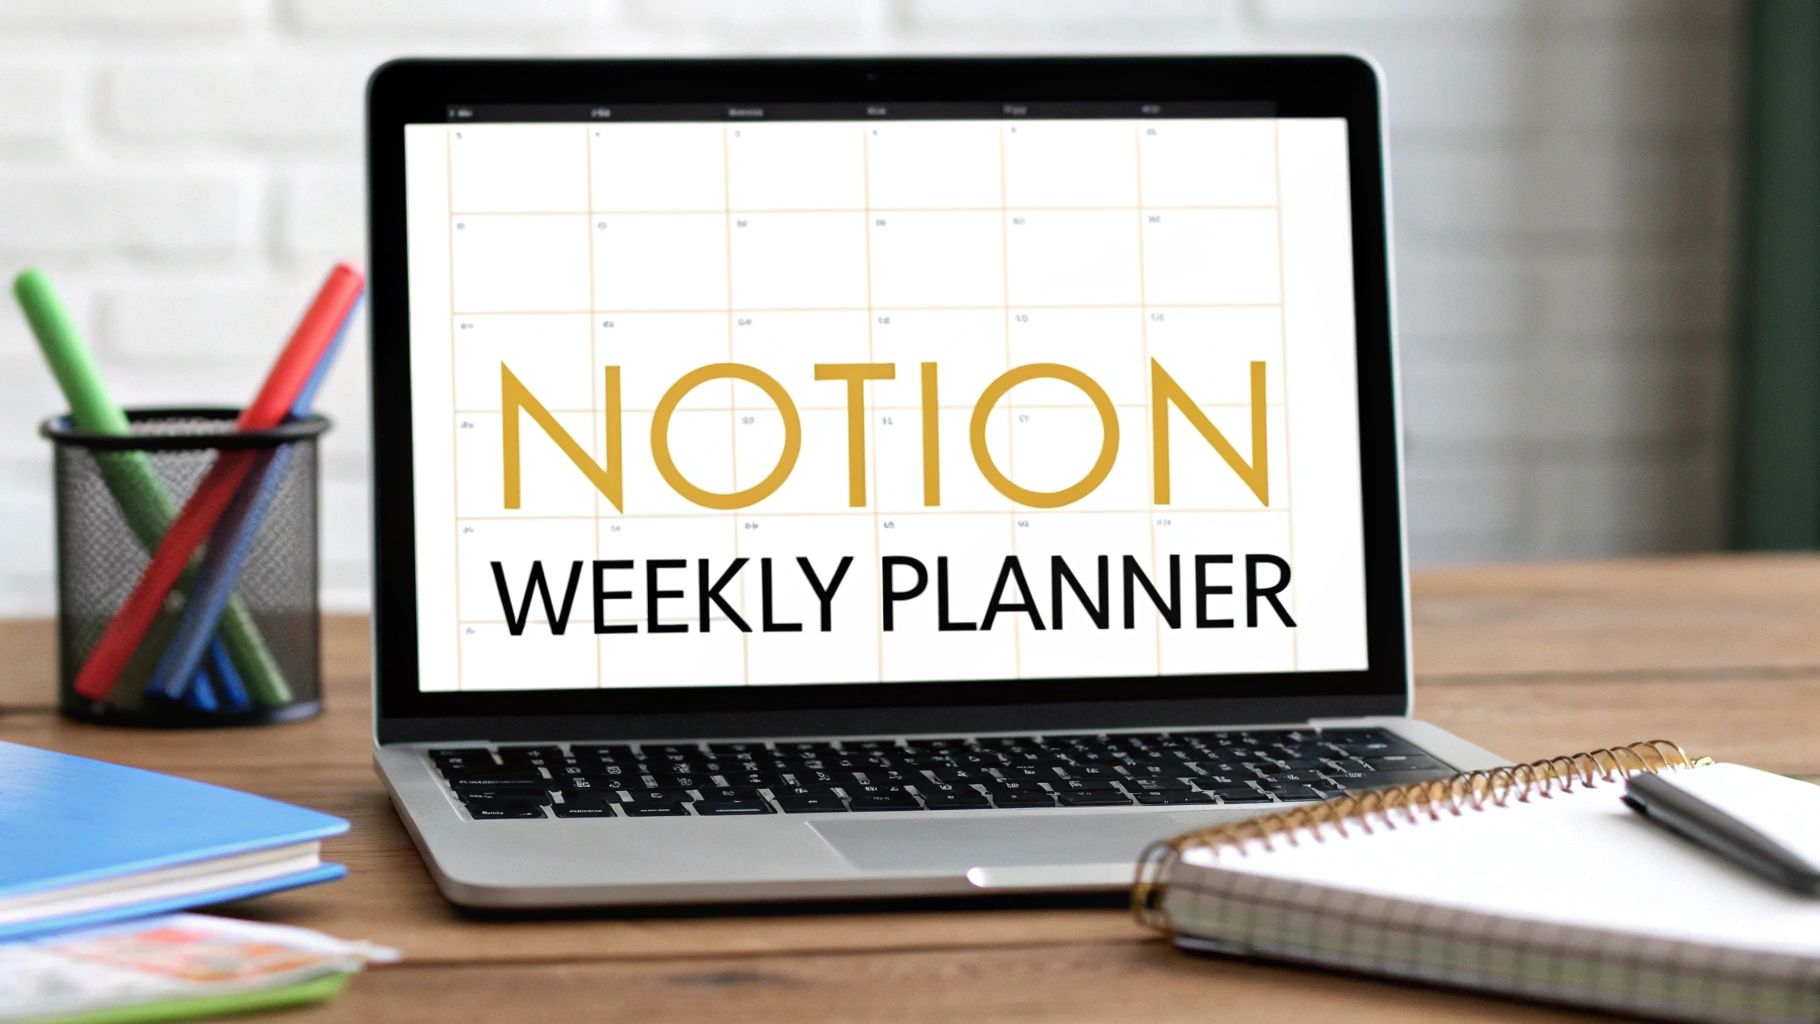
Build a Notion Weekly Planner That Actually Works
If you’ve landed here, I’m guessing your current planner system isn’t cutting it. Whether it's a paper notebook, a basic calendar app, or a chaotic mix of both, these static tools often box you into a rigid, one-size-fits-all approach that just doesn't work for real life.
What you need is a dynamic, central hub built around your actual workflow. A Notion weekly planner gives you exactly that, handing you back the clarity and control you've been missing.
Why Your Current Planner Isnt Working
Does your planning system feel more like a source of stress than a solution? You're not alone. So many people get stuck in a frustrating cycle of disorganization and missed deadlines because their tools create more problems than they solve.
The real issue is disconnection. Your to-do list is in one app, your project notes are in another, and your calendar is a completely separate island. Constantly jumping between tools kills your momentum and makes it nearly impossible to see the big picture.
The Problem with Static Systems
Traditional planners, both digital and paper, have some serious limitations that a flexible tool like Notion just sails past.
Here are the main culprits:
- Lack of Context: A simple checklist item like "Finish report" is useless on its own. It doesn't link to the related emails, research docs, or team feedback. You're left hunting for information scattered all over the place.
- Inflexibility: Paper planners can't keep up when priorities change on a dime. A canceled meeting leaves an awkward blank space, and rescheduling a task means messy scribbling and arrows.
- Isolation from Goals: Standard to-do lists rarely connect your daily tasks to bigger project milestones or long-term goals. This makes it incredibly hard to prioritize what actually matters.
If this sounds familiar, it’s probably time to rethink your entire approach and build effective personal productivity systems that are actually designed for you. This is where creating a custom Notion weekly planner becomes a total game-changer. For an even bigger boost, check out our guide on 10 tips to help you get the most out of Notion.so.
The goal isn't just a prettier to-do list; it’s about creating an adaptive system that reflects your real-world workflow. A well-built planner provides clarity and complete control over your week.
There's a reason Notion's growth has been explosive—from 1 million users in 2019 to over 30 million by 2024. This surge is driven by people just like you who needed a smarter, more integrated way to manage their lives and work.
Building Your Planner's Core Database
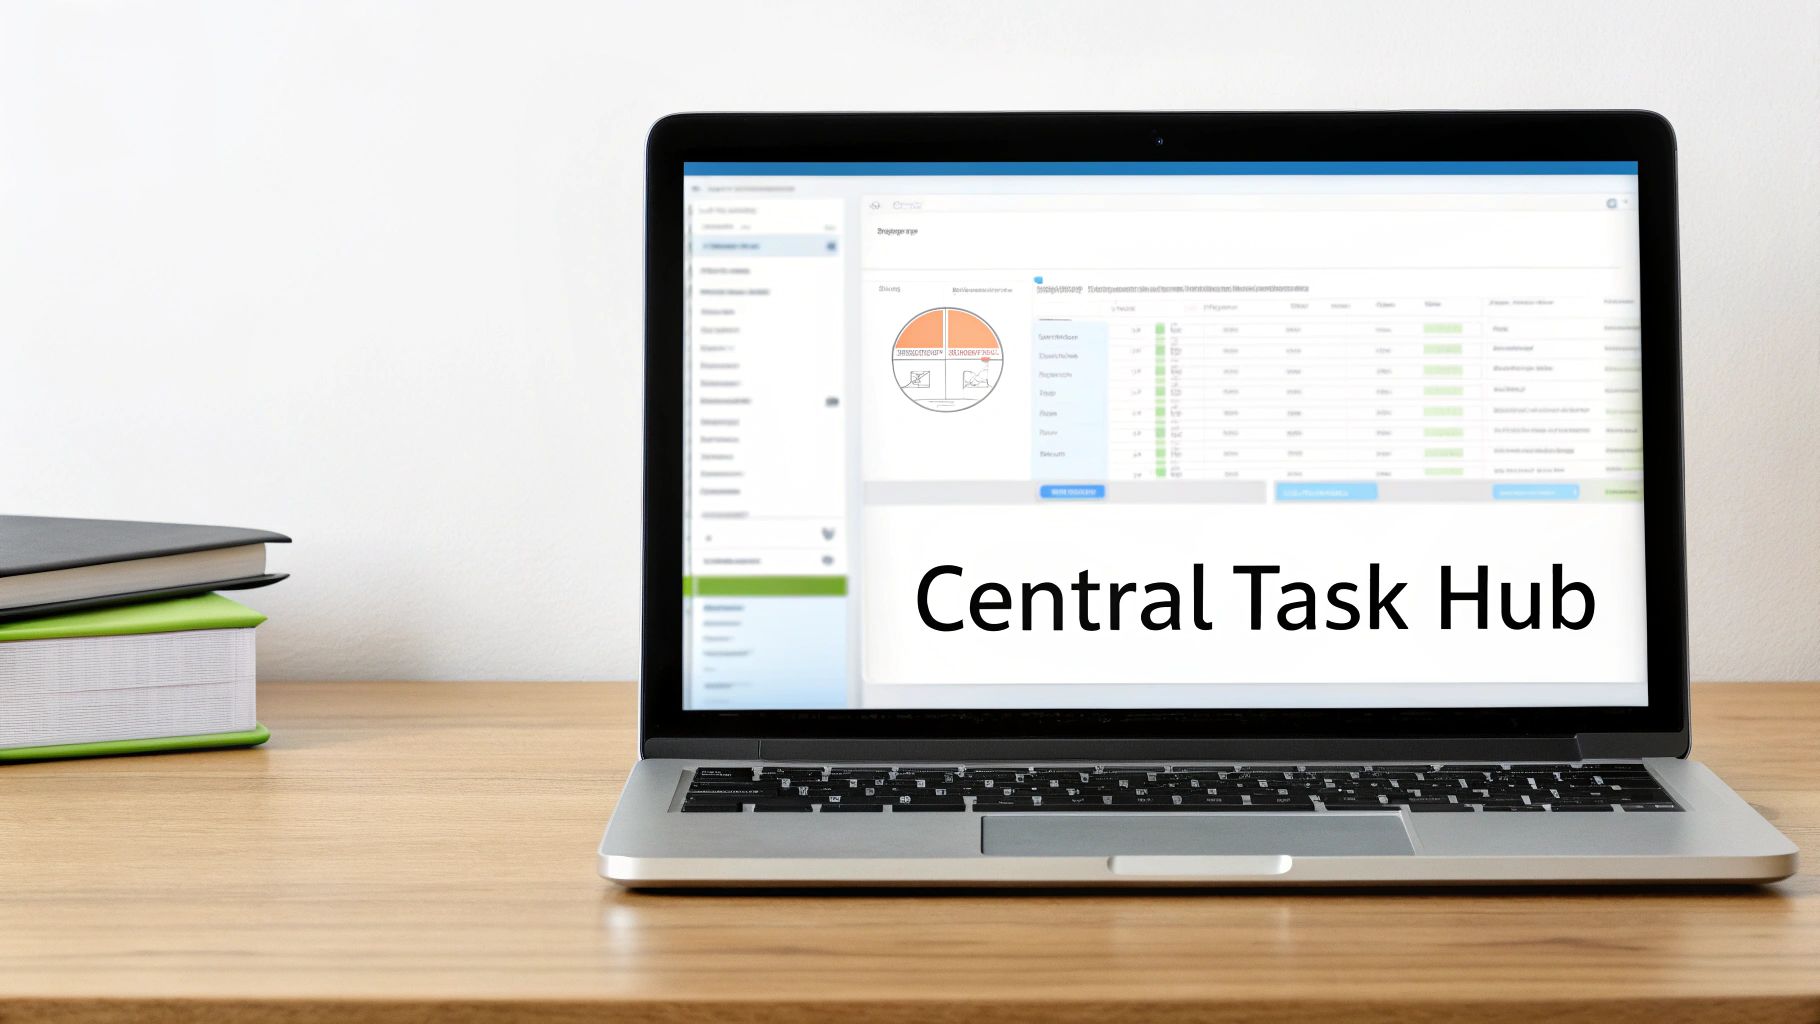
Alright, let's get our hands dirty. The absolute heart of a powerful Notion weekly planner isn't the flashy dashboards or complex formulas—it's the central database. We're not just making a digital checklist here; we're building a smart system that will organize, sort, and connect every single task to your bigger goals. This is the foundation that makes everything else possible.
The first move is to create a new, full-page database. Think of this as your master task list, the single source of truth for everything on your plate. I usually call mine something straightforward like "Central Task Hub" or "Master Tasks." Keeping everything in one place is key because this single database will feed all the different views we’ll build later, from your weekly board to your daily to-do list.
Defining Your Core Properties
Properties are what give your tasks context. They're the columns in your database that turn a simple to-do item into a structured piece of data you can actually work with. Let's get the essentials set up.
When you add a task, you need a few key details to make it sortable and actionable. At a minimum, I always start with these three:
- Due Date (Date Property): This one’s non-negotiable for a planner. It lets you assign a deadline, which is crucial for building calendar views and filtering for what needs to get done today.
- Status (Select Property): This tracks where a task is in your workflow. Keep it simple with options like "Not Started," "In Progress," and "Done." Adding a bit of color-coding to these tags gives you a super quick visual read on your workload.
- Priority (Select Property): Let's be real, not all tasks are created equal. A priority property—with options like "High," "Medium," and "Low"—is your best friend for deciding what to tackle first when everything feels urgent.
These three properties are the bare minimum for an effective system. Without them, you just have a glorified digital notepad, and you miss out on all the sorting and filtering magic that makes Notion so good for planning.
The real magic happens when you move beyond basic task tracking. The goal is to connect your daily actions to your overarching goals, creating a system where every small step has a clear purpose.
Linking Tasks to Projects
Now for the part that takes your planner from good to great: connecting individual tasks to larger projects. This is where the Relation property comes into play, and honestly, it’s a game-changer.
First, you’ll need a separate, super-simple database called "Projects." Seriously, it only needs one property to start: the project name.
Once that’s created, hop back over to your main tasks database. Add a new property, choose the "Relation" type from the menu, and link it to your shiny new "Projects" database. Now, every time you add a task—say, "Draft initial wireframes"—you can link it directly to a bigger goal, like "Client Website Redesign."
This one simple step ensures no task ever floats in a void. It gives you the power to see every single to-do item associated with a specific project with just one click.
For example, a freelance designer can link "Send invoice," "Submit final assets," and "Schedule follow-up meeting" all to the "Client X Logo Design" project. This kind of structure is what prevents important steps from falling through the cracks and gives you a clean, organized overview of all your commitments. This foundation is exactly what will make the dynamic views we'll build next so incredibly useful.
Essential Database Properties for Your Planner
Here’s a quick-glance table breaking down the most important properties to get your planner database up and running. These are the building blocks we'll use to create all of our views and automations.
| Property Name | Property Type | Purpose in Your Planner |
|---|---|---|
| Task Name | Title | The primary identifier for your to-do item. |
| Due Date | Date | Sets the deadline and enables calendar and timeline views. |
| Status | Select | Tracks progress (e.g., Not Started, In Progress, Done). |
| Priority | Select | Helps you rank tasks by importance (e.g., High, Medium, Low). |
| Project | Relation | Links the task to a larger project or goal for better organization. |
| Created On | Created Time | Automatically records when a task was added for tracking purposes. |
| Completed | Checkbox | A simple way to mark a task as finished. |
| Assignee | Person | Useful for collaborative planners to assign tasks to team members. |
This table covers the core functions you'll need. You can always add more custom properties later, like tags for different areas of your life (e.g., Work, Personal, Health), but starting with these will give you a robust and flexible foundation.
Designing Your Weekly Command Center
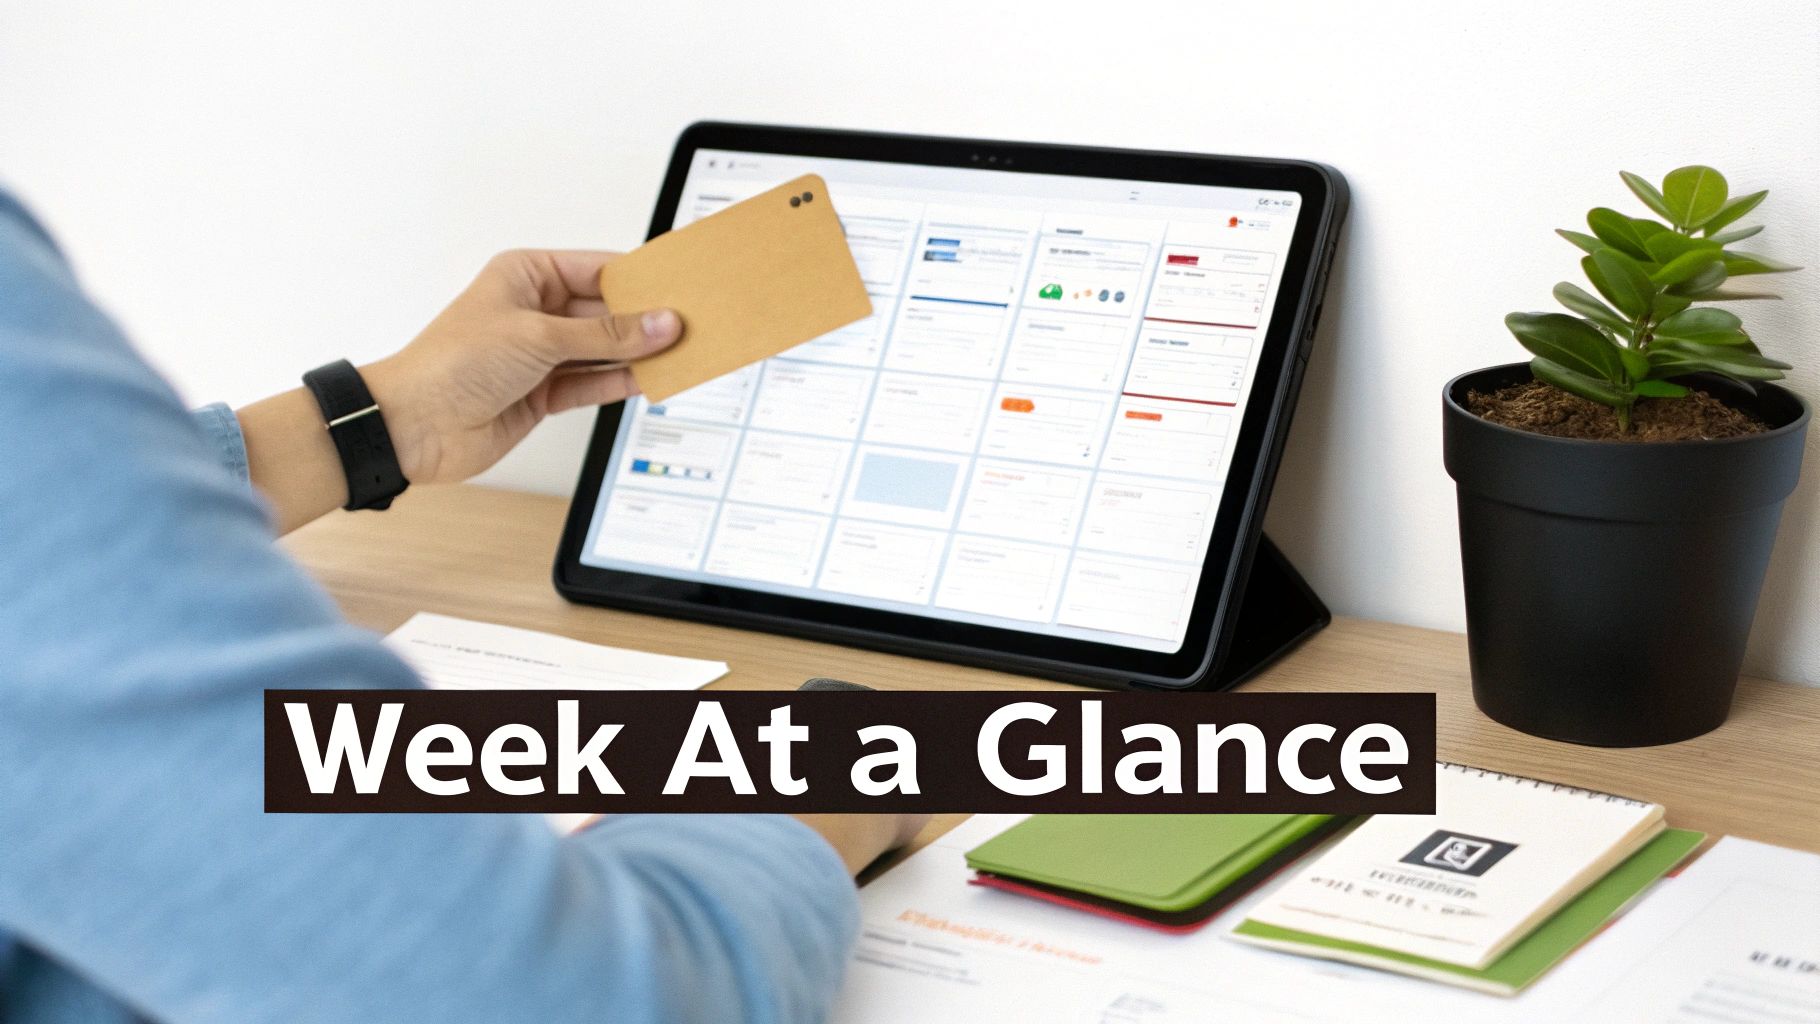
You've built the engine—your database. Now it's time to build the dashboard that actually lets you drive your week. Raw data is pretty useless without a clear, actionable way to see it, and this is where a well-designed Notion weekly planner really starts to shine.
We're going to create a "Week at a Glance" Kanban board. This will transform your raw task list into a visual command center, giving you clarity and momentum. Instead of an intimidating, endless list, you’ll get a bird's-eye view of your entire week, laid out day by day. It’s the difference between staring at a spreadsheet of ingredients and seeing a finished recipe card.
Creating a Linked View of Your Database
First things first, find a good spot for this. You can use a brand new page or drop it right onto the main dashboard for your planner. Type /linked view of database and pick your "Central Task Hub" from the list.
Using a linked view is critical here. You're not creating a new database; you're creating a window into your existing one. That means any changes you make here—like dragging a task from Tuesday to Thursday—will automatically update the master database. No more duplicate entries or conflicting information.
When prompted, go ahead and choose the "Board" layout option. Notion will probably default to grouping your tasks by their "Status" property, which is handy, but not what we need for a weekly overview.
Customizing the Board for Weekly Planning
Our real goal is to see tasks organized by the days of the week. To make this happen, click the three dots (...) at the top right of your new board view, navigate to "Group," and switch the "Group by" setting from "Status" to "Due Date."
This one little change is where the magic happens. Your tasks will instantly snap into columns labeled with their specific deadlines. To really dial it in, change the "Date by" option right below that to "Day." Just like that, you've got a clean, day-by-day layout.
The real power of this view is how interactive it is. Need to bump a task from Tuesday to Thursday? Just drag and drop the card. Notion handles updating the "Due Date" property in the background for you.
To keep this view from getting cluttered, we need to filter out the noise. We only want to see what's on the docket for this week.
- Click the "Filter" button.
- Select the "Due Date" property from your list.
- Set the filter rule to "Is within" and then choose "This week."
Now, your board is a dynamic, real-time snapshot of your current week's commitments, totally free from the distraction of past or future tasks. This level of focus is a core reason why custom Notion planners have become so popular.
For instance, many of the top-rated templates deliver huge productivity gains by blending this kind of functionality with clean design, letting you reset your entire week in just a few seconds. I've seen people report that their task completion rates jumped by as much as 87% just from adopting these focused, modular designs. You can see how creators are building these powerful systems and find some great inspiration for your own Notion weekly planner setups on YouTube.
A solid weekly planner has to do two things really well: let you zoom in on what needs doing right now, and let you zoom out to see the bigger picture. The weekly board we built is great for planning, but for actually getting things done and thinking long-term, you need a couple of different views. This is how you turn a simple task list into a real productivity system.
Let's start by building a view that cuts through all the noise and gives you a crystal-clear, actionable plan for the day. This simple list view is my secret weapon against that "where do I even start?" feeling in the morning.
Building Your Today's Focus List
Your weekly board is great for seeing everything, but your daily view should only show today.
Go ahead and create another linked view of your "Central Task Hub" database. This time, choose the List layout. A list is perfect for a scannable, no-frills daily action plan that you can just work your way down.
The real magic here comes from two specific settings:
- Filter for Today: The most important step is to add a filter where the Due Date property is Today. This instantly hides everything else, showing you only the tasks you’ve committed to finishing before you clock out.
- Sort by Priority: Next, add a sort. Set it to sort by your Priority property in descending order. Just like that, your high-priority items pop to the top, guiding your focus to what really moves the needle.
This "Today's Focus" view becomes your daily command center. No distractions—just a clear, prioritized checklist to crush. It’s a simple but incredibly effective way to start each day with purpose.
Creating a Master Calendar for Long-Term Vision
Daily focus is key, but you can't afford to get tunnel vision. This is where a calendar view comes in, giving you that crucial bird's-eye perspective on all your commitments, deadlines, and project timelines.
Create one more linked view of your task database, but this time, select the Calendar layout. Instantly, all your tasks with due dates will populate a familiar monthly grid. This view is invaluable for spotting future logjams, planning out project phases, and making sure you have a balanced workload in the weeks to come.
A great planner isn't just about managing this week; it's about setting yourself up for success next month. The calendar view is your strategic oversight tool, preventing future you from being caught off guard.
By switching between these views—the weekly board for planning, the daily list for execution, and the calendar for strategic oversight—you create a fluid system that adapts to your needs. It works whether you're mapping out a product launch or just trying to survive a Monday.
You can even take this a step further by learning about the 7 ways to use Notion to send emails and integrating communications right into your planning workflow.
Automating Your Workflow with Integrations
<iframe width="100%" style="aspect-ratio: 16 / 9;" src="https://www.youtube.com/embed/yyBdc38vm5E" frameborder="0" allow="autoplay; encrypted-media" allowfullscreen></iframe>
A truly powerful Notion weekly planner doesn't live in a bubble. Its real magic comes alive when you connect it to the other tools you use every day, breaking down those frustrating information silos and killing the soul-crushing task of manual data entry. This is where integrations come in, transforming your planner into a central command center that actually works for you.
Without automation, you're stuck in a loop. A client emails a request, so you switch tabs, open Notion, create a new task, copy over the details, set a due date, and maybe attach a file or two. Sure, it only takes a minute. But those minutes add up fast, eating away at hours of productive time every single week.
Bridging Your Inbox and Your Planner
For most of us, the biggest time-sink is the email inbox. It's the landing zone for requests, feedback, and important files, and getting that information into your planner is often a manual, error-prone chore. This is the exact problem that tools like NotionSender were built to solve.
By connecting your email directly to your Notion database, you essentially create a pipeline for incoming work. Imagine just forwarding an email and watching it appear as a perfectly formatted task in your planner, complete with attachments and all the key details already filled in.
This kind of automation isn't just about saving time—it's about preventing critical tasks from slipping through the cracks. It guarantees that every client request and team update gets captured and cataloged in your system without you ever having to remember to do it yourself.
Practical Automation Scenarios
Let's walk through a real-world example. A project manager gets an email from a client with the subject line: "Urgent Feedback on Wireframes - Due EOD Friday." Manually, this kicks off a whole sequence of clicks and keystrokes.
With an integration, you can set up a simple rule. By forwarding that email to a unique address tied to your "Central Task Hub," the system can automatically:
- Create a new task titled "Review Urgent Feedback on Wireframes."
- Pull "Friday" from the subject and set the Due Date property.
- Flag the Priority as "High" based on the word "Urgent."
- Tuck the entire email body and any attachments neatly into the Notion page.
This flow is all about moving from high-level plans to daily actions without friction.
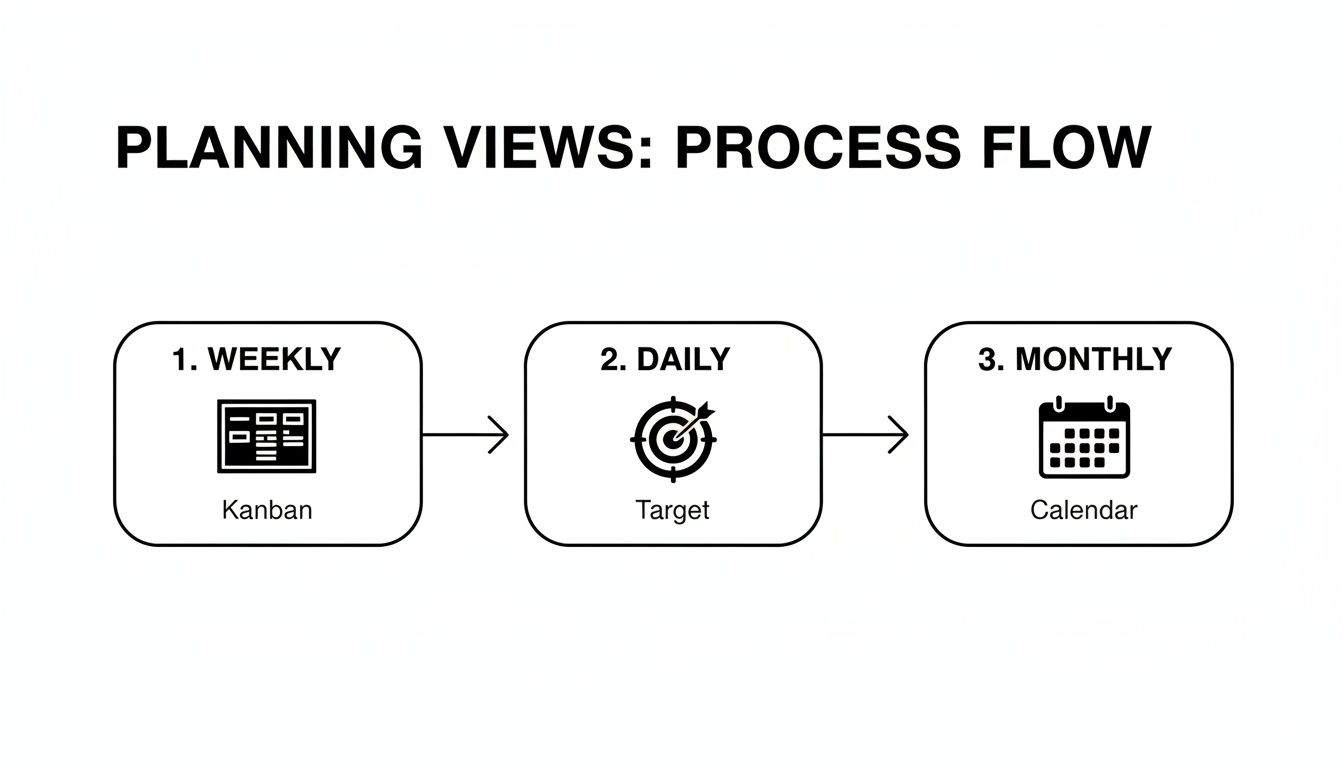
This process visualizes how you can move from a broad weekly overview to a focused daily task list, and then zoom out to a strategic monthly calendar.
This level of automation turns your reactive inbox into a proactive task management system. You're no longer just managing emails; you're converting them into structured, actionable items right inside your planner.
For a deeper dive, our guide on how to send emails directly into Notion provides a step-by-step walkthrough for setting this up. Honestly, it’s one of the most impactful upgrades you can make to your planner.
But it doesn't stop with email. For a truly seamless scheduling experience, look into integrating Notion with Google Calendar. This can streamline your weekly planning by syncing events and deadlines across both platforms. The end goal is to build an interconnected system where information flows freely, letting you focus on the work itself—not the admin that comes with it.
Got Questions About Your Notion Weekly Planner?
Building a custom Notion weekly planner is a great first step, but the real magic happens when you start living in it. As you go, you’ll probably find little things you want to tweak or improve. That's totally normal. Fine-tuning your setup is part of the process, and knowing how to solve a few common snags will make your planner that much more powerful.
Maybe your once-pristine dashboard is starting to feel a bit messy. Or perhaps you're wondering how to bring your team into the fold without creating chaos. Let's tackle some of the most frequent questions that come up.
How Do I Keep My Planner From Getting Cluttered?
One of the biggest issues people run into is the "Done" list. At first, it's satisfying to see everything you've accomplished, but soon it becomes an endless scroll of noise. The best way to handle this is to create a simple archive system.
All you need is a single checkbox. Seriously, that's it.
- Pop open your tasks database and add a new property. Call it "Archive" and set the type to Checkbox.
- Go to your main weekly and daily views and add this filter: Archive is unchecked. This tells Notion to hide anything you've archived.
- Now, create a new, separate page somewhere out of the way (I just call mine "Archive"). Add a linked view of your tasks database to it, but this time, set the filter to show only items where Archive is checked.
At the end of the week, just run through your completed tasks, tick the "Archive" box, and watch them disappear from your active planner. They aren't gone—they’re just tucked away neatly in your archive page, keeping your main workspace clean and focused on what's next.
What Are the Best Practices for Team Collaboration?
When you share a Notion planner with a team, you need to be a bit more deliberate than with a personal setup. The name of the game is consistency. Setting up clear ground rules from day one prevents confusion down the line.
Your best friend here is the Person property. Every single task needs an owner—no exceptions. Assigning a task to a specific person removes any guesswork about who’s responsible.
For team planners, clarity is always better than flexibility. Define what each status means (e.g., 'In Progress' means it's being actively worked on today), and use page templates to standardize how new tasks are added.
Also, get your team into the habit of using the comments section inside each task page for all related discussions. This keeps conversations tied directly to the work, so you don't have to go digging through Slack or email to find that one crucial detail. Just @-mention a teammate to send them a notification.
How Can I Optimize My Planner for Mobile Use?
A planner you can't use on the go isn't much of a planner at all. To make your Notion setup work well on your phone, you need to think about speed and simplicity. A complex dashboard with a dozen linked databases might look great on a monitor, but it will crawl on a mobile connection.
The solution is to create a dedicated "Mobile Dashboard" page. This page should only have what you absolutely need, using simplified views of your main databases.
- Stick to simple list views: Forget wide Kanban boards on a small screen. Create list views for "Today" and "This Week." They're way easier to scroll through.
- Use Notion widgets: Both iOS and Android let you add Notion widgets to your home screen. I highly recommend linking a widget directly to your "Today" view for one-tap access. It's a game-changer.
- Be ruthless with properties: In your mobile database views, hide everything you don't need. You can probably get by with just the task name, priority, and due date.
By building a lean, mobile-first view, you make sure your planner is a useful tool whether you’re at your desk or waiting in line for coffee.
Ready to connect your new planner to your inbox and really level up? NotionSender lets you forward emails straight to your task database, turning messages into organized tasks automatically. No more copy-pasting. Start automating your workflow with NotionSender today.

